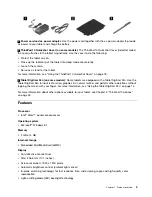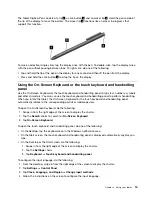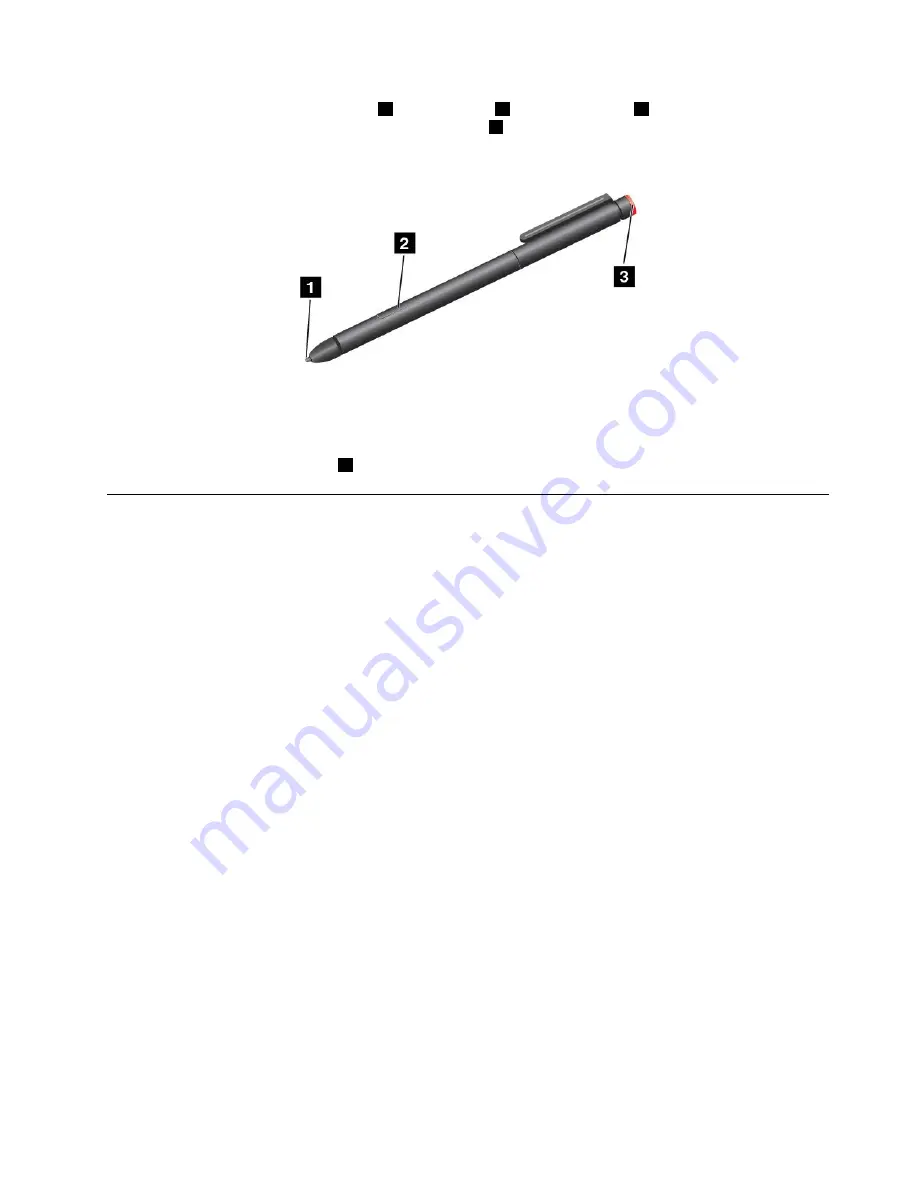
The Tablet Digitizer Pen consists of a tip
1
, a click button
2
, and an eraser tip
3
. Hold the pen and point
the tip at the display to move the pointer. The eraser tip
3
functions like an eraser in programs that
support this function.
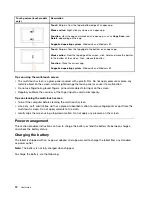
To make a selection (single click), tap the display once with the pen. To double-click, tap the display twice
with the pen without pausing between taps. To right-click, do one of the following:
• Tap and hold the tip of the pen on the display for one second and then lift the pen from the display.
• Press and hold the click button
2
and tap the tip on the display.
Using the On-Screen Keyboard or the touch keyboard and handwriting
panel
Use the On-Screen Keyboard or the touch keyboard and handwriting panel to type text, numbers, symbols,
and other characters. You also can use the touch keyboard and handwriting panel to perform handwriting.
When you rotate the tablet, the On-Screen Keyboard or the touch keyboard and handwriting panel
automatically rotates to the corresponding portrait or landscape view.
To open the On-Screen Keyboard, do the following:
1. Swipe in from the right edge of the screen to display the charms.
2. Tap the
Search
charm to search for
On-Screen Keyboard
.
3. Tap
On-Screen Keyboard
.
To open the touch keyboard and handwriting panel, do one of the following:
• On the desktop, tap the keyboard icon in the Windows notification area.
• On the Start screen, the touch keyboard and handwriting panel is displayed automatically anytime you
type.
• On the Desktop or the Start screen, do the following:
1. Swipe in from the right edge of the screen to display the charms.
2. Tap the
Settings
charm.
3. Tap
Keyboard
➙
Touch keyboard and handwriting panel
.
To configure the input language, do the following:
1. From the desktop, swipe in from the right edge of the screen to display the charms.
2. Tap
Settings
➙
Control Panel
.
3. Tap
Clock, Language, and Region
➙
Change input methods
.
4. Follow the instructions on the screen to configure the input language.
15
Summary of Contents for ThinkPad 10
Page 1: ...User Guide ThinkPad 10 ...
Page 48: ...36 User Guide ...
Page 66: ...54 User Guide ...
Page 70: ...58 User Guide ...
Page 78: ...66 User Guide ...
Page 84: ...3 Install a new SIM card and SD card cover 72 User Guide ...
Page 92: ...80 User Guide ...
Page 102: ...90 User Guide ...
Page 106: ...94 User Guide ...
Page 109: ......
Page 110: ......

