Fn key control
+
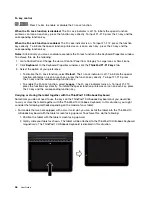
: Press Fn+Esc to enable or disable the Fn Lock function.
When the Fn Lock function is disabled:
The Fn Lock indicator is off. To initiate the special function
printed as an icon on each key, press the function keys directly. To input F1–F12, press the Fn key and the
corresponding function key.
When the Fn Lock function is enabled:
The Fn Lock indicator is on. To input F1–F12, press the function
keys directly. To initiate the special function printed as an icon on each key, press the Fn key and the
corresponding function key.
Notes:
Alternatively, you also can disable or enable the Fn lock function in the Keyboard Properties window.
To achieve this, do the following:
1. Go to Control Panel. Change the view of Control Panel from Category to Large icons or Small icons.
2. Click
Keyboard
. In the Keyboard Properties window, click the
ThinkPad F1-F12 keys
tab.
3. Select the option of your preference:
• To disable the Fn Lock function, select
Default
. The Fn Lock indicator is off. To initiate the special
function printed as an icon on each key, press the function key directly. To input F1-F12, press
the Fn key and the corresponding function key.
• To enable the Fn Lock function, select
Legacy
. The Fn Lock indicator turns on. To input F1-F12,
press the function keys directly. To initiate the special function printed as an icon on each key, press
the Fn key and the corresponding function key.
Carrying or storing the tablet together with the ThinkPad 10 Ultrabook Keyboard
Sometimes you do not need to use the keys on the ThinkPad 10 Ultrabook Keyboard, but you would like
to carry or store the tablet together with the ThinkPad 10 Ultrabook Keyboard. In this situation, you might
consider the following methods depending on the model of your tablet.
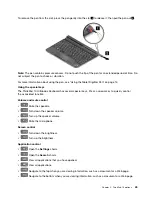
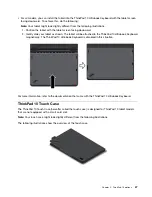
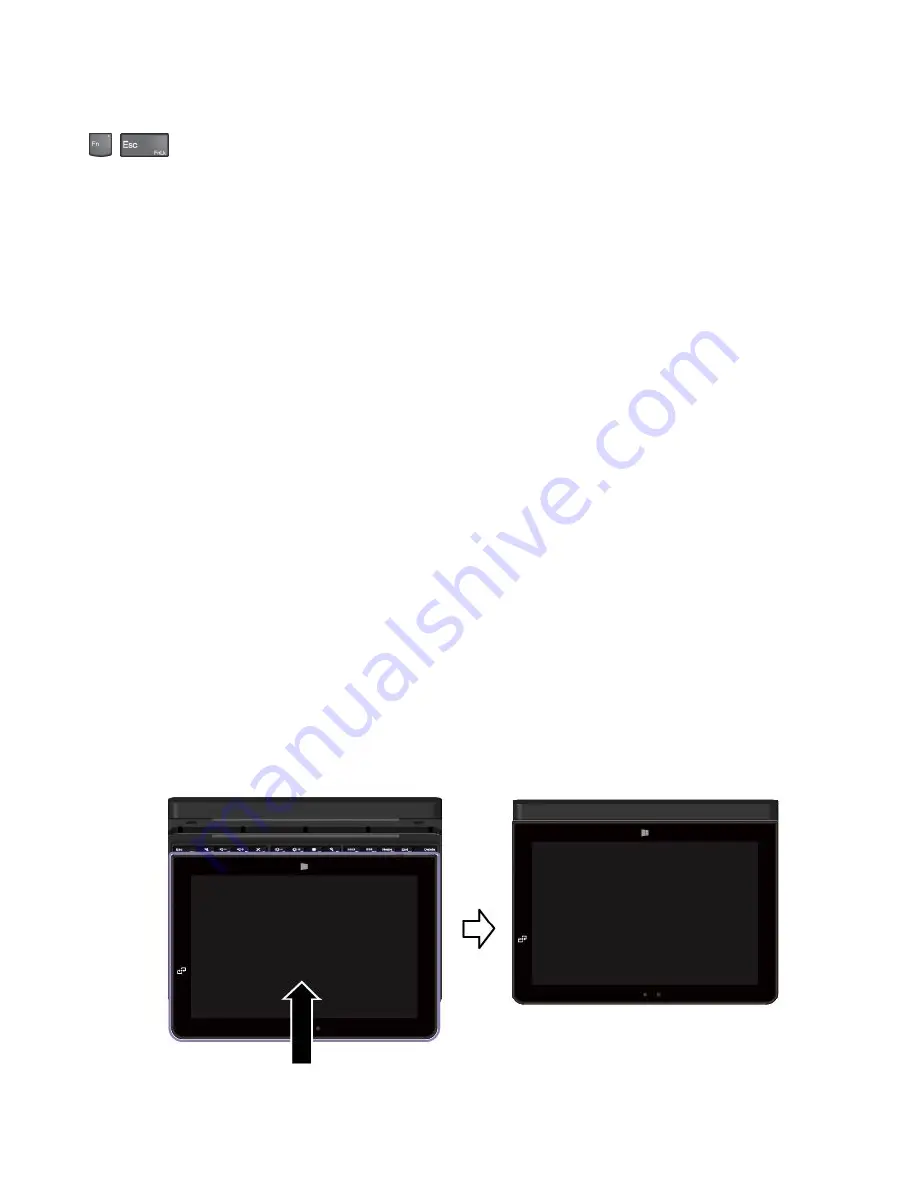
• For models that are not equipped with a smart card slot, you can install the tablet into the ThinkPad 10
Ultrabook Keyboard with the tablet screen facing upward. To achieve this, do the following:
1. Position the tablet with the tablet screen facing upward.
2. Gently slide your tablet as shown. The tablet will be attached to the ThinkPad 10 Ultrabook Keyboard
magnetically. The ThinkPad 10 Ultrabook Keyboard is disabled in this situation.
46
User Guide
Summary of Contents for ThinkPad 10
Page 1: ...User Guide ThinkPad 10 ...
Page 48: ...36 User Guide ...
Page 66: ...54 User Guide ...
Page 70: ...58 User Guide ...
Page 78: ...66 User Guide ...
Page 84: ...3 Install a new SIM card and SD card cover 72 User Guide ...
Page 92: ...80 User Guide ...
Page 102: ...90 User Guide ...
Page 106: ...94 User Guide ...
Page 109: ......
Page 110: ......

