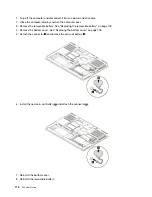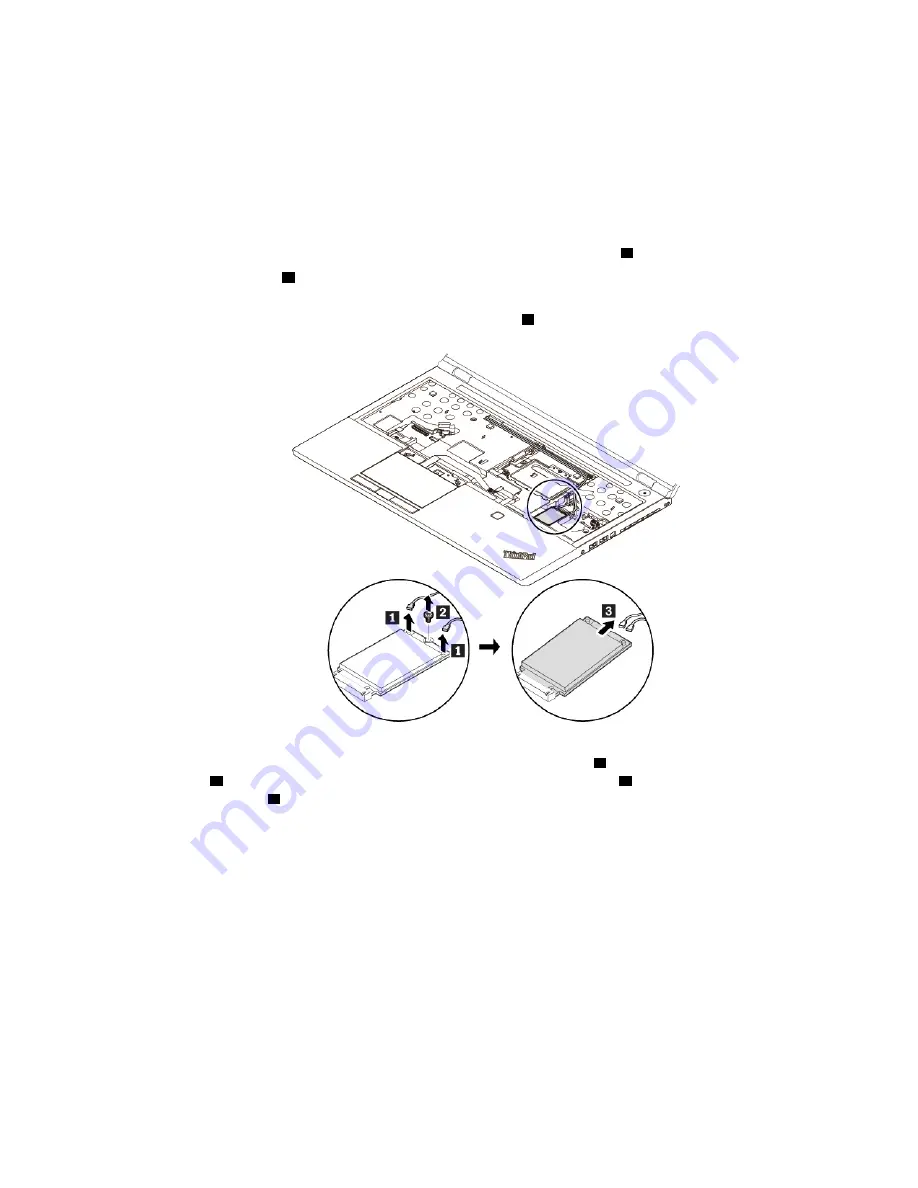
1. Turn off the computer and disconnect it from ac power and all cables.
2. Remove the keyboard. See “Replacing the keyboard” on page 113.
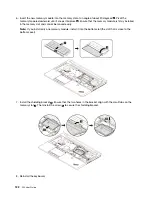
3. Remove the wireless-WAN card by doing the following:
Note:
A film might cover the wireless WAN card. To access the wireless WAN card, open the film first.
• If a tool is provided with the new wireless-WAN card to help you disconnect cables, use the tool to
disconnect the cables from the wireless-WAN card. Otherwise, hold the cable connector with your
fingers and gently disconnect each cable from the wireless-WAN card
1
.
• Remove the screw
2
. The wireless-WAN card is released from the secured position and pivots
upward.
• Carefully remove the wireless-WAN card out of the slot
3
.
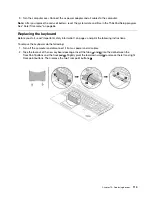
4. Align the contact edge of the new wireless-WAN card with the key in the slot. Then carefully insert the
new wireless-WAN card into the slot at an angle of about 20 degrees
1
. Pivot the wireless-WAN card
downward
2
. Install the screw to secure the wireless-WAN card in place
3
. Connect the cables to the
wireless-WAN card
4
. Ensure that you attach the red cable to the main connector and the blue cable to
the auxiliary connector on the wireless-WAN card.
.
119
Summary of Contents for ThinkPad P52
Page 1: ...P52 User Guide ...
Page 5: ...Appendix F Notices 147 Appendix G Trademarks 149 Copyright Lenovo 2019 iii ...
Page 6: ...iv P52 User Guide ...
Page 26: ...8 P52 User Guide ...
Page 34: ...16 P52 User Guide ...
Page 66: ...48 P52 User Guide ...
Page 74: ...56 P52 User Guide ...
Page 114: ...96 P52 User Guide ...
Page 142: ...124 P52 User Guide ...
Page 146: ...128 P52 User Guide ...
Page 148: ...130 P52 User Guide ...
Page 154: ...136 P52 User Guide ...
Page 160: ...142 P52 User Guide ...
Page 162: ...144 P52 User Guide ...
Page 168: ...150 P52 User Guide ...
Page 169: ......
Page 170: ......


