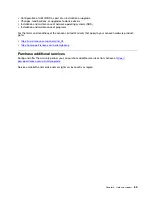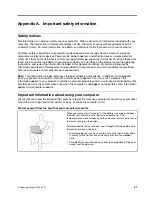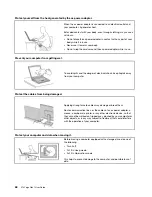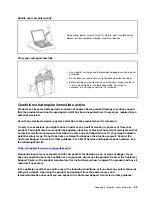
• Do not make the M.2 solid-state drive subject to physical shocks or vibration. Put the M.2 solid-state drive
on a soft material, such as cloth, to absorb physical shocks.
Replacement procedure for the long M.2 solid-state drive
1. Disable the built-in battery. See “Disable Fast Startup and the built-in battery” on page 49.
2. Turn off the computer and disconnect the computer from ac power and all connected cables.
3. Close the computer display and turn the computer over.
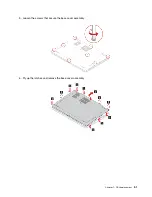
4. Remove the base cover assembly. See “Base cover assembly” on page 50.
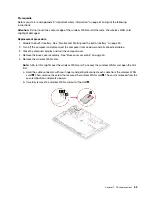
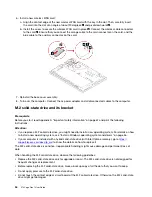
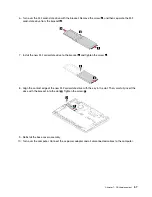
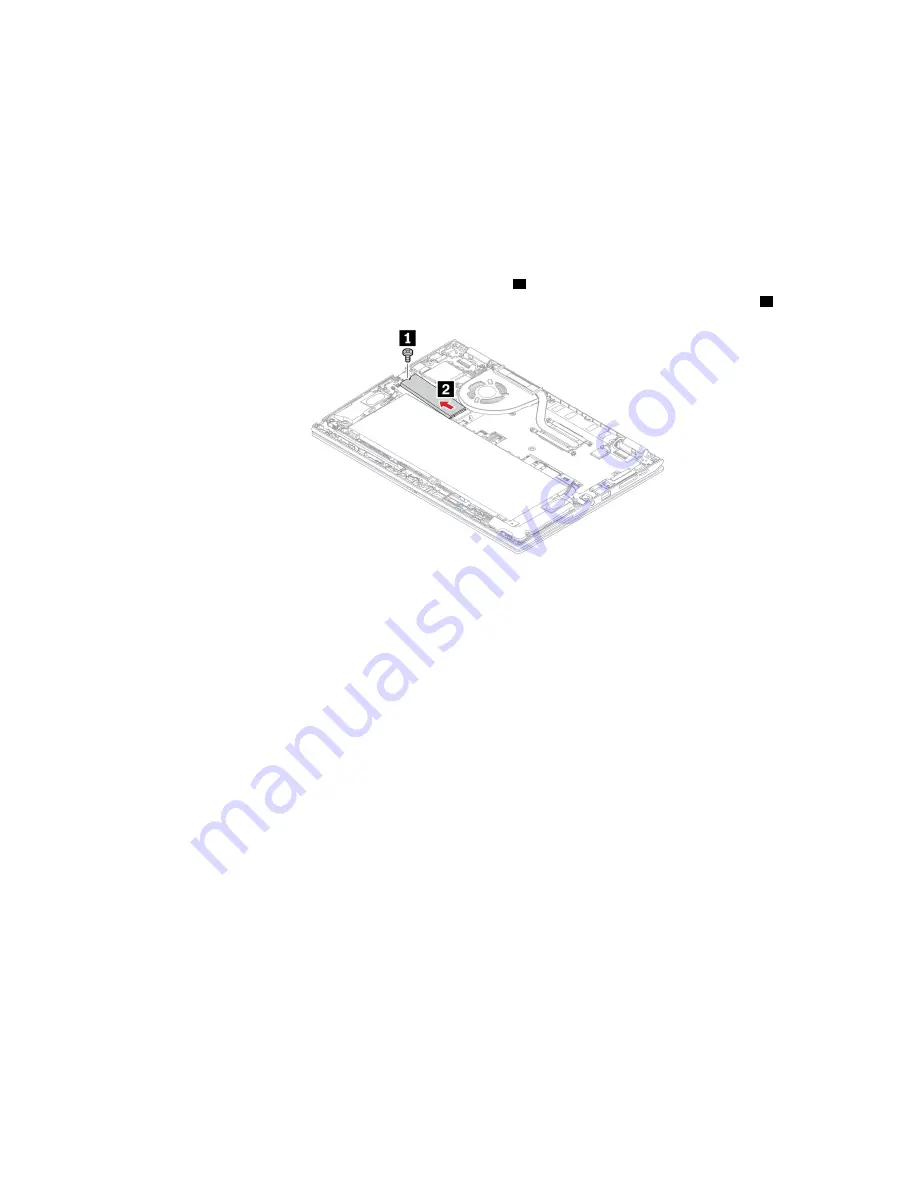
5. Remove the screw that secures the M.2 solid-state drive
1
. The M.2 solid-state drive is released from
the secured position and pivots upward. Then, remove the M.2 solid-state drive out of the slot
2
.
55
Summary of Contents for ThinkPad X13 Yoga Gen 1
Page 1: ...X13 Yoga Gen 1 User Guide ...
Page 6: ...iv X13 Yoga Gen 1 User Guide ...
Page 8: ...2 X13 Yoga Gen 1 User Guide ...
Page 13: ...Chapter 1 Meet your computer 7 ...
Page 32: ...26 X13 Yoga Gen 1 User Guide ...
Page 38: ...32 X13 Yoga Gen 1 User Guide ...
Page 50: ...44 X13 Yoga Gen 1 User Guide ...
Page 54: ...48 X13 Yoga Gen 1 User Guide ...
Page 64: ...58 X13 Yoga Gen 1 User Guide ...
Page 72: ...66 X13 Yoga Gen 1 User Guide ...
Page 86: ...80 X13 Yoga Gen 1 User Guide ...
Page 90: ...84 X13 Yoga Gen 1 User Guide ...
Page 99: ...Appendix D Compliance and TCO Certified information 93 ...
Page 106: ...100 X13 Yoga Gen 1 User Guide ...
Page 109: ......
Page 110: ......

