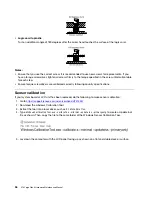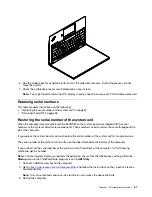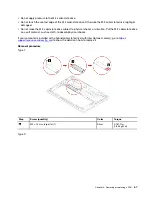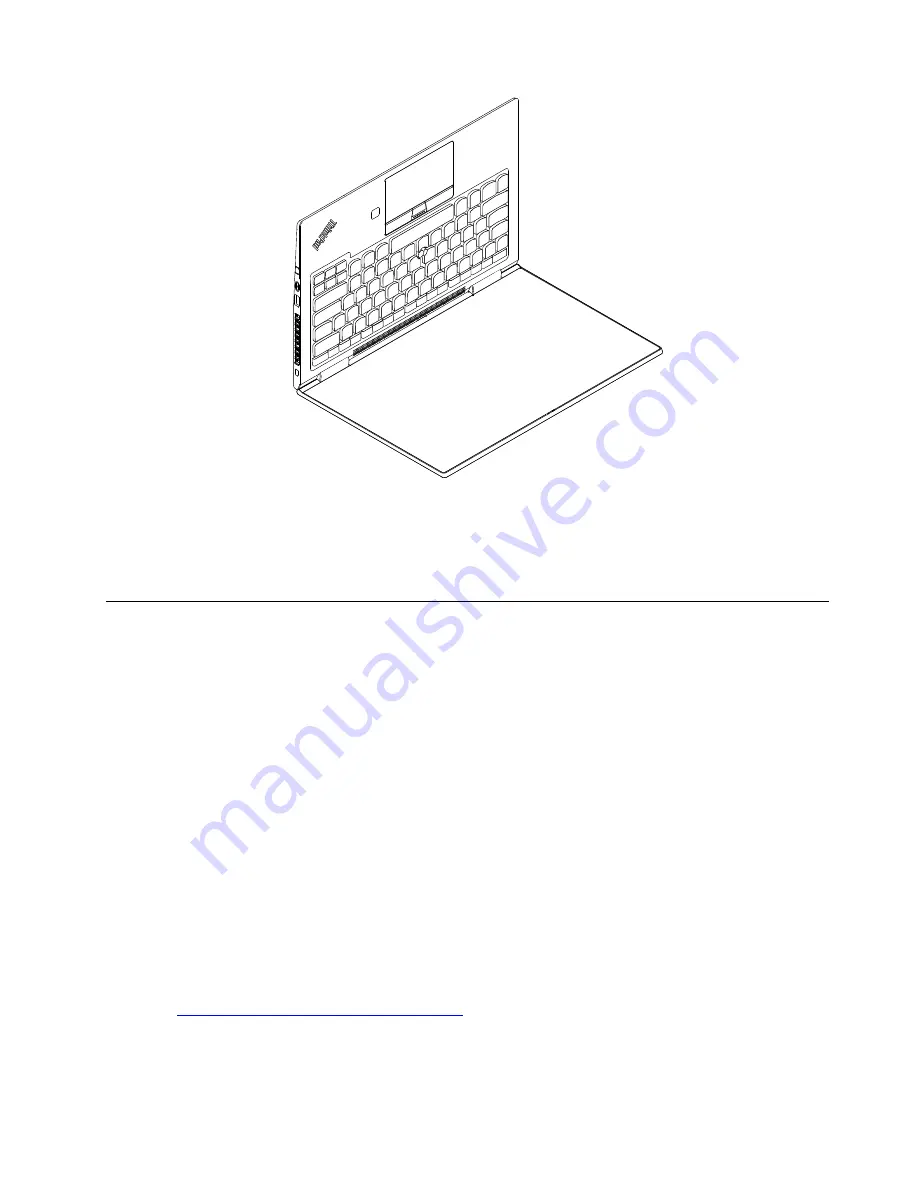
6. Run the Update.bat file as Administrator to start the calibration process. During the process, do not
move the system.
7. Check the calibration process result prompted on your screen.
Note:
You might need to rotate the LCD display in every aspect to ensure each YOGA mode works well.
Retaining serial numbers
This topic provides instructions on the following:
• “Restoring the serial number of the system unit” on page 57
• “Retaining the UUID” on page 58
Restoring the serial number of the system unit
When the computer was manufactured, the EEPROM on the system board was loaded with the serial
numbers of the system and all major components. These numbers need to remain the same throughout the
life of the computer.
If you replace the system board, you must restore the serial number of the system unit to its original value.
The serial number of the system unit is written on the label attached to the bottom of the computer.
If you cannot find the serial number of the system unit on the bottom of the computer, try the following
method to get the number:
Note:
For Intel models, before you perform the operation, ensure that the UEFI/Legacy setting within the
Startup
menu in the ThinkPad Setup program is set to
UEFI Only
.
1. Connect a USB memory key to the computer.
2. Go to
https://www.lenovo.com/maintenanceutilities
and follow the instructions on the screen to create a
Maintenance Key.
Note:
Only an authorized Lenovo service technician can access the above Web site.
3. Restart the computer.
57
Summary of Contents for Thinkpad X13 Yoga Gen 3
Page 1: ...X13 Yoga Gen 3 Hardware Maintenance Manual ...
Page 6: ...iv X13 Yoga Gen 3 Hardware Maintenance Manual ...
Page 11: ...DANGER DANGER DANGER DANGER DANGER DANGER Chapter 1 Safety information 5 ...
Page 12: ...DANGER 6 X13 Yoga Gen 3 Hardware Maintenance Manual ...
Page 13: ...PERIGO Chapter 1 Safety information 7 ...
Page 14: ...PERIGO PERIGO PERIGO PERIGO 8 X13 Yoga Gen 3 Hardware Maintenance Manual ...
Page 15: ...PERIGO PERIGO PERIGO DANGER DANGER Chapter 1 Safety information 9 ...
Page 16: ...DANGER DANGER DANGER DANGER DANGER 10 X13 Yoga Gen 3 Hardware Maintenance Manual ...
Page 17: ...DANGER VORSICHT VORSICHT VORSICHT VORSICHT Chapter 1 Safety information 11 ...
Page 18: ...VORSICHT VORSICHT VORSICHT VORSICHT 12 X13 Yoga Gen 3 Hardware Maintenance Manual ...
Page 19: ...Chapter 1 Safety information 13 ...
Page 20: ...14 X13 Yoga Gen 3 Hardware Maintenance Manual ...
Page 21: ...Chapter 1 Safety information 15 ...
Page 22: ...16 X13 Yoga Gen 3 Hardware Maintenance Manual ...
Page 23: ...Chapter 1 Safety information 17 ...
Page 24: ...18 X13 Yoga Gen 3 Hardware Maintenance Manual ...
Page 25: ...Chapter 1 Safety information 19 ...
Page 26: ...20 X13 Yoga Gen 3 Hardware Maintenance Manual ...
Page 46: ...40 X13 Yoga Gen 3 Hardware Maintenance Manual ...
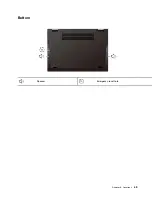
Page 51: ...Bottom Speaker Emergency reset hole Chapter 6 Locations 45 ...
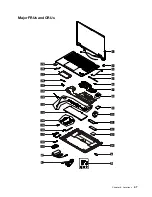
Page 53: ...Major FRUs and CRUs d a b c Chapter 6 Locations 47 ...
Page 60: ...54 X13 Yoga Gen 3 Hardware Maintenance Manual ...
Page 66: ...60 X13 Yoga Gen 3 Hardware Maintenance Manual ...
Page 94: ...88 X13 Yoga Gen 3 Hardware Maintenance Manual ...
Page 96: ...90 X13 Yoga Gen 3 Hardware Maintenance Manual ...
Page 100: ...94 X13 Yoga Gen 3 Hardware Maintenance Manual ...
Page 101: ......
Page 102: ...Part Number SP41G21701 Printed in China 1P P N SP41G21701 1PSP41G21701 ...


