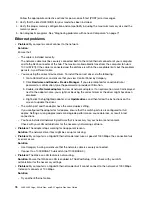
•
Problem
: When I turn on the computer, only a white cursor is displayed on a blank screen.
Solution
: If you have modified a partition on your hard disk drive by using partition software, information
about that partition, or the master boot record might have been destroyed.
Do the following to try to solve the problem:
1. Turn off the computer, and then turn it on again.
2. If you still see only the cursor on the screen, do the following:
– If you have used partition software, examine the partition on the hard disk drive by using the
software, and recover the partition if required.
– Use the recovery solutions to restore the system to the factory default state. For more information,
see Chapter 8 “Recovery information” on page 87.
If the problem persists, have the computer serviced.
•
Problem
: The screen goes blank while the computer is on.
Solution
: Your screen saver or power management might have been enabled. Do one of the following:
– Touch the TrackPoint pointing device or the trackpad, or press a key to exit the screen saver.
– Press the power button to resume the computer from sleep or hibernation mode.
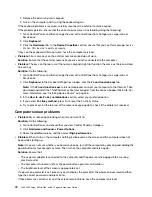
•
Problem
: The screen is blank.
Solution
: Do the following:
1. Press the display-mode switching key
to bring up the image.
2. If you are using the ac power adapter, or using the battery and the battery gauge shows that the
battery is not depleted, press the brightness-up key
to make the screen brighter.
3. If your computer is in sleep mode, press Fn to resume the computer from sleep mode.
4. If the problem persists, follow the solution for the following problem.
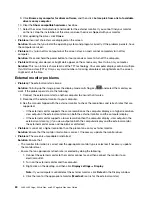
•
Problem
: The screen is unreadable or distorted.
Solution
: Ensure that:
– The display device driver is installed correctly.
– The screen resolution and color quality are correctly set.
– The monitor type is correct.
To check these settings, do the following:
1. Right-click on the desktop, and then click
Display settings
➙
Display
.
Note:
If your computer cannot detect the external monitor, click
Detect
in the Display window.
2. Select the external monitor and set
Resolution
.
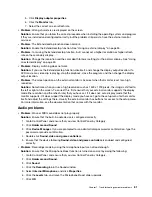
3. Click
Display adapter properties
.
4. Click the
Monitor
tab. Check the monitor information to make sure that the monitor type is correct. If
it is, click
OK
to close the window; otherwise proceed with the following steps.
5. If more than two monitor types are displayed, select
Generic PnP Monitor
or
Generic Non-PnP
Monitor
.
6. Click
Properties
. If you are prompted for an administrator password or confirmation, type the
password or provide confirmation.
7. Click the
Driver
tab.
8. Click
Update Driver
.
.
Troubleshooting computer problems
79
Summary of Contents for ThinkPad Yoga 11e Chromebook 3rd Gen
Page 1: ...L380 L380 Yoga S2 3rd Gen and S2 Yoga 3rd Gen User Guide ...
Page 6: ...iv L380 L380 Yoga S2 3rd Gen and S2 Yoga 3rd Gen User Guide ...
Page 56: ...38 L380 L380 Yoga S2 3rd Gen and S2 Yoga 3rd Gen User Guide ...
Page 60: ...42 L380 L380 Yoga S2 3rd Gen and S2 Yoga 3rd Gen User Guide ...
Page 66: ...48 L380 L380 Yoga S2 3rd Gen and S2 Yoga 3rd Gen User Guide ...
Page 88: ...70 L380 L380 Yoga S2 3rd Gen and S2 Yoga 3rd Gen User Guide ...
Page 124: ...106 L380 L380 Yoga S2 3rd Gen and S2 Yoga 3rd Gen User Guide ...
Page 126: ...108 L380 L380 Yoga S2 3rd Gen and S2 Yoga 3rd Gen User Guide ...
Page 132: ...114 L380 L380 Yoga S2 3rd Gen and S2 Yoga 3rd Gen User Guide ...
Page 138: ...120 L380 L380 Yoga S2 3rd Gen and S2 Yoga 3rd Gen User Guide ...
Page 139: ...Taiwan RoHS Appendix D Restriction of Hazardous Substances RoHS Directive 121 ...
Page 140: ...122 L380 L380 Yoga S2 3rd Gen and S2 Yoga 3rd Gen User Guide ...
Page 146: ...128 L380 L380 Yoga S2 3rd Gen and S2 Yoga 3rd Gen User Guide ...
Page 147: ......
Page 148: ......


