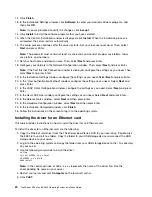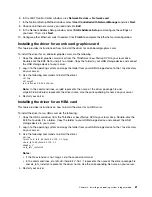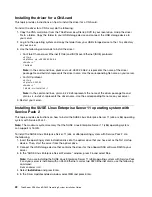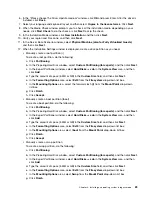
6. In the Driver Update added window, select
OK
press Enter.
7. When you are prompted to choose the driver update medium, select
OK
and then press Enter.
8. When the installation completes, select
Back
.
9. Select your language and keyboard layout and then select
Yes, I Agree to the License Agreement
.
Click
Next
.
10. In the Installation Mode window, click
New Installation
, and then click
Next
.
11. Verify your region and time zone, and then click
Next
.
12. In the Server Base Scenario window, select
Physical Machine(Also for Fully Virtualized Guests)
and then click
Next
.
13. When the Installation Settings window is displayed, create a drive partition as you need.
• Manually create a root partition (/)
To create a root partition, do the following:
a. Click
Partitioning
and select
Create Custom Partition Setup
. Click
Next
.
b. In the Preparing Hard Disk window, select
Custom Partitioning (for experts)
, and then click
Next
.
c. In the Expert Partitioner window, select
Hard Disks
➙
sda
in the
System View
area, and then
click
Create
.
d. Type the amount of space (in MB or GB) in the
Custom Size
field.
e. In the
Format
area, select
Ext3
from the
File system
drop-down list box.
f. In the
Mounting Options
area, select the forward slash
(/)
from the
Mount Point
drop-down
list box.
g. Click
OK
.
• Manually create a boot partition (/boot)
To create a boot partition, do the following:
a. Click
Partitioning
and select
Create Custom Partition Setup
. Click
Next
.
b. In the Preparing Hard Disk window, select
Custom Partitioning (for experts)
, and then click
Next
.
c. In the Expert Partitioner window, select
Hard Disks
➙
sda
in the
System View
area, and then
click
Create
.
d. Type the amount of space (in MB or GB) in the
Custom Size
field.
e. In the
Format
area, select
Ext3
from the
File system
drop-down list box.
f. In the
Mounting Options
area, select
/boot
from the
Mount Point
drop-down list box.
g. Click
OK
.
• Manually create a swap partition
To create a swap partition, do the following:
a. Click
Partitioning
and select
Create Custom Partition Setup
. Click
Next
.
b. In the Preparing Hard Disk window, select
Custom Partitioning (for experts)
, and then click
Next
.
c. In the Expert Partitioner window, select
Hard Disks
➙
sda
in the
System View
area, and then
click
Create
.
d. Type the amount of space (in MB or GB) in the
Custom Size
field.
e. In the
Format
area, select
Swap
from the
File system
drop-down list box.
f. In the
Mounting Options
area, select
Swap
from the
Mount Point
drop-down list box.
g. Click
OK
.
14. Click
Finish
.
26
ThinkServer RD340 and RD440 Operating System Installation Guide
Summary of Contents for ThinkServer RD340
Page 1: ...ThinkServer RD340 and RD440 Operating System Installation Guide ...
Page 6: ...iv ThinkServer RD340 and RD440 Operating System Installation Guide ...
Page 8: ...2 ThinkServer RD340 and RD440 Operating System Installation Guide ...
Page 56: ...50 ThinkServer RD340 and RD440 Operating System Installation Guide ...
Page 68: ...62 ThinkServer RD340 and RD440 Operating System Installation Guide ...
Page 69: ......
Page 70: ......

