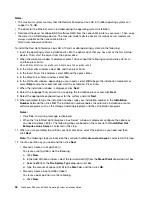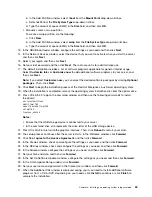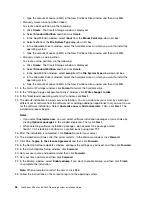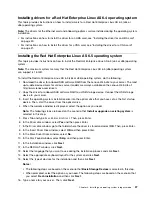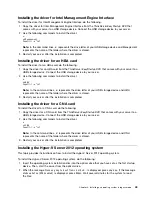
e:
cd CNA
Pnputil –i –a *.inf
Note:
In the command lines,
e:
represents the drive letter of your USB storage device and
CNA
represents the name of the folder where the driver is stored.
3. Restart your server after the installation is completed.
Installing the Hyper-V Server 2012 R2 operating system
This topic provides instructions on how to install the Hyper-V Server 2012 R2 operating system.
To install the Hyper-V Server 2012 R2 operating system, do the following:
1. Insert the operating system installation disc into the optical drive that you have set as the first startup
device. Then, start the server from the optical drive.
2. When the message
Press any key to boot from cd or dvd...
is displayed, press any key. If the message
Windows Setup [EMS Enabled]
is displayed, press Enter. Wait several minutes for the system to load
the files.
3. When the “Microsoft Hyper-V Server 2012 R2” window is displayed, configure the language and other
options as you need and then click
Next
.
4. Click
Install now
.
5. Read the license terms and select
I accept the license terms
. Then, click
Next
.
6. Select the type of installation as you need. The following steps are based on the scenario that
Custom:
Install the newer version of Hyper-V Server only (advanced)
is selected in this step.
7. In the “Where do you want to install Windows?” window, click
Drive options (advanced)
.
8. Select the hard disk drive on which you want to install the operating system, and then click
New
.
9. Type the amount of space (in MB), and then click
Apply
.
10. In the “Microsoft Hyper-V Server Setup” window, click
OK
.
11. Ensure that the drive partition is correct, and then click
Next
. The installation begins.
Note:
Your server will restart several times during the installation.
12. When prompted, press Ctrl+Alt+Delete.
13. Click
Administrator
. Follow the instructions on the screen to change the password and then log
in to the operating system.
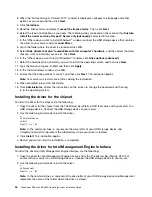
Installing the driver for the chipset
To install the driver for the chipset, do the following:
1. Download the driver for the chipset from the Lenovo Web site to a USB storage device. Then, connect
the USB storage device to your server. The most up-to-date device drivers for various server models are
always available on the Lenovo Web site at:
http://www.lenovo.com/drivers
2. Use the following commands to install the driver:
e:
cd Chipsetwindows
cd Win7
Pnputil –i –a *.inf
Note:
In the command lines,
e:
represents the drive letter of your USB storage device and
Chipsetwindows\Win7
represents the subdirectory where your driver is located.
46
ThinkServer RD340 and RD440 Operating System Installation Guide
Summary of Contents for ThinkServer RD340
Page 1: ...ThinkServer RD340 and RD440 Operating System Installation Guide ...
Page 6: ...iv ThinkServer RD340 and RD440 Operating System Installation Guide ...
Page 8: ...2 ThinkServer RD340 and RD440 Operating System Installation Guide ...
Page 56: ...50 ThinkServer RD340 and RD440 Operating System Installation Guide ...
Page 68: ...62 ThinkServer RD340 and RD440 Operating System Installation Guide ...
Page 69: ......
Page 70: ......

