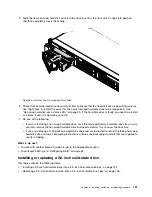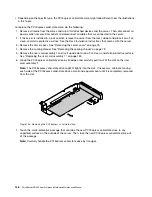
hard-disk-drive status LEDs” on page 30. If the solid-state drive is faulty, reinstall or replace it until it
is operating correctly.
11. Save the removed dummy hard-disk-drive tray in case you later remove the solid-state drive and need
a dummy tray to cover the drive bay.
What to do next:
• To work with another piece of hardware, go to the appropriate section.
• To configure RAID, go to “Configuring RAID” on page 62.
• To complete the installation, go to “Completing the parts replacement” on page 170.
Replacing a 2.5-inch solid-state drive from a 3.5-inch hard-disk-drive bay
Attention:
Do not open your server or attempt any repair before reading and understanding “Safety information”
on page iii and “Guidelines” on page 73.
This topic provides instructions on how to replace a 2.5-inch solid-state drive from a 3.5-inch hard-disk-drive
bay.
Before you begin, print all the related instructions or ensure that you can view the PDF version on another
computer for reference.
To replace a 2.5-inch solid-state drive from a 3.5-inch hard-disk-drive bay, do the following:
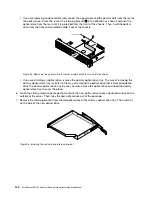
1. Locate the appropriate hard-disk-drive bay. See “Server components” on page 25.
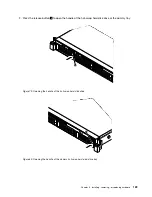
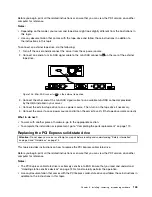
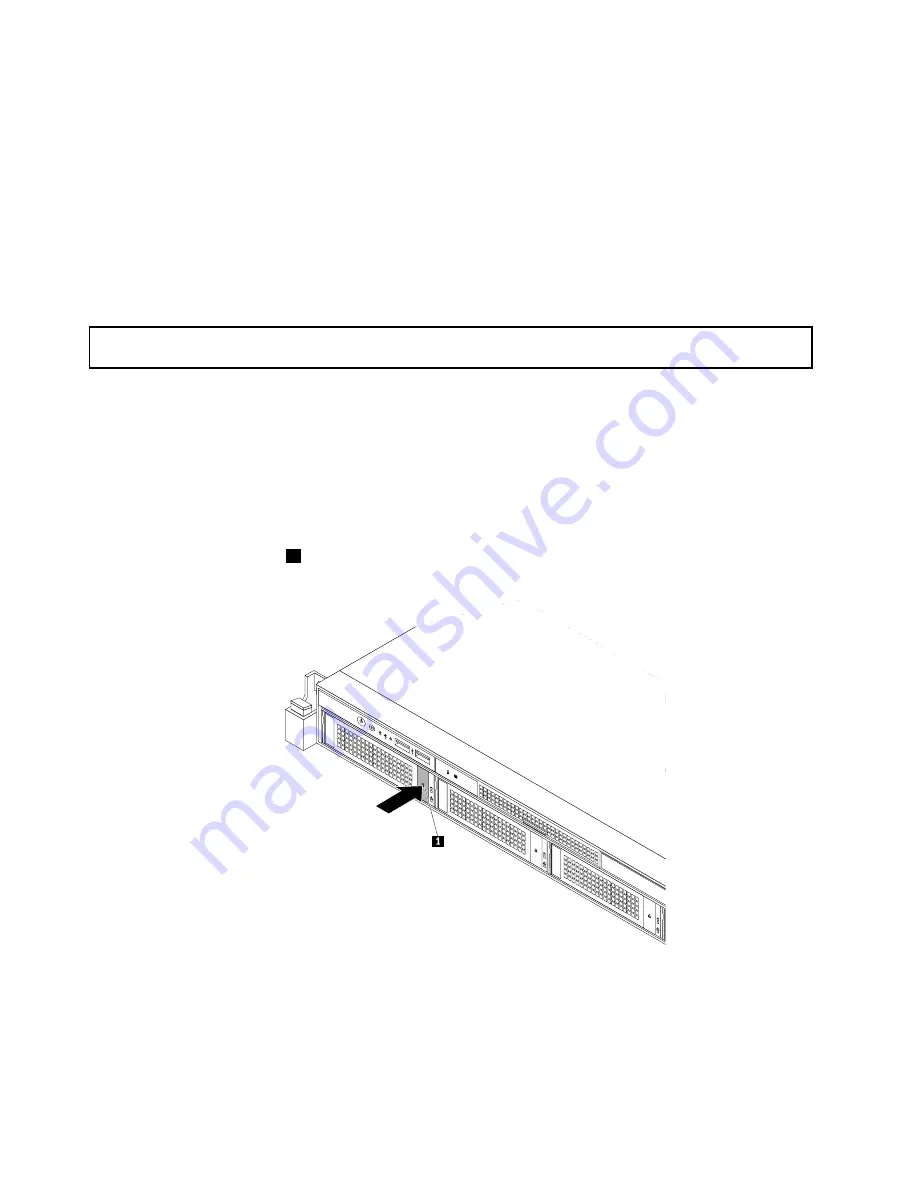
2. Press the release button
1
to open the handle of the 3.5-inch drive bracket.
ID
Mem
CPU
PSU
Figure 90. Opening the handle of the 3.5-inch drive bracket
136
ThinkServer RD340 User Guide and Hardware Maintenance Manual
Summary of Contents for ThinkServer RD340
Page 18: ...6 ThinkServer RD340 User Guide and Hardware Maintenance Manual ...
Page 84: ...72 ThinkServer RD340 User Guide and Hardware Maintenance Manual ...
Page 188: ...176 ThinkServer RD340 User Guide and Hardware Maintenance Manual ...
Page 198: ...186 ThinkServer RD340 User Guide and Hardware Maintenance Manual ...
Page 214: ...202 ThinkServer RD340 User Guide and Hardware Maintenance Manual ...
Page 215: ......
Page 216: ......

