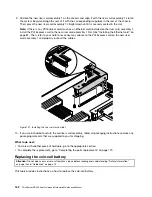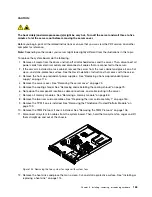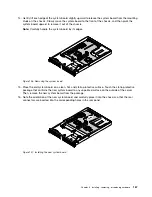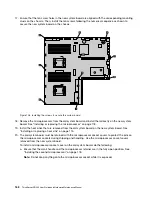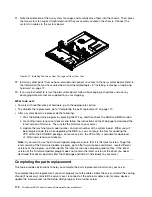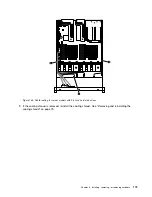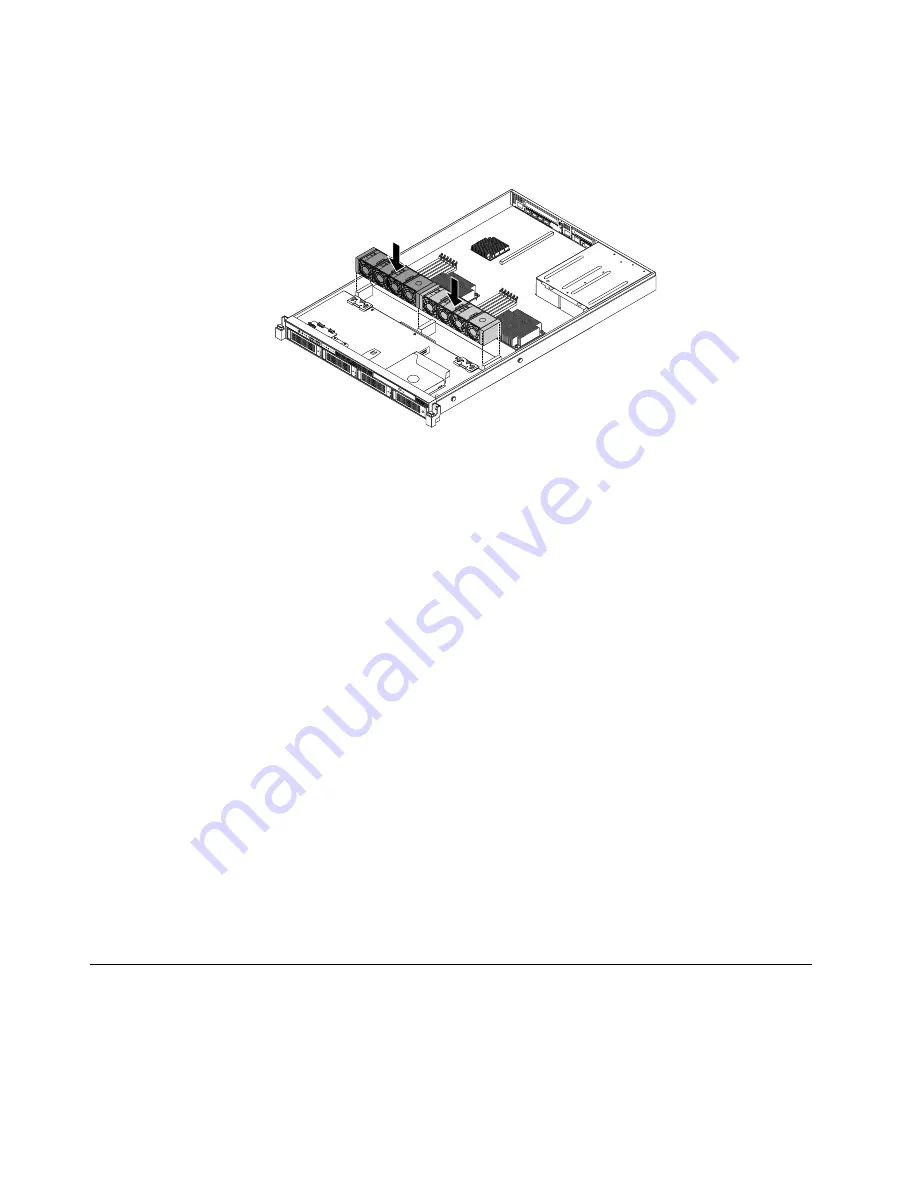
21. Note the orientation of the two system fan cages and carefully place them into the chassis. Then, press
the two system fan cages straight down until they are securely seated in the chassis. Connect the
system fan cables to the system board.
Figure 131. Installing the two system fan cages with system fans
22. Install any other parts that you have removed and connect all cables to the new system board. Refer to
the information that you have noted down and the related topics in “Installing, removing, or replacing
hardware” on page 77.
23. If you are instructed to return the old system board, follow all packaging instructions and use any
packaging materials that are supplied to you for shipping.
What to do next:
• To work with another piece of hardware, go to the appropriate section.
• To complete the replacement, go to “Completing the parts replacement” on page 170.
• After a system board is replaced, do the following:
1. Start the Setup Utility program by pressing the F1 key, and then check the BIOS and BMC version.
2. Go to http://www.lenovo.com/drivers and follow the instructions on the Web page to download the
latest version of firmware. Then, install the firmware to your server.
3. Update the machine type, model number, and serial number of the system board. Either you will
be prompted to do this while upgrading the BIOS, or you can locate the files for updating the
VPD within the DOS BIOS package. For some servers, the VPD utility is available for download
at: http://www.lenovo.com/drivers.
Note:
If you want to use the Firmware Updater program, ensure that it is the latest version. To get the
latest version of the Firmware Updater program, go to http://www.lenovo.com/drivers, locate different
versions of the program, and then identify the latest version by comparing readme files. If the latest
version of the Firmware Updater program does not contain the latest version of the driver you need,
download that driver separately from the Web page and install it individually to your server.
Completing the parts replacement
This topic provides instructions to help you complete the parts replacement and turn on your server.
To complete the parts replacement, you must properly route the cables inside the server, reinstall the cooling
shroud (if necessary), reinstall the server cover, reconnect all the external cables and, for some devices,
update the firmware and run the Setup Utility program to do further setup.
170
ThinkServer RD340 User Guide and Hardware Maintenance Manual
Summary of Contents for ThinkServer RD340
Page 18: ...6 ThinkServer RD340 User Guide and Hardware Maintenance Manual ...
Page 84: ...72 ThinkServer RD340 User Guide and Hardware Maintenance Manual ...
Page 188: ...176 ThinkServer RD340 User Guide and Hardware Maintenance Manual ...
Page 198: ...186 ThinkServer RD340 User Guide and Hardware Maintenance Manual ...
Page 214: ...202 ThinkServer RD340 User Guide and Hardware Maintenance Manual ...
Page 215: ......
Page 216: ......

