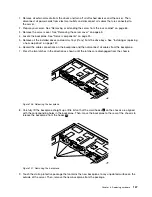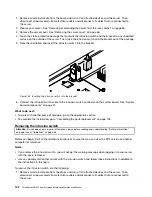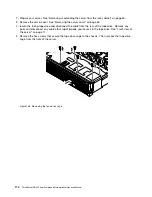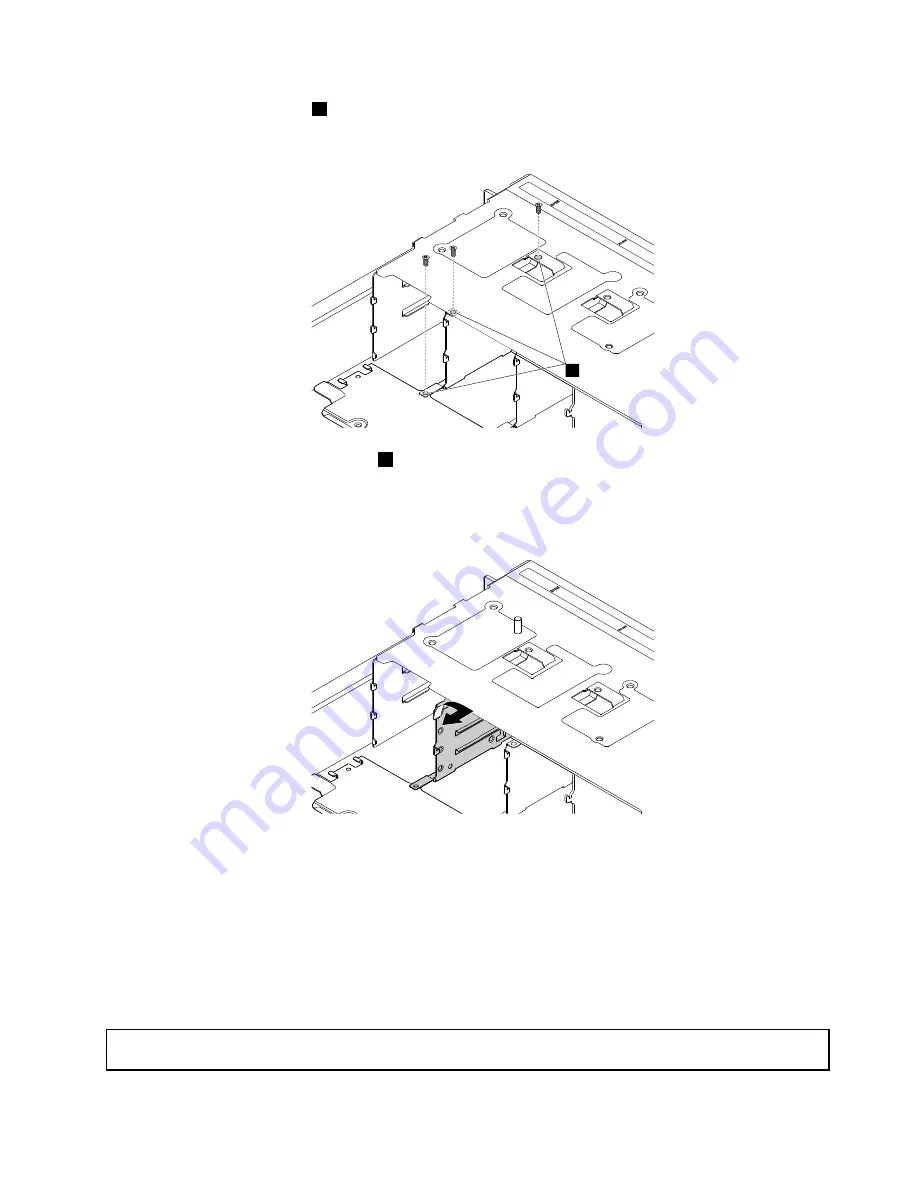
5. Remove the three screws
1
.
1
Figure 141. Removing the three screws
1
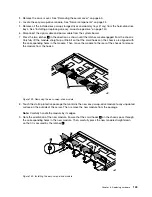
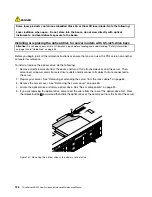
6. Pivot the drive partition in the direction as shown. Then remove it from the rear of the drive bays.
Figure 142. Removing the drive partition
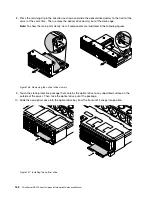
7. Store the drive partition in case that you later remove the optical drive cage and install 2.5-inch drives
and dummy trays (if any).
What to do next:
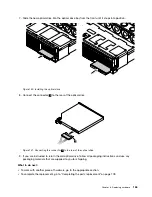
• To work with another piece of hardware, go to the appropriate section.
• To complete the removal procedure, go to “Completing the parts replacement” on page 178.
Installing the optical drive
Attention:
Do not open your server or attempt any repair before reading and understanding “Safety information”
on page iii and “Guidelines” on page 63.
159
Summary of Contents for ThinkServer RD450
Page 14: ...xii ThinkServer RD450 User Guide and Hardware Maintenance Manual ...
Page 18: ...4 ThinkServer RD450 User Guide and Hardware Maintenance Manual ...
Page 20: ...6 ThinkServer RD450 User Guide and Hardware Maintenance Manual ...
Page 62: ...48 ThinkServer RD450 User Guide and Hardware Maintenance Manual ...
Page 76: ...62 ThinkServer RD450 User Guide and Hardware Maintenance Manual ...
Page 196: ...182 ThinkServer RD450 User Guide and Hardware Maintenance Manual ...
Page 206: ...192 ThinkServer RD450 User Guide and Hardware Maintenance Manual ...
Page 218: ...204 ThinkServer RD450 User Guide and Hardware Maintenance Manual ...
Page 224: ...210 ThinkServer RD450 User Guide and Hardware Maintenance Manual ...
Page 225: ......
Page 226: ......


