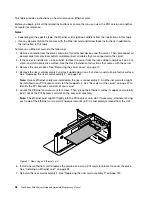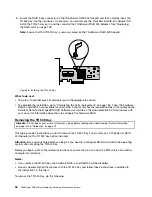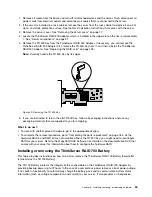
Attention:
For proper cooling and airflow, reinstall the cooling shroud before turning on the server. Operating
the server with the cooling shroud removed might damage server components.
Removing and reinstalling the left cage
Attention:
Do not open your server or attempt any repair before reading and understanding “Safety information”
on page iii and “Guidelines” on page 75.
This topic provides instructions on how to remove and reinstall the left cage. For more information about the
left cage, see “Front view of the server” on page 17.
Note:
This topic applies only to server models that support 2.5-inch hot-swap hard disk drives.
For server models with 2.5-inch hot-swap hard disk drives, you need to remove the left cage before handling
the front panel board, the front VGA DB-15 connector, and the diagnostic module.
Before you begin, print all the related instructions or ensure that you can view the PDF version on another
computer for reference.
Note:
Depending on the model, your server might look slightly different from the illustrations in this topic.
To remove and reinstall the left cage, do the following:
1. Remove all media from the drives and turn off all attached devices and the server. Then, disconnect all
power cords from electrical outlets and disconnect all cables that are connected to the server.
2. If the server is installed in a rack cabinet, remove the server from the rack cabinet and place it on a flat,
clean, and static-protective surface. See the
Rack Installation Instructions
that comes with the server.
3. Remove the server cover. See “Removing the server cover” on page 77.
4. Remove the front bezel. See “Removing and reinstalling the front bezel” on page 79.
5. Remove the cooling shroud. See “Removing and reinstalling the cooling shroud” on page 82.
6. If your server has a slim optical drive installed, disconnect the signal cable and the power cable from the
rear of the slim optical drive.
7. Record the cable routing and cable connections and then disconnect the front panel cable, the front
panel USB cable, the diagnostic module cable, and the cable for the front VGA DB-15 connector from
the system board. Then, release the cables from any cable clips or ties in the chassis.
84
ThinkServer RD640 User Guide and Hardware Maintenance Manual
Summary of Contents for ThinkServer RD640
Page 14: ...xii ThinkServer RD640 User Guide and Hardware Maintenance Manual ...
Page 18: ...4 ThinkServer RD640 User Guide and Hardware Maintenance Manual ...
Page 20: ...6 ThinkServer RD640 User Guide and Hardware Maintenance Manual ...
Page 70: ...56 ThinkServer RD640 User Guide and Hardware Maintenance Manual ...
Page 202: ...188 ThinkServer RD640 User Guide and Hardware Maintenance Manual ...
Page 212: ...198 ThinkServer RD640 User Guide and Hardware Maintenance Manual ...
Page 228: ...214 ThinkServer RD640 User Guide and Hardware Maintenance Manual ...
Page 229: ......
Page 230: ......

