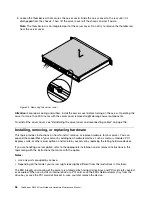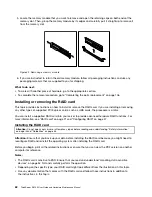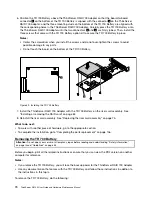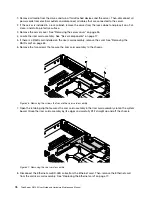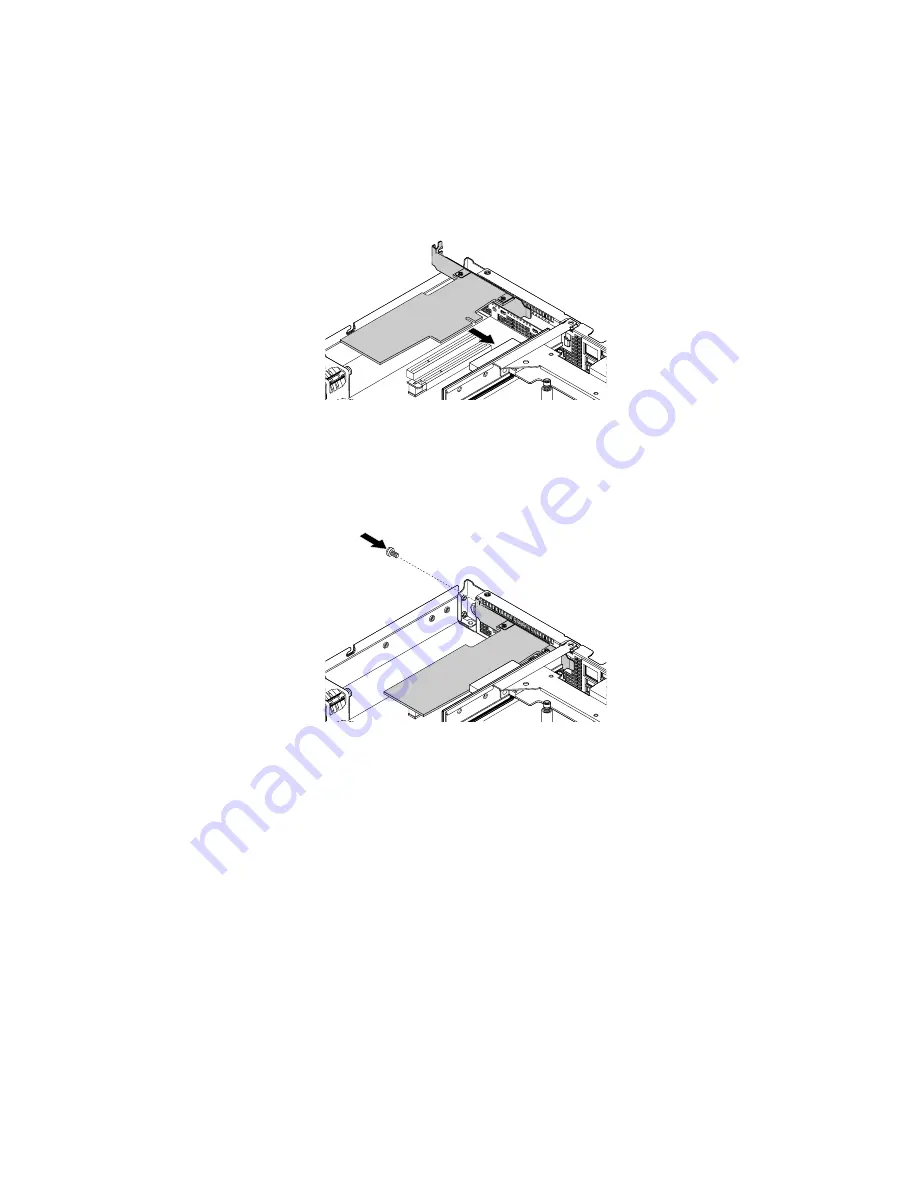
8. Correctly position the new RAID card near the PCI Express card slot on the riser card assembly. Then,
carefully press the new RAID card into the slot until it is securely seated and its bracket also is secured
at the rear of the server.
Figure 34. Installing the RAID card
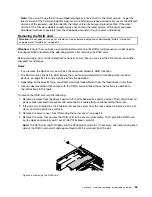
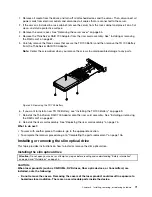
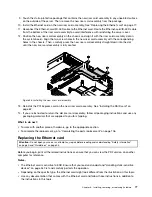
9. Install the screw to secure the RAID card to the chassis.
Figure 35. Installing the screw to secure the RAID card
10. Connect cables depending on your specific server configuration. See “Connecting the cables” on
page 22.
What to do next:
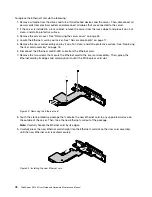
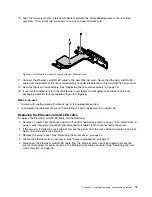
• To work with another piece of hardware, go to the appropriate section.
• To complete the installation, go to “Completing the parts replacement” on page 106. Then, configure
RAID for your server. See “Configuring RAID” on page 47.
• After you install a Lenovo RAID card, do the following:
1. Check the firmware version of the new RAID card firmware by pressing Ctrl+H when starting the
Setup Utility program.
2. Go to http://www.lenovo.com/drivers and follow the instructions on the Web page to verify if there is
an updated firmware version for the RAID card. If available, download and install the latest firmware
version to your server.
64
ThinkServer RS140 User Guide and Hardware Maintenance Manual
Summary of Contents for ThinkServer RS140
Page 16: ...4 ThinkServer RS140 User Guide and Hardware Maintenance Manual ...
Page 18: ...6 ThinkServer RS140 User Guide and Hardware Maintenance Manual ...
Page 48: ...36 ThinkServer RS140 User Guide and Hardware Maintenance Manual ...
Page 122: ...110 ThinkServer RS140 User Guide and Hardware Maintenance Manual ...
Page 128: ...116 ThinkServer RS140 User Guide and Hardware Maintenance Manual ...
Page 132: ...120 ThinkServer RS140 User Guide and Hardware Maintenance Manual ...
Page 145: ......
Page 146: ......


