


Chapter 1. About this manual
This
Hardware Maintenance Manual
contains information to help you solve problems that might occur in
your server. It describes the diagnostic tools that come with the server, error codes and suggested actions,
and instructions for replacing failing components.
Replaceable components are of three types:
•
Self-service customer replaceable unit (CRU):
Replacement of self-service CRUs is your responsibility.
If Lenovo® installs a self-service CRU at your request, you will be charged for the installation.
•
Optional-service customer replaceable unit:
You may install an optional-service CRU yourself or
request Lenovo to install it, at no additional charge, under the type of warranty service that is designated
for the server.
•
Field replaceable unit (FRU):
FRUs must be installed only by trained service technicians.
The most recent version of this document is available at http://www.lenovo.com/support.
Before servicing a Lenovo product, be sure to read the Safety Information. See “Important Safety
Information” on page 1.
For information about the terms of the warranty and getting service and assistance, see the
Warranty and
Support Information
document.
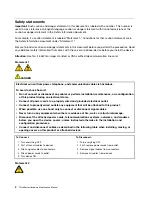
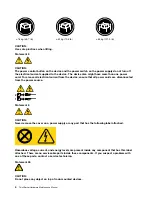
Important Safety Information
Be sure to read all caution and danger statements in this book before performing any of the instructions.
Veuillez lire toutes les consignes de type DANGER et ATTENTION du présent document avant d'exécuter
les instructions.
Lesen Sie unbedingt alle Hinweise vom Typ "ACHTUNG" oder "VORSICHT" in dieser Dokumentation, bevor
Sie irgendwelche Vorgänge durchführen
Leggere le istruzioni introdotte da ATTENZIONE e PERICOLO presenti nel manuale prima di eseguire una
qualsiasi delle istruzioni
Certifique-se de ler todas as instruções de cuidado e perigo neste manual antes de executar qualquer
uma das instruções
Es importante que lea todas las declaraciones de precaución y de peligro de este manual antes de seguir
las instrucciones.
© Copyright Lenovo 2010,
1
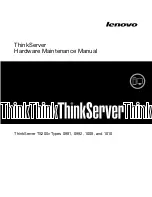
Summary of Contents for ThinkServer TS200v 1008
Page 1: ...ThinkServer Hardware Maintenance Manual ThinkServer TS200v Types 0981 0992 1008 and 1010 ...
Page 2: ......
Page 3: ...ThinkServer Hardware Maintenance Manual ThinkServer TS200v Types 0981 0992 1008 and 1010 ...
Page 12: ...6 ThinkServerHardware Maintenance Manual ...
Page 16: ...10 ThinkServerHardware Maintenance Manual ...
Page 28: ...22 ThinkServerHardware Maintenance Manual ...
Page 82: ...76 ThinkServerHardware Maintenance Manual ...
Page 92: ...86 ThinkServerHardware Maintenance Manual ...
Page 102: ...96 ThinkServerHardware Maintenance Manual ...
Page 105: ......
Page 106: ...Part Number Printed in USA 1P P N ...