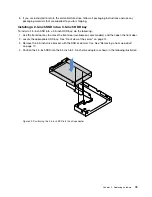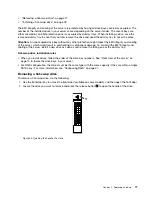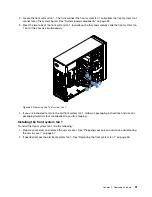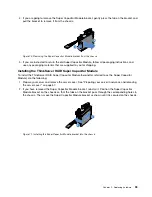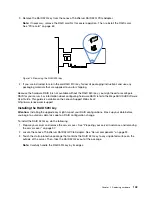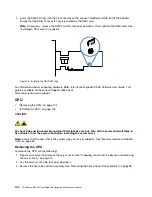
3. Locate the front panel board assembly and disconnect cables from the system board. See “Server
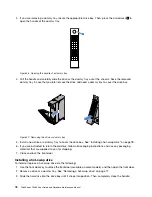
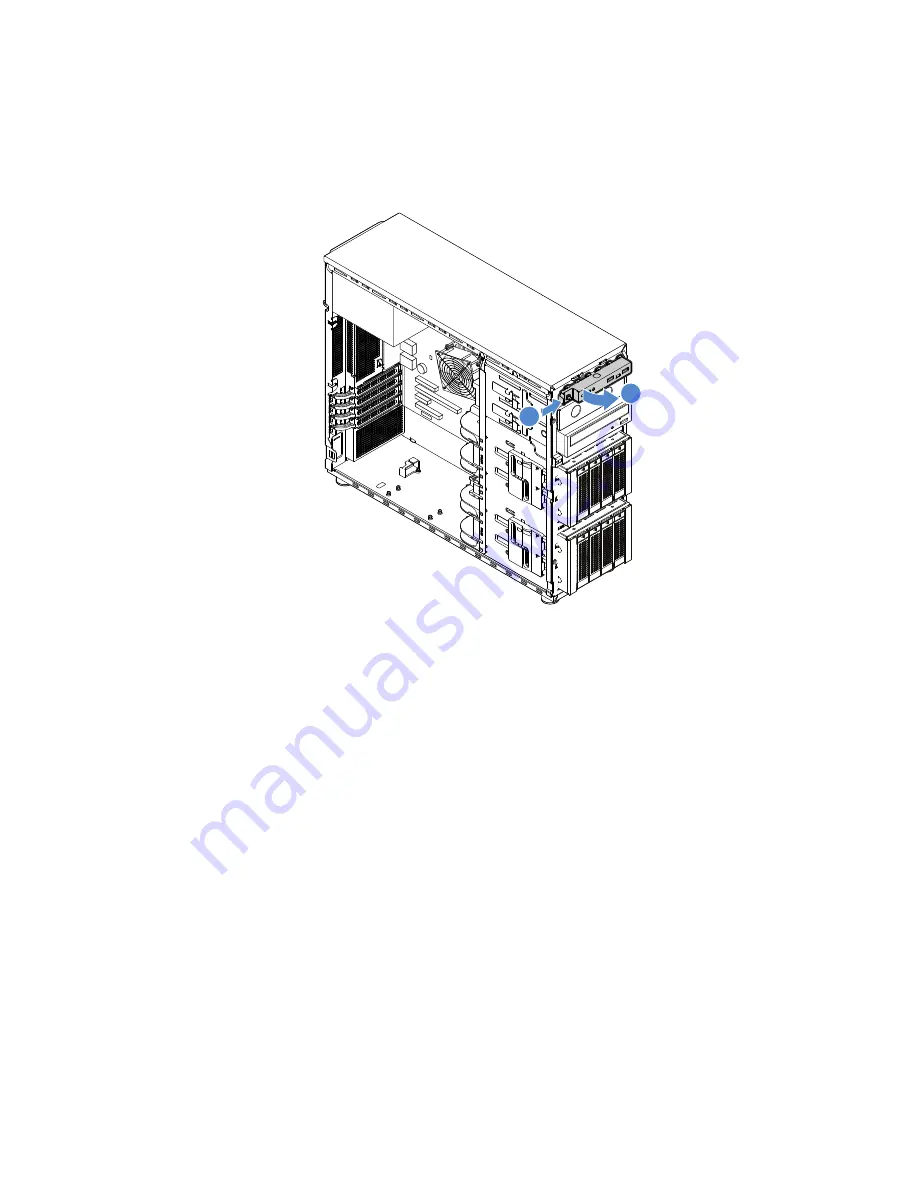
4. Press the release tab in the direction as shown and pivot the front panel board assembly outward. Pull
the cables out to completely remove the front panel board assembly from the chassis.
2
1
Figure 60. Removing the front panel board assembly
5. Disconnect cables from the front panel board assembly. Then, install a new front panel board assembly.
See “Installing the front panel board assembly” on page 89.
6. If you are instructed to return the old front panel board assembly, follow all packaging instructions and
use any packaging materials that are supplied to you for shipping.
Installing the front panel board assembly
To install the front panel board assembly, do the following:
1. Prepare your server and remove the server cover. See “Preparing your server in advance and removing
2. Remove the front bezel. See “Removing the front bezel” on page 59.
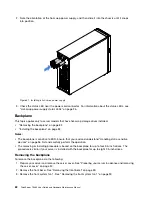
3. Connect cables to the new front panel board assembly and route cables through the corresponding
hole in the chassis.
.
89
Summary of Contents for ThinkServer TS460
Page 14: ...xii ThinkServer TS460 User Guide and Hardware Maintenance Manual ...
Page 18: ...4 ThinkServer TS460 User Guide and Hardware Maintenance Manual ...
Page 52: ...38 ThinkServer TS460 User Guide and Hardware Maintenance Manual ...
Page 68: ...54 ThinkServer TS460 User Guide and Hardware Maintenance Manual ...
Page 138: ...124 ThinkServer TS460 User Guide and Hardware Maintenance Manual ...
Page 144: ...130 ThinkServer TS460 User Guide and Hardware Maintenance Manual ...
Page 148: ...134 ThinkServer TS460 User Guide and Hardware Maintenance Manual ...
Page 160: ...146 ThinkServer TS460 User Guide and Hardware Maintenance Manual ...
Page 171: ......
Page 172: ......

