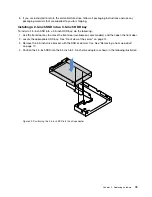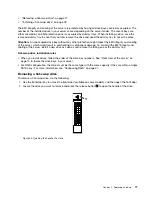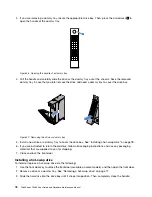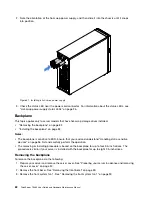
• For RAID configuration, the HDDs must be the same type with the same capacity if they are within a single
RAID array. For more information, see “Configuring RAID” on page 47.
• For HDDs with different capacities, install the HDDs by following the order of the HDD bays as well as the
order from the lowest capacity to the highest capacity.
Removing a non-hot-swap drive
To remove a non-hot-swap drive, do the following:
1. Prepare your server and remove the server cover. See “Preparing your server in advance and removing
2. Use the front door key to unlock the front door (available on some models), and then open the front door.
3. Remove the front system fan 1. See “Removing the front system fan 1” on page 90.
4. Locate the lower drive bay. Then, disconnect the SATA signal cable and the power cable from the rear of
the non-hot-swap drive. See “Front view of the server” on page 14.
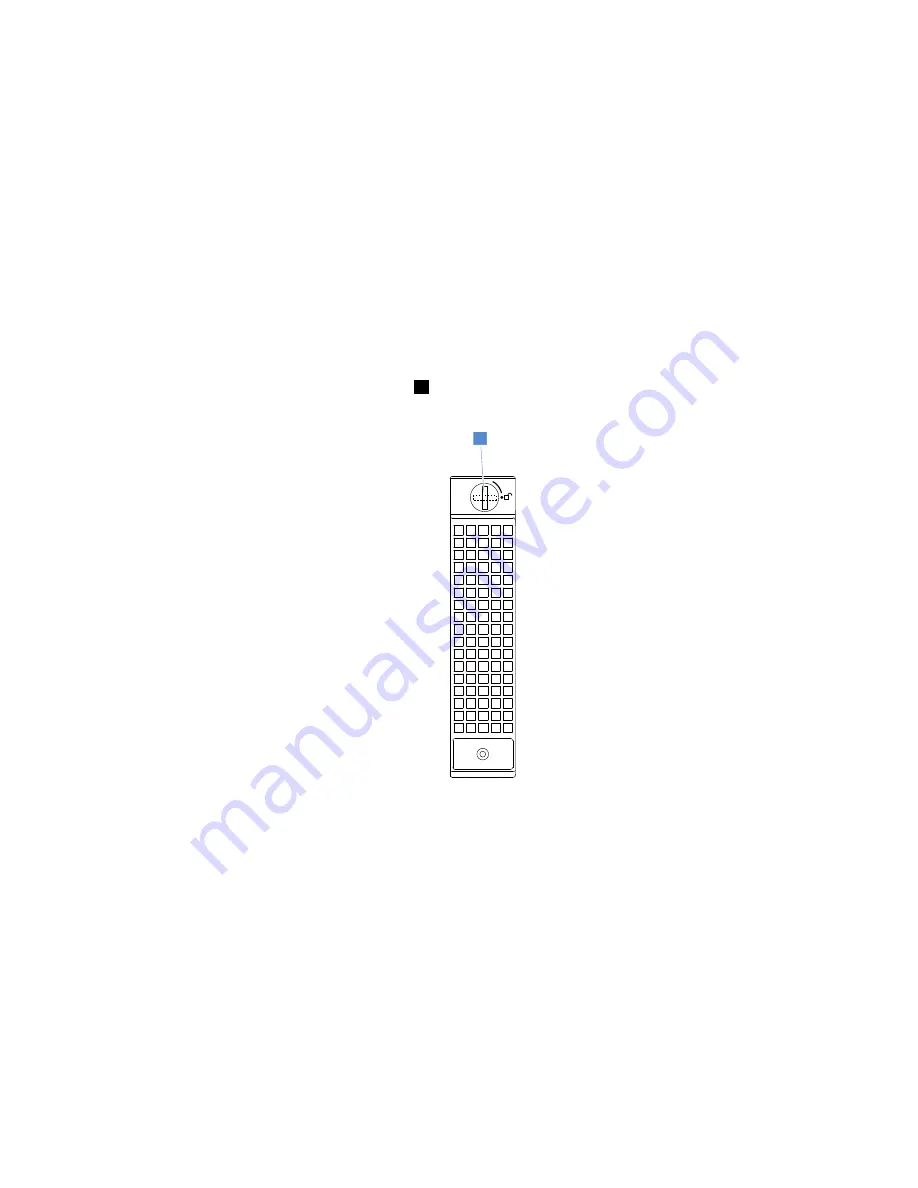
5. Use a screwdriver to turn the handle lock
1
to the unlocked position. The handle opens automatically.
1
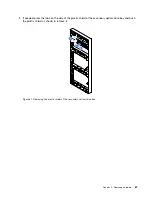
Figure 33. Opening the handle of the non-hot-swap drive
.
69
Summary of Contents for ThinkServer TS460
Page 14: ...xii ThinkServer TS460 User Guide and Hardware Maintenance Manual ...
Page 18: ...4 ThinkServer TS460 User Guide and Hardware Maintenance Manual ...
Page 52: ...38 ThinkServer TS460 User Guide and Hardware Maintenance Manual ...
Page 68: ...54 ThinkServer TS460 User Guide and Hardware Maintenance Manual ...
Page 138: ...124 ThinkServer TS460 User Guide and Hardware Maintenance Manual ...
Page 144: ...130 ThinkServer TS460 User Guide and Hardware Maintenance Manual ...
Page 148: ...134 ThinkServer TS460 User Guide and Hardware Maintenance Manual ...
Page 160: ...146 ThinkServer TS460 User Guide and Hardware Maintenance Manual ...
Page 171: ......
Page 172: ......

