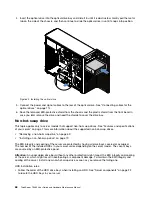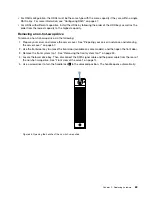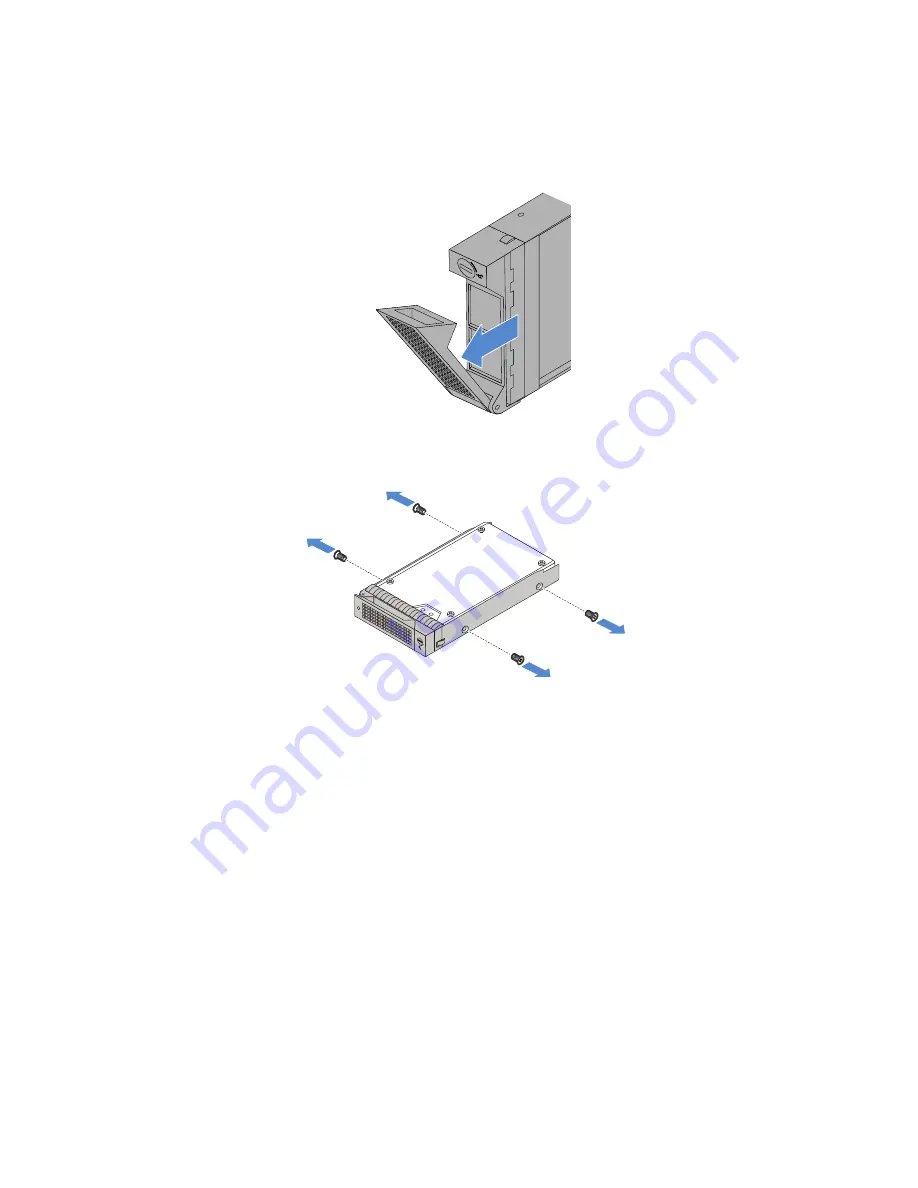
6. Pull the handle and carefully slide the non-hot-swap drive out of the chassis.
Figure 34. Removing the non-hot-swap drive
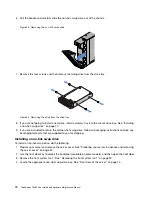
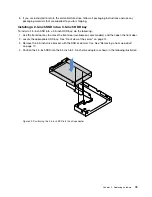
7. Remove the four screws and then remove the failing drive from the drive tray.
Figure 35. Removing the drive from the drive tray
8. If you are not going to install a new drive, install a dummy tray into the vacant drive bay. See “Installing
a non-hot-swap drive” on page 70.
9. If you are instructed to return the old non-hot-swap drive, follow all packaging instructions and use any
packaging materials that are supplied to you for shipping.
Installing a non-hot-swap drive
To install a non-hot-swap drive, do the following:
1. Prepare your server and remove the server cover. See “Preparing your server in advance and removing
2. Use the front door key to unlock the front door (available on some models), and then open the front door.
3. Remove the front system fan 1. See “Removing the front system fan 1” on page 90.
4. Locate the appropriate non-hot-swap-drive bay. See “Front view of the server” on page 14.
70
ThinkServer TS460 User Guide and Hardware Maintenance Manual
Summary of Contents for ThinkServer TS460
Page 14: ...xii ThinkServer TS460 User Guide and Hardware Maintenance Manual ...
Page 18: ...4 ThinkServer TS460 User Guide and Hardware Maintenance Manual ...
Page 52: ...38 ThinkServer TS460 User Guide and Hardware Maintenance Manual ...
Page 68: ...54 ThinkServer TS460 User Guide and Hardware Maintenance Manual ...
Page 138: ...124 ThinkServer TS460 User Guide and Hardware Maintenance Manual ...
Page 144: ...130 ThinkServer TS460 User Guide and Hardware Maintenance Manual ...
Page 148: ...134 ThinkServer TS460 User Guide and Hardware Maintenance Manual ...
Page 160: ...146 ThinkServer TS460 User Guide and Hardware Maintenance Manual ...
Page 171: ......
Page 172: ......


