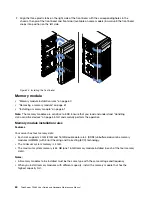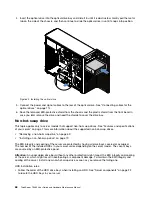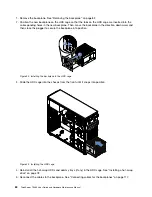
5. Align the holes in the drive tray with the corresponding ones in the new drive. Then, install the four
screws to secure the drive to the drive tray.
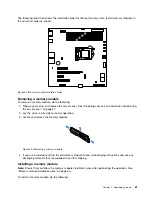
Figure 36. Installing the drive to the drive tray
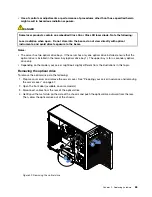
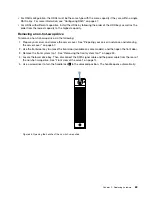
6. Slide the new non-hot-swap drive into the drive bay until it snaps into position.
Figure 37. Installing the drive
7. Connect the SATA signal cable and power cable to the new non-hot-swap drive. See “Connecting
cables for the non-hot-swap drives” on page 117.
Tape drive
Your server supports RDX and LTO tape drives.
•
“Removing a tape drive” on page 71
•
“Installing a tape drive” on page 72
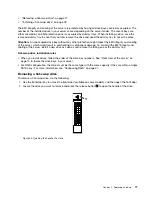
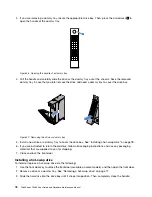
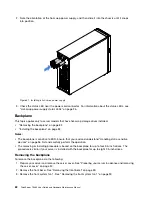
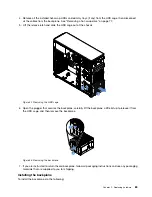
Removing a tape drive
To remove a tape drive, do the following:
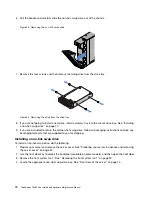
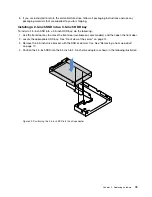
1. Prepare your server and remove the server cover. See “Preparing your server in advance and removing
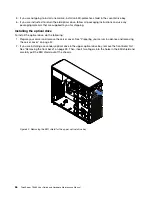
2. Open the front door (available on some models).
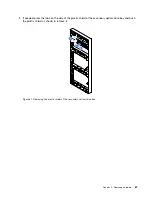
3. Then, disconnect the cables from the rear of the tape drive.
.
71
Summary of Contents for ThinkServer TS460
Page 14: ...xii ThinkServer TS460 User Guide and Hardware Maintenance Manual ...
Page 18: ...4 ThinkServer TS460 User Guide and Hardware Maintenance Manual ...
Page 52: ...38 ThinkServer TS460 User Guide and Hardware Maintenance Manual ...
Page 68: ...54 ThinkServer TS460 User Guide and Hardware Maintenance Manual ...
Page 138: ...124 ThinkServer TS460 User Guide and Hardware Maintenance Manual ...
Page 144: ...130 ThinkServer TS460 User Guide and Hardware Maintenance Manual ...
Page 148: ...134 ThinkServer TS460 User Guide and Hardware Maintenance Manual ...
Page 160: ...146 ThinkServer TS460 User Guide and Hardware Maintenance Manual ...
Page 171: ......
Page 172: ......

