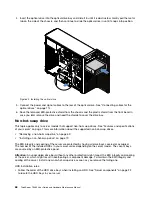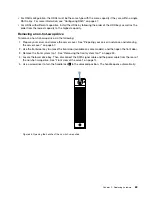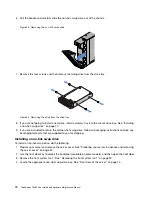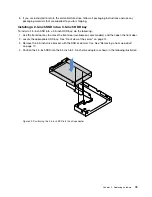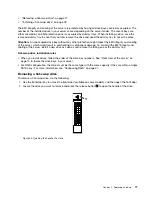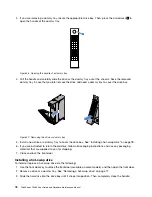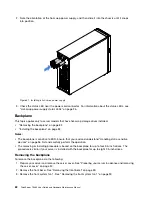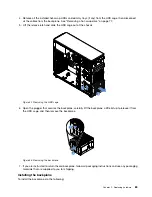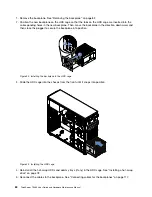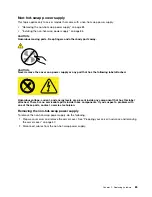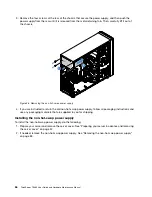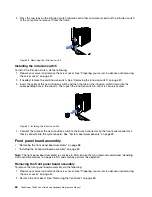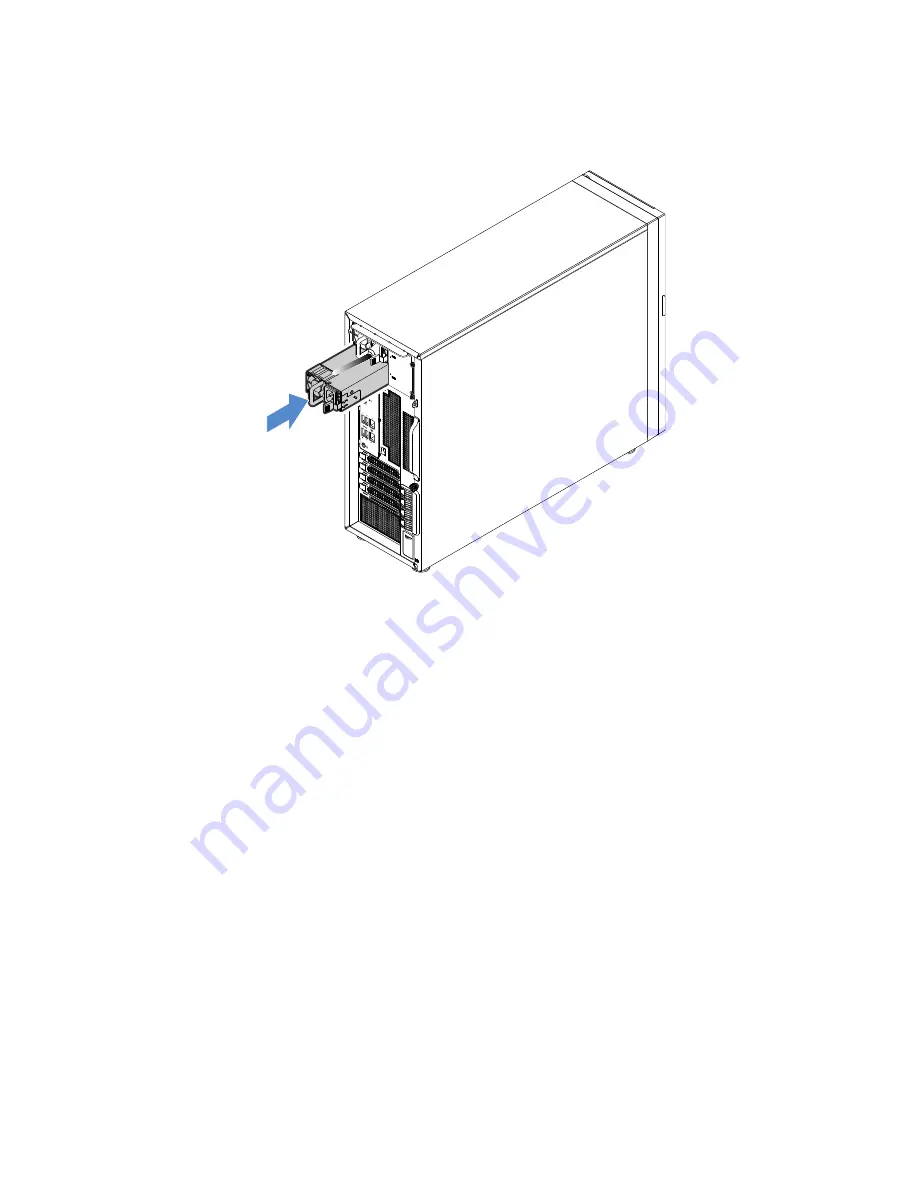
2. Note the orientation of the hot-swap power supply, and then slide it into the chassis until it snaps
into position.
1
1
2
2
0
M
GM
T
3
4
ID
Figure 51. Installing a hot-swap power supply
3. Check the status LED near the power cord connector. For information about the status LEDs, see
“Hot-swap power supply status LEDs” on page 26.
Backplane
This topic applies only to server models that have hot-swap storage drives installed.
•
“Removing the backplane” on page 82
•
“Installing the backplane” on page 83
Notes:
• The backplane is sensitive to ESD. Ensure that you read and understand “Handling static-sensitive
devices” on page 56 first and carefully perform the operation.
• The removing or installing procedure is based on the backplane for up to four 3.5-inch drives. The
procedure is similar if your server is installed with the backplane for up to eight 2.5-inch drives.
Removing the backplane
To remove the backplane, do the following:
1. Prepare your server and remove the server cover. See “Preparing your server in advance and removing
2. Remove the front bezel. See “Removing the front bezel” on page 59.
3. Remove the front system fan 1. See “Removing the front system fan 1” on page 90.
82
ThinkServer TS460 User Guide and Hardware Maintenance Manual
Summary of Contents for ThinkServer TS460
Page 14: ...xii ThinkServer TS460 User Guide and Hardware Maintenance Manual ...
Page 18: ...4 ThinkServer TS460 User Guide and Hardware Maintenance Manual ...
Page 52: ...38 ThinkServer TS460 User Guide and Hardware Maintenance Manual ...
Page 68: ...54 ThinkServer TS460 User Guide and Hardware Maintenance Manual ...
Page 138: ...124 ThinkServer TS460 User Guide and Hardware Maintenance Manual ...
Page 144: ...130 ThinkServer TS460 User Guide and Hardware Maintenance Manual ...
Page 148: ...134 ThinkServer TS460 User Guide and Hardware Maintenance Manual ...
Page 160: ...146 ThinkServer TS460 User Guide and Hardware Maintenance Manual ...
Page 171: ......
Page 172: ......

