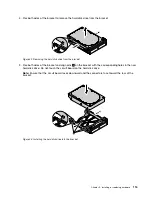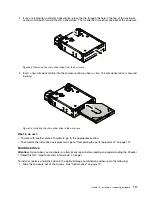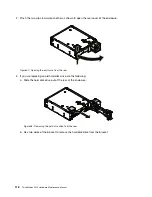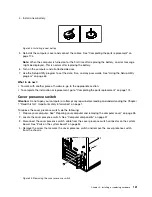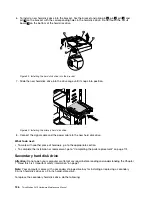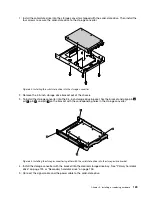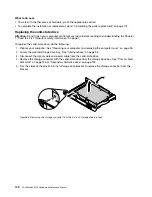
4. Flex both sides of the bracket to remove the hard disk drive from the bracket.
Figure 42. Removing the hard disk drive from the bracket
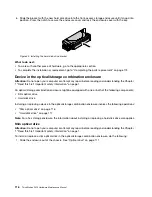
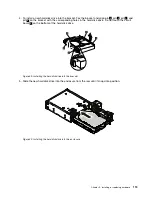
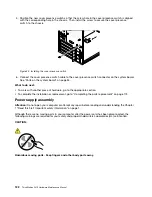
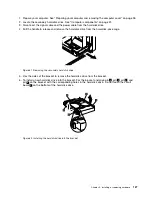
5. Flex both sides of the bracket and align pins
1
on the bracket with the corresponding holes in the new
hard disk drive. Do not touch the circuit board on the hard disk drive.
Note:
Ensure that the circuit board faces downward and the connectors face toward the rear of the
bracket.
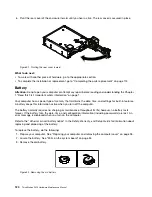
Figure 43. Installing the hard disk drive into the bracket
.
Installing or replacing hardware
115
Summary of Contents for ThinkStation P410
Page 1: ...ThinkStation P410 Hardware Maintenance Manual Machine Types 30B2 and 30B3 ...
Page 6: ...iv ThinkStation P410 Hardware Maintenance Manual ...
Page 8: ...vi ThinkStation P410 Hardware Maintenance Manual ...
Page 16: ...8 ThinkStation P410 Hardware Maintenance Manual ...
Page 20: ...12 ThinkStation P410 Hardware Maintenance Manual ...
Page 21: ...1 2 Chapter 1 Read this first Important safety information 13 ...
Page 22: ...1 2 14 ThinkStation P410 Hardware Maintenance Manual ...
Page 27: ...1 2 Chapter 1 Read this first Important safety information 19 ...
Page 28: ...1 2 20 ThinkStation P410 Hardware Maintenance Manual ...
Page 31: ...Chapter 1 Read this first Important safety information 23 ...
Page 52: ...44 ThinkStation P410 Hardware Maintenance Manual ...
Page 64: ...56 ThinkStation P410 Hardware Maintenance Manual ...
Page 102: ...94 ThinkStation P410 Hardware Maintenance Manual ...
Page 184: ...176 ThinkStation P410 Hardware Maintenance Manual ...
Page 188: ...180 ThinkStation P410 Hardware Maintenance Manual ...
Page 190: ...182 ThinkStation P410 Hardware Maintenance Manual ...
Page 192: ...184 ThinkStation P410 Hardware Maintenance Manual ...
Page 200: ...192 ThinkStation P410 Hardware Maintenance Manual ...
Page 204: ...196 ThinkStation P410 Hardware Maintenance Manual ...
Page 207: ......
Page 208: ......

