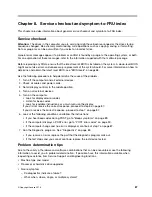
Chapter 8. Service checkout and symptom-to-FRU index
This chapter provides information about general service checkout and symptom-to-FRU index.
Service checkout
Attention:
The drives in the computer you are servicing might have been rearranged or the drive startup
sequence changed. Be extremely careful during write operations such as copying, saving, or formatting.
Data or programs can be overwritten if you select an incorrect drive.
General error messages appear if a problem or conflict is found by a program, the operating system, or both.
For an explanation of these messages, refer to the information supplied with that software package.
Before replacing any FRUs, ensure that the latest level of BIOS is installed on the system. A down-level BIOS
might cause false errors and unnecessary replacement of the system board. For more information on how to
determine and obtain the latest level BIOS, see “BIOS levels” on page 68.
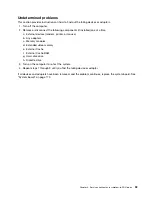
Use the following procedure to help determine the cause of the problem:
1. Turn off the computer and all external devices.
2. Check all cables and power cords.
3. Set all display controls to the middle position.
4. Turn on all external devices.
5. Turn on the computer.
• Look for displayed error codes
• Listen for beep codes
• Look for readable instructions or a main menu on the display.
If you
did not
receive the correct response, proceed to step 6 on page 87.
If you
do
receive the correct response, proceed to step 7 on page 87.
6. Look at the following conditions and follow the instructions:
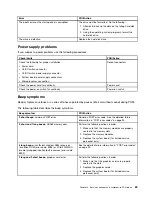
• If you hear beep codes during POST, go to “Beep symptoms” on page 89.
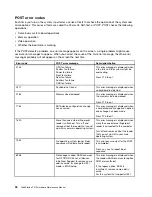
• If the computer displays a POST error, go to “POST error codes” on page 90.
• If the computer hangs and no error is displayed, continue at step 7 on page 87.
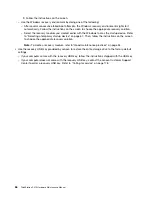
7. Run the Diagnostic programs. See “Diagnostics” on page 83.
• If you receive an error, replace the part that the diagnostic program calls out.
• If the test stops and you cannot continue, replace the last device tested.
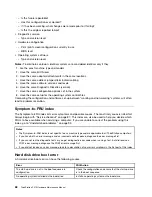
Problem determination tips
Due to the variety of hardware and software combinations that can be encountered, use the following
information to assist you in problem determination. If possible, have this information available when
requesting assistance from Service Support and Engineering functions.
• Machine type and model
• Processor or hard disk drive upgrades
• Failure symptom
– Do diagnostics indicate a failure?
– What, when, where, single, or multiple systems?
© Copyright Lenovo 2016
87
Summary of Contents for ThinkStation P410
Page 1: ...ThinkStation P410 Hardware Maintenance Manual Machine Types 30B2 and 30B3 ...
Page 6: ...iv ThinkStation P410 Hardware Maintenance Manual ...
Page 8: ...vi ThinkStation P410 Hardware Maintenance Manual ...
Page 16: ...8 ThinkStation P410 Hardware Maintenance Manual ...
Page 20: ...12 ThinkStation P410 Hardware Maintenance Manual ...
Page 21: ...1 2 Chapter 1 Read this first Important safety information 13 ...
Page 22: ...1 2 14 ThinkStation P410 Hardware Maintenance Manual ...
Page 27: ...1 2 Chapter 1 Read this first Important safety information 19 ...
Page 28: ...1 2 20 ThinkStation P410 Hardware Maintenance Manual ...
Page 31: ...Chapter 1 Read this first Important safety information 23 ...
Page 52: ...44 ThinkStation P410 Hardware Maintenance Manual ...
Page 64: ...56 ThinkStation P410 Hardware Maintenance Manual ...
Page 102: ...94 ThinkStation P410 Hardware Maintenance Manual ...
Page 184: ...176 ThinkStation P410 Hardware Maintenance Manual ...
Page 188: ...180 ThinkStation P410 Hardware Maintenance Manual ...
Page 190: ...182 ThinkStation P410 Hardware Maintenance Manual ...
Page 192: ...184 ThinkStation P410 Hardware Maintenance Manual ...
Page 200: ...192 ThinkStation P410 Hardware Maintenance Manual ...
Page 204: ...196 ThinkStation P410 Hardware Maintenance Manual ...
Page 207: ......
Page 208: ......

