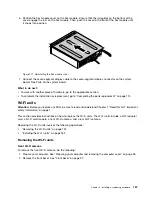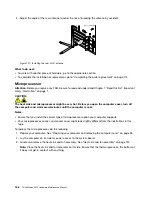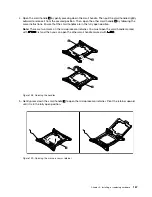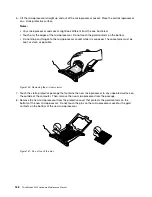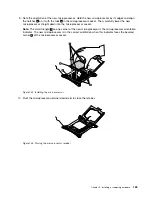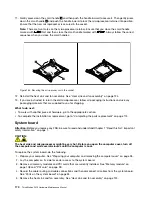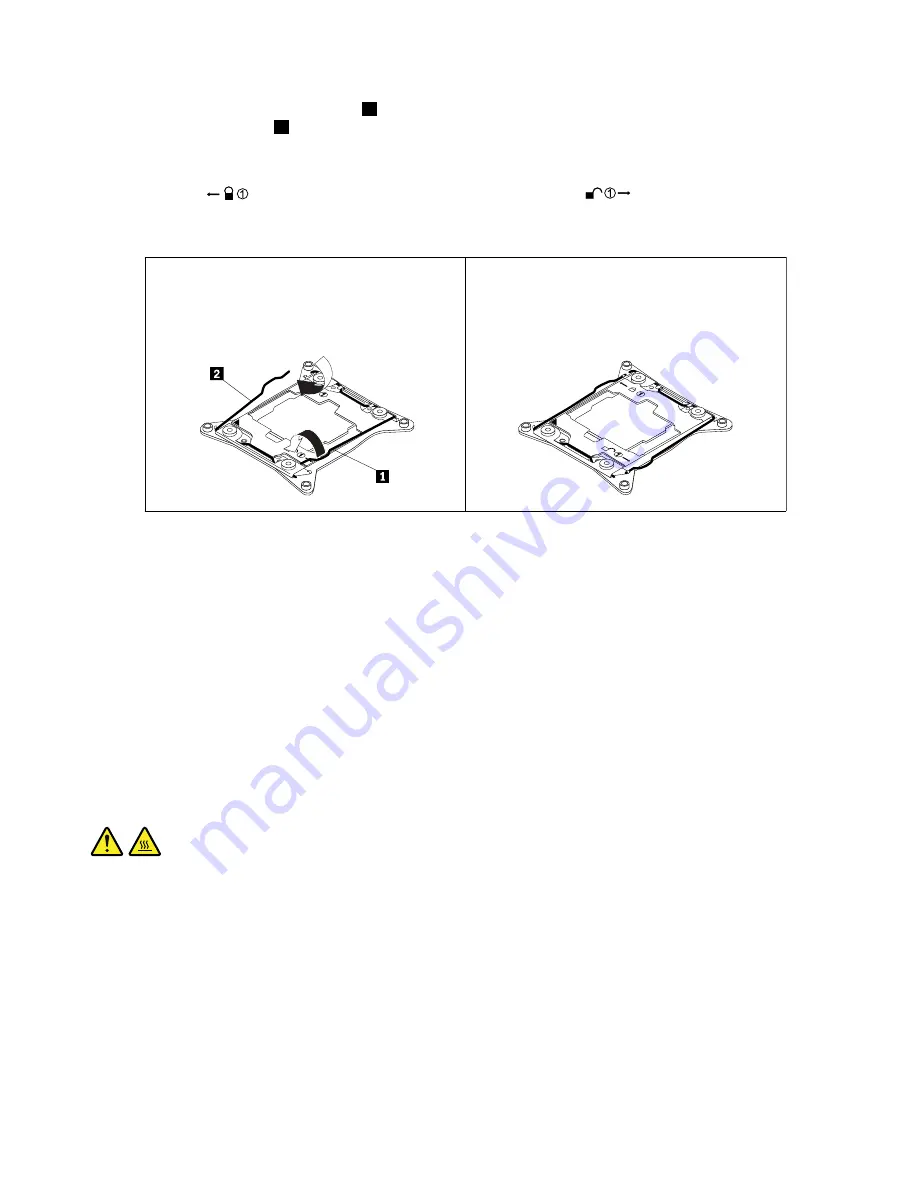
11. Gently press down the small handle
2
and then push the handle inward to secure it. Then gently press
down the small handle
1
and push the handle inward to lock the microprocessor retainer into position.
Ensure that the new microprocessor is secured in the socket.
Note:
There are two marks on the microprocessor retainer. Ensure that you close the small handle
marked with
first and then close the small handle marked with
. Always follow the correct
sequence when you close the small handles.
Figure 134. Securing the microprocessor in the socket
12. Reinstall the heat sink and fan assembly. See “Heat sink and fan assembly” on page 124.
13. If you are instructed to return the old microprocessor, follow all packaging instructions and use any
packaging materials that are supplied to you for shipping.
What to do next:
• To work with another piece of hardware, go to the appropriate section.
• To complete the installation or replacement, go to “Completing the parts replacement” on page 174.
System board
Attention:
Before you replace any FRU, be sure to read and understand Chapter 1 “Read this first: Important
safety information” on page 1.
CAUTION:
The heat sink and microprocessor might be very hot. Before you open the computer cover, turn off
the computer and wait several minutes until the computer is cool.
To replace the system board, do the following:
1. Prepare your computer. See “Preparing your computer and removing the computer cover” on page 95.
2. Lay the computer on its side for easier access to the system board.
3. Remove all memory modules and PCI cards that are currently installed. See “Memory module” on
page 108 and “PCI card” on page 99.
4. Record the cable routing and cable connections and then disconnect all cables from the system board.
See “Parts on the system board” on page 34.
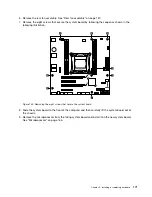
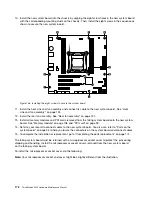
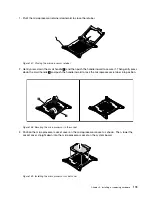
5. Remove the heat sink and fan assembly. See “Heat sink and fan assembly” on page 124.
170
ThinkStation P410 Hardware Maintenance Manual
Summary of Contents for ThinkStation P410
Page 1: ...ThinkStation P410 Hardware Maintenance Manual Machine Types 30B2 and 30B3 ...
Page 6: ...iv ThinkStation P410 Hardware Maintenance Manual ...
Page 8: ...vi ThinkStation P410 Hardware Maintenance Manual ...
Page 16: ...8 ThinkStation P410 Hardware Maintenance Manual ...
Page 20: ...12 ThinkStation P410 Hardware Maintenance Manual ...
Page 21: ...1 2 Chapter 1 Read this first Important safety information 13 ...
Page 22: ...1 2 14 ThinkStation P410 Hardware Maintenance Manual ...
Page 27: ...1 2 Chapter 1 Read this first Important safety information 19 ...
Page 28: ...1 2 20 ThinkStation P410 Hardware Maintenance Manual ...
Page 31: ...Chapter 1 Read this first Important safety information 23 ...
Page 52: ...44 ThinkStation P410 Hardware Maintenance Manual ...
Page 64: ...56 ThinkStation P410 Hardware Maintenance Manual ...
Page 102: ...94 ThinkStation P410 Hardware Maintenance Manual ...
Page 184: ...176 ThinkStation P410 Hardware Maintenance Manual ...
Page 188: ...180 ThinkStation P410 Hardware Maintenance Manual ...
Page 190: ...182 ThinkStation P410 Hardware Maintenance Manual ...
Page 192: ...184 ThinkStation P410 Hardware Maintenance Manual ...
Page 200: ...192 ThinkStation P410 Hardware Maintenance Manual ...
Page 204: ...196 ThinkStation P410 Hardware Maintenance Manual ...
Page 207: ......
Page 208: ......


