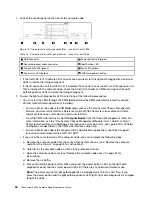
1. Make sure that the proper drivers are installed on the compute node. See the product documentation for
the USB device for information about device drivers.
2. Use the Setup utility to make sure that the device is configured correctly. When you start a compute
node and press F1, the Lenovo XClarity Provisioning Manager interface is displayed by default.
3. If the USB device is plugged into a hub or the console breakout cable, unplug the device and plug it
directly into the USB port on the front of the compute node.
PCIe adapter is not recognized or is not functioning.
Complete the following steps until the problem is resolved:
1. Check the event log and resolve any issues related to the device.
2. Validate that the device is supported for the compute node (see http://www.lenovo.com/serverproven/).
3. Make sure that the adapter is installed in a correct slot.
4. Make sure that the proper device drivers are installed for the device.
5. Resolve any resource conflicts if running legacy mode (UEFI).
6. Check http://datacentersupport.lenovo.com for any service bulletins
7. Ensure any adapter external connections are correct and that the connectors are not physically
damaged.
Insufficient PCIe resources are detected.
If you see an error message stating “Insufficient PCI Resources Detected,” complete the following steps until
the problem is resolved:
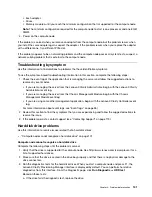
1. Remove one of the PCIe adapters.
2. Restart the system and press F1 to display the Lenovo XClarity Provisioning Manager system setup
interface.
3. Click
UEFI Setup
➙
System Settings
➙
Devices and I/O Ports
➙
MM Config Base
; then, modify the
setting to the lower memory capacity. For example, modify 3 GB to 2 GB or modify 2 GB to 1 GB.
4. Save the settings and restart the system.
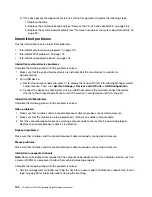
5. The action for this step will differ based on whether or not the reboot is successful.
• If the reboot is successful, shutdown the solution and reinstall the PCIe card you removed.
• If the reboot failed, repeat step 2 to step 5.
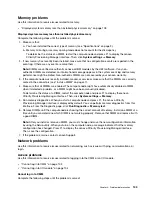
A Lenovo optional device that was just installed does not work.
1. Make sure that:
• The device is supported for the compute node (see http://www.lenovo.com/serverproven/).
• You followed the installation instructions that came with the device and the device is installed
correctly.
• You have not loosened any other installed devices or cables.
• You updated the configuration information in the Setup utility. Whenever memory or any other device
is changed, you must update the configuration.
2. Reseat the device that you just installed.
3. Replace the device that you just installed.
A Lenovo optional device that worked previously does not work now.
1. Make sure that all of the cable connections for the device are secure.
2. If the device comes with test instructions, use those instructions to test the device.
3. If the failing device is a SCSI device, make sure that:
112
ThinkSystem SN550 Compute Node Maintenance Manual
Summary of Contents for ThinkSystem SN550
Page 1: ...ThinkSystem SN550 Compute Node Maintenance Manual Machine Type 7X16 ...
Page 8: ...vi ThinkSystem SN550 Compute Node Maintenance Manual ...
Page 28: ...20 ThinkSystem SN550 Compute Node Maintenance Manual ...
Page 124: ...116 ThinkSystem SN550 Compute Node Maintenance Manual ...
Page 128: ...120 ThinkSystem SN550 Compute Node Maintenance Manual ...
Page 137: ......
Page 138: ...Part Number SP47A10572 Printed in China 1P P N SP47A10572 1PSP47A10572 ...

