number. If you reinstall the compute node into a different node bay, you might have to
reconfigure the compute node.
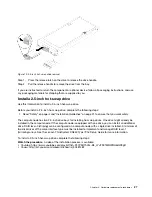
Step 2. Pull the compute node out of the node bay using both hands.
Step 3. Install either a node bay filler or another compute node in the node bay within 1 minute.
If you are instructed to return the component or optional device, follow all packaging instructions, and use
any packaging materials for shipping that are supplied to you.
Install the compute node in the chassis
Use this information to install the compute node in the chassis.
Before you install the compute node in the chassis, complete the following steps:
1. Read “Safety” on page iii and “Installation Guidelines” on page 21 to ensure that you work safely.
To install the compute node in a chassis, complete the following steps:
Watch the procedure
. A video of the installation process is available:
• Youtube: https://www.youtube.com/playlist?list=PLYV5R7hVcs-B4_LYuT9X1MRWBU6UzX9gO
• Youku: http://list.youku.com/albumlist/show/id_50481482
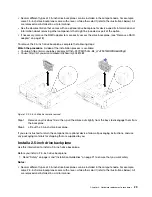
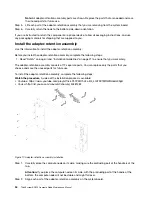
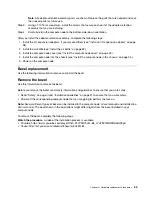
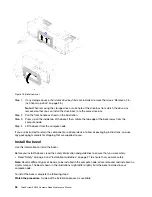
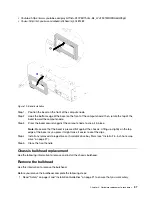
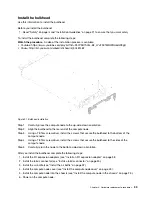
Figure 9. Compute node installation in chassis
Step 1. Select the node bay.
Notes:
1. If you are reinstalling a compute node that you removed, you must install it in the same node
bay from which you removed it. Some compute node configuration information and update
options are established according to node bay number. Reinstalling a compute node into a
different node bay can have unintended consequences. If you reinstall the compute node into
a different node bay, you might have to reconfigure the compute node.
2. To maintain proper system cooling, do not operate the Lenovo Flex System chassis without a
compute node, or node bay filler in each node bay.
Step 2. Make sure that the front handle on the compute node is in the fully open position.
Step 3. Slide the compute node into the node bay until it stops.
Step 4. Push the front handle on the front of the compute node to the closed position.
Note:
After the compute node is installed, the Lenovo XClarity Controller in the compute node
initializes and synchronizes with the Chassis Management Module. The time required for a
compute node to initialize varies by system configuration. The power LED flashes rapidly; the
.
Hardware replacement procedures
25
Summary of Contents for ThinkSystem SN550
Page 1: ...ThinkSystem SN550 Compute Node Maintenance Manual Machine Type 7X16 ...
Page 8: ...vi ThinkSystem SN550 Compute Node Maintenance Manual ...
Page 28: ...20 ThinkSystem SN550 Compute Node Maintenance Manual ...
Page 124: ...116 ThinkSystem SN550 Compute Node Maintenance Manual ...
Page 128: ...120 ThinkSystem SN550 Compute Node Maintenance Manual ...
Page 137: ......
Page 138: ...Part Number SP47A10572 Printed in China 1P P N SP47A10572 1PSP47A10572 ...

