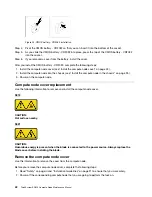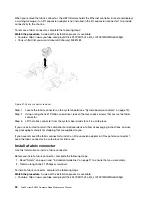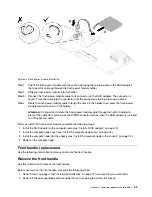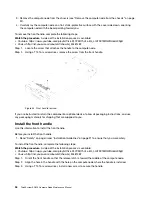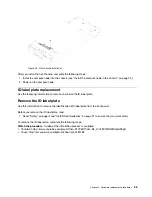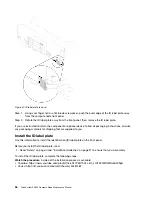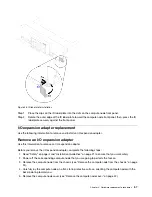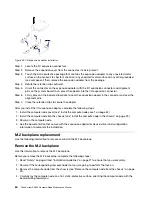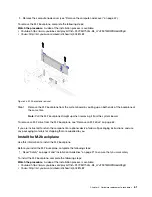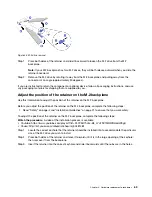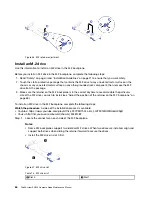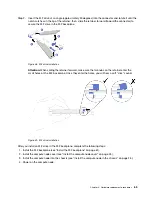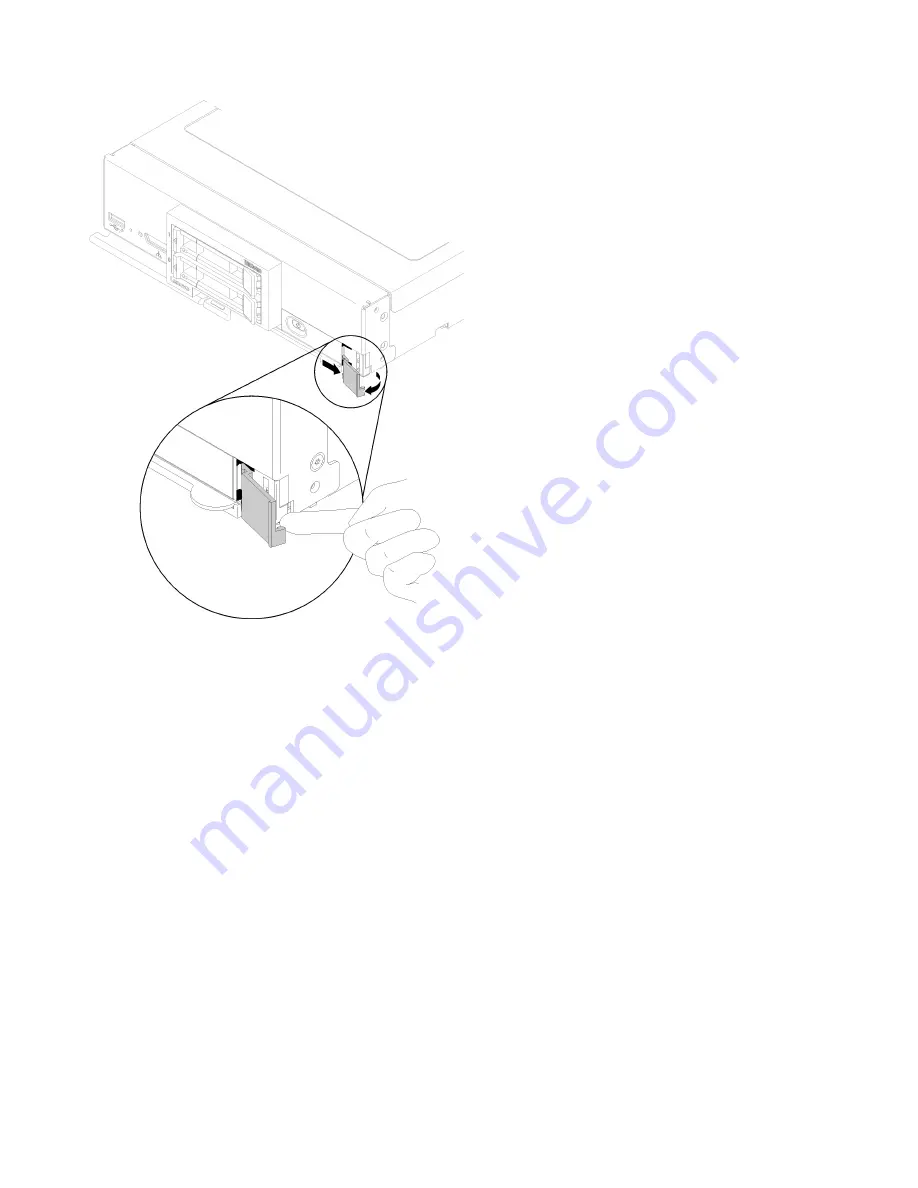
Figure 37. ID label plate removal
Step 1. Using your finger nail or a flat-blade screwdriver, push the outer edge of the ID label plate away
from the compute node front panel.
Step 2. Rotate the ID label plate away from the front panel; then, remove the ID label plate.
If you are instructed to return the component or optional device, follow all packaging instructions, and use
any packaging materials for shipping that are supplied to you.
Install the ID label plate
Use this information to install the identification (ID) label plate on the front panel.
Before you install the ID label plate, read
1. Read “Safety” on page iii and “Installation Guidelines” on page 21 to ensure that you work safely.
To install the ID label plate, complete the following steps:
Watch the procedure
. A video of the installation process is available:
• Youtube: https://www.youtube.com/playlist?list=PLYV5R7hVcs-B4_LYuT9X1MRWBU6UzX9gO
• Youku: http://list.youku.com/albumlist/show/id_50481482
56
ThinkSystem SN550 Compute Node Maintenance Manual
Summary of Contents for ThinkSystem SN550
Page 1: ...ThinkSystem SN550 Compute Node Maintenance Manual Machine Type 7X16 ...
Page 8: ...vi ThinkSystem SN550 Compute Node Maintenance Manual ...
Page 28: ...20 ThinkSystem SN550 Compute Node Maintenance Manual ...
Page 124: ...116 ThinkSystem SN550 Compute Node Maintenance Manual ...
Page 128: ...120 ThinkSystem SN550 Compute Node Maintenance Manual ...
Page 137: ......
Page 138: ...Part Number SP47A10572 Printed in China 1P P N SP47A10572 1PSP47A10572 ...

