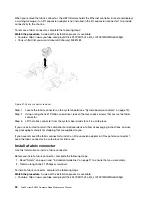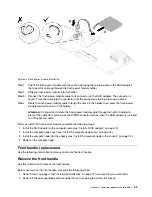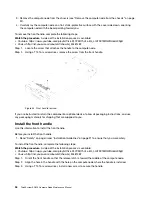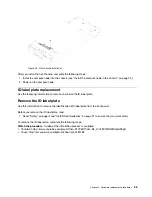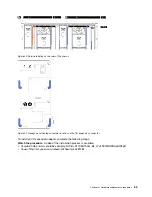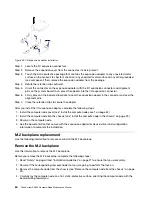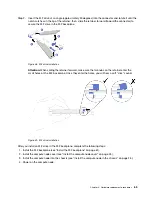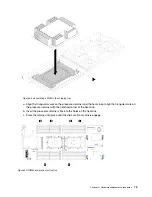
Figure 44. M.2 backplane installation
Step 1. Align the openings located at the bottom of the blue plastic supports at each end of the M.2
backplane with the guide pin on the system board and T-head pins on the hard drive cage; then,
insert the backplane in the system board connector. Press down on the M.2 backplane to fully seat
it.
After you install the M.2 backplane, complete the following steps:
1. Install the compute node cover (see “Install the compute node cover” on page 43 ).
2. Install the compute node into the chassis (see “Install the compute node in the chassis” on page 25 ).
3. Power on the compute node.
4. See the documentation that comes with the M.2 backplane for device-driver and configuration
information to complete the installation.
M.2 drive replacement
Use the following information to remove and install an M.2 drive.
Remove an M.2 drive
Use this information to remove an M.2 drive from the M.2 backplane.
Before you remove an M.2 drive from the M.2 backplane, complete the following steps:
1. Read “Safety” on page iii and “Installation Guidelines” on page 21 to ensure that you work safely.
2. If necessary, remove the M.2 backplane from your system (see “Remove the M.2 backplane” on page 60
).
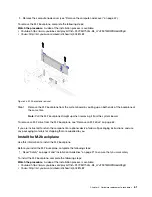
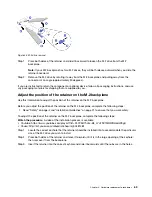
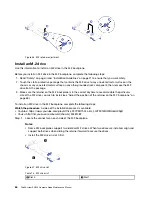
To remove an M.2 drive, complete the following steps:
Watch the procedure
. A video of the installation process is available:
• Youtube: https://www.youtube.com/playlist?list=PLYV5R7hVcs-B4_LYuT9X1MRWBU6UzX9gO
• Youku: http://list.youku.com/albumlist/show/id_50481482
62
ThinkSystem SN550 Compute Node Maintenance Manual
Summary of Contents for ThinkSystem SN550
Page 1: ...ThinkSystem SN550 Compute Node Maintenance Manual Machine Type 7X16 ...
Page 8: ...vi ThinkSystem SN550 Compute Node Maintenance Manual ...
Page 28: ...20 ThinkSystem SN550 Compute Node Maintenance Manual ...
Page 124: ...116 ThinkSystem SN550 Compute Node Maintenance Manual ...
Page 128: ...120 ThinkSystem SN550 Compute Node Maintenance Manual ...
Page 137: ......
Page 138: ...Part Number SP47A10572 Printed in China 1P P N SP47A10572 1PSP47A10572 ...


