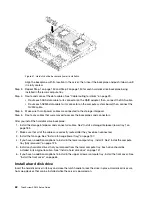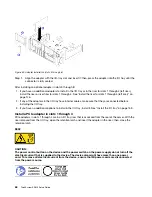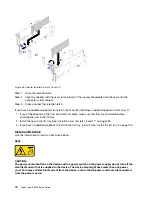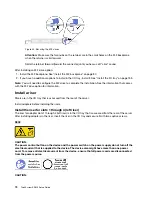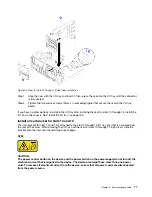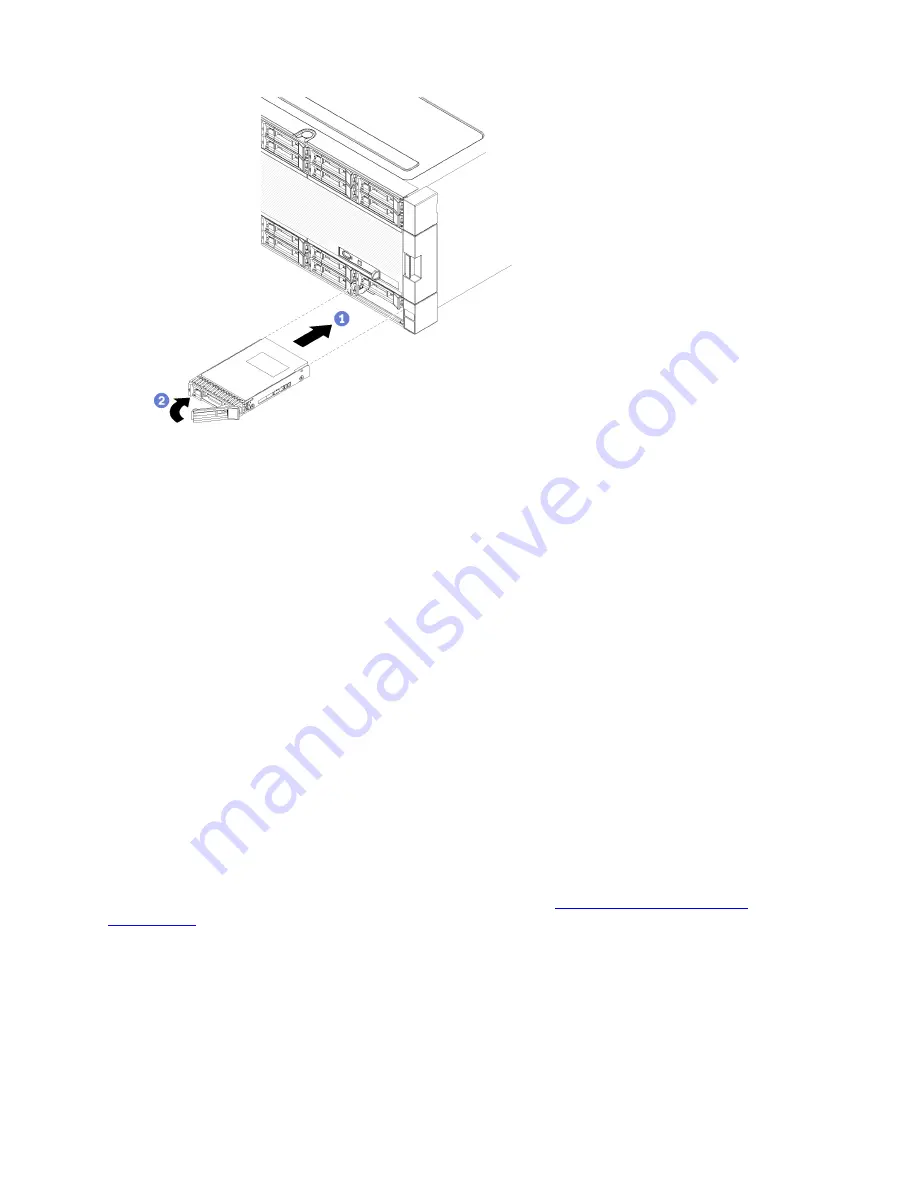
Figure 32. Hard disk drive installation
a. Open the drive handle, align the drive with the drive bay, and insert the drive.
b. Push the drive into the bay until the drive stops; then, rotate drive handle closed to fully seat
the drive and lock it in place.
Step 3. Check the hard disk drive status LED to verify that the hard disk drive is operating correctly.
• If the yellow hard disk drive status LED of a drive is lit continuously, that drive is faulty and must
be replaced.
• If the green hard disk drive activity LED is lit, the drive is powered, but not actively reading or
writing data. If the LED is flashing, the drive is being accessed.
Step 4. If you are installing additional hard disk drives, do so now.
After you have installed all hard disk drives:
1. Install fillers in all empty hard disk drive bays. If you removed a four-bay filler and do not install four hard
disk drives in its place, place single-bay fillers in any vacant bays.
Hard disk drive installation considerations
Hard disk drives must be installed in a specific order based on the hard disk drive configuration that you
implement on your server.
The following notes describe the type of hard disk drives that the server supports and other information that
you must consider when installing a hard disk drive:
• For a complete list of hard disk drives supported for the server, see
• The server supports up to 24 2.5-inch hard disk drives.
• The electromagnetic interference (EMI) integrity and cooling of the server are protected by having all bays
and PCI Express slots covered or occupied. When you install a drive or a PCI Express adapter, save the
EMC shield and filler panel from the bay or PCI Express adapter slot cover in the event that you later
remove the device.
• Locate the documentation that comes with the hard disk drive and follow those instructions in addition to
the instructions in this chapter.
64
ThinkSystem SR950 Setup Guide
Summary of Contents for ThinkSystem SR950 7X11
Page 1: ...ThinkSystem SR950 Setup Guide Machine Types 7X12 7X11 and 7X13 ...
Page 4: ...ii ThinkSystem SR950 Setup Guide ...
Page 18: ...14 ThinkSystem SR950 Setup Guide ...
Page 44: ...Figure 22 Server components 40 ThinkSystem SR950 Setup Guide ...
Page 48: ...44 ThinkSystem SR950 Setup Guide ...
Page 98: ...94 ThinkSystem SR950 Setup Guide ...
Page 106: ...102 ThinkSystem SR950 Setup Guide ...
Page 166: ...162 ThinkSystem SR950 Setup Guide ...
Page 199: ...X XCC management front USB configuration 87 Copyright Lenovo 2017 195 ...
Page 200: ...196 ThinkSystem SR950 Setup Guide ...
Page 201: ......
Page 202: ......

