Adjusting your monitor image
This section describes the user control features used to adjust your monitor image.
Using the direct access controls
The direct access controls can be used when the On Screen Display (OSD) is not
displayed.
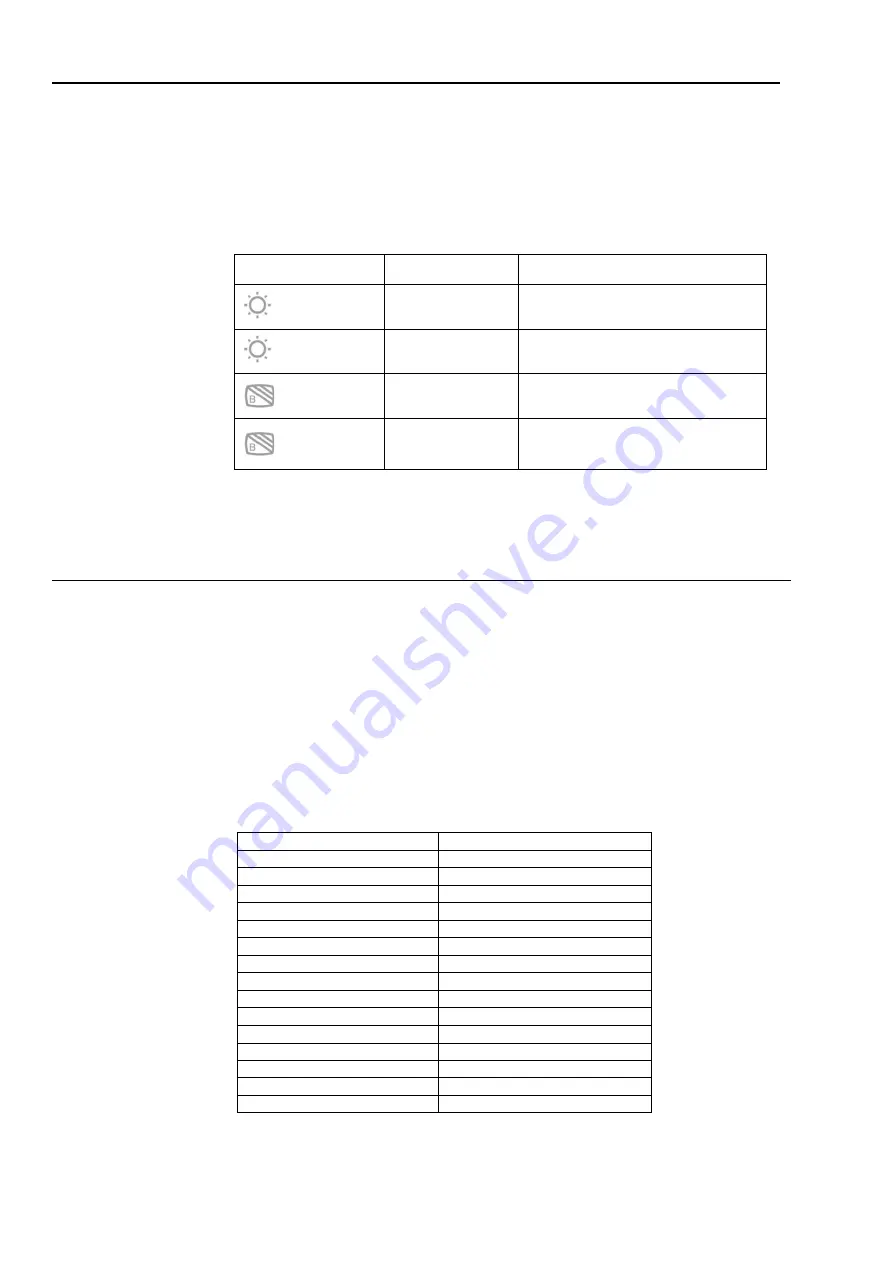
Table 2-1 Direct access controls
Icon
Control
Description
Brightness
Press + or - key for Brightness
adjustment.
Contrast
Press and hold + key over 3 seconds
for Contrast adjustment
Low Blue Light
Press to enable/disable Low Blue
Light.
Overdrive
Press and hold Low Blue Light key
for 3 seconds to enable/disable
Overdrive
Note:
1.When Brightness adjustment bar is displayed on screen, use
+
or — for adjustment.
2.When Contrast adjustment bar is displayed on screen, use
+
or — for adjustments.
Selecting a supported display mode
The display mode the monitor uses is controlled by the computer. Therefore, refer to your
computer documentation for details on how to change display modes.
The image size, position and shape might change when the display mode changes.
Unlike CRT monitors, which require a high refresh rate to minimize flicker, LCD or Flat
Panel technology is inherently flicker-free.
Note: If your system has previously been used with a CRT monitor and is currently
configured to a display mode outside the range of this monitor, you may need to re-attach
the CRT monitor temporarily until you have re-configured the system; preferably to
1920x1080 at 60Hz, which is the Native Resolution Display mode.
Response time: 6ms with overdrive @60Hz
Table 2-3.Factory set display modes
Addressability
Refresh rate
PAL
50Hz
640x350
70Hz
640x480
60Hz, 66Hz,72Hz,75Hz
720x400
70Hz
800x600
60Hz,72Hz,75Hz
1024x768
60Hz,70Hz,75Hz
1152x864
75Hz
1280x768
60Hz
1280x800
60Hz
1280x1024
60Hz,72Hz,75Hz
1366x768
60Hz
1440x900
60Hz,75Hz
1600x1200
60Hz,70Hz
1680x1050
60Hz
1920x1080
60Hz
Note: The video signal source connected to M14 needs to support USB-C DP Alt-mode
video output.
Chapter 2.Adjusting and using your monitor 2-4


