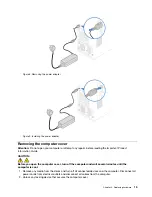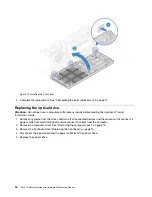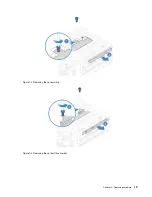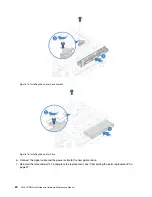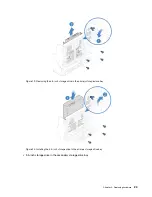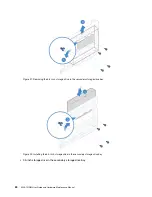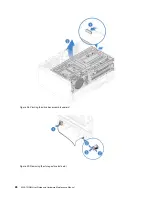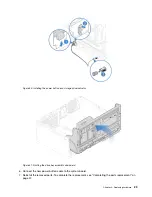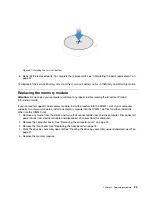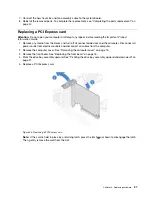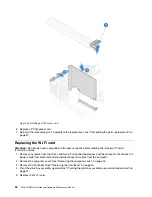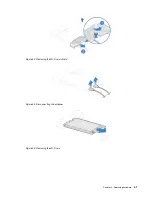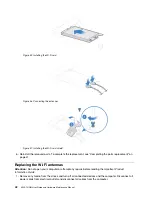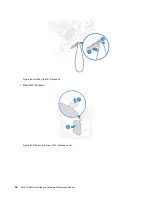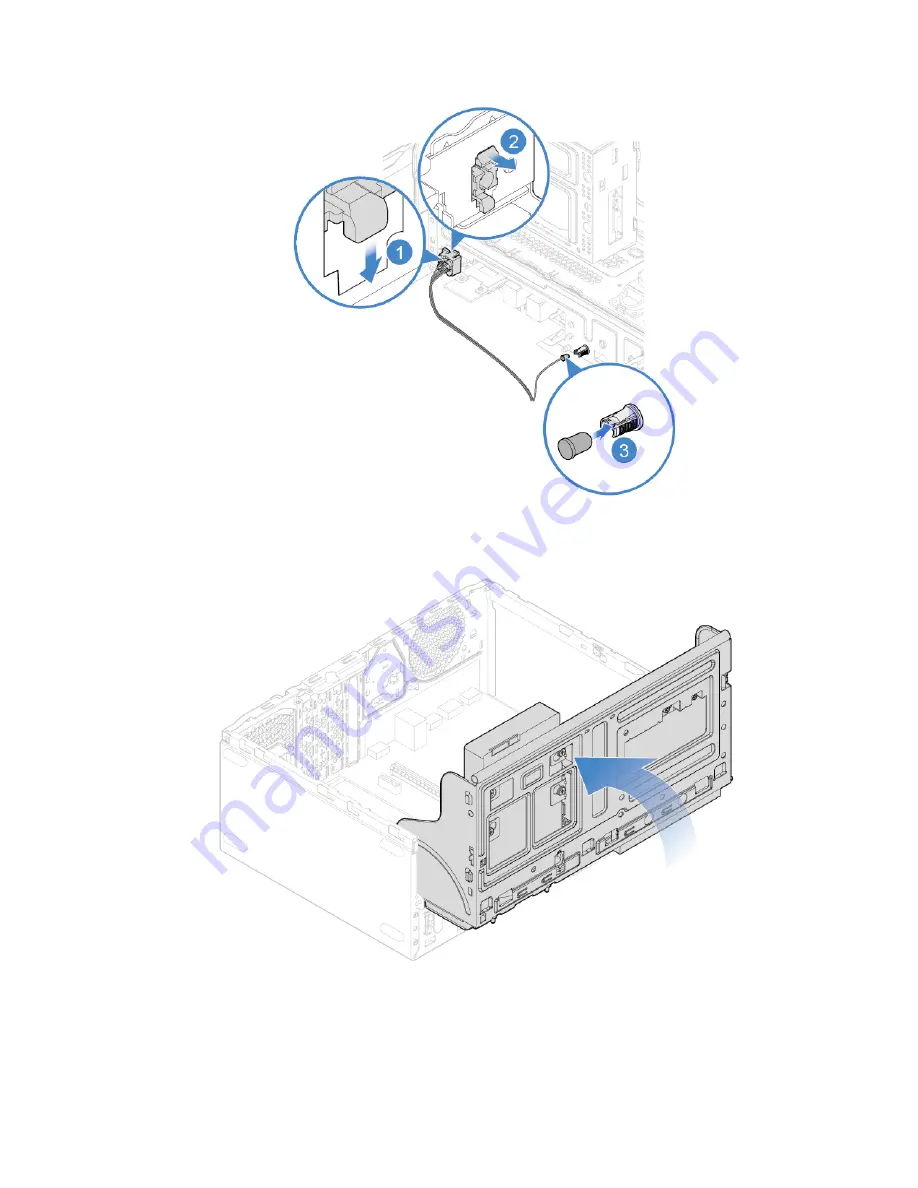
Figure 30. Installing the power button and storage drive indicator
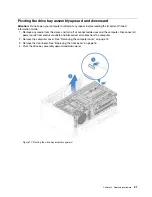
Figure 31. Pivoting the drive bay assembly downward
6. Connect the new power button cable to the system board.
7. Reinstall the removed parts. To complete the replacement, see “Completing the parts replacement” on
.
29
Summary of Contents for V330-15IGM
Page 1: ...V330 15IGM User Guide and Hardware Maintenance Manual Energy Star Machine Types 10TS and 10VY ...
Page 4: ...ii V330 15IGM User Guide and Hardware Maintenance Manual ...
Page 17: ...Figure 7 Locating FRUs including CRUs Chapter 4 Replacing hardware 13 ...
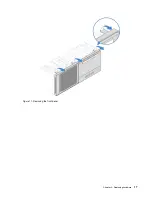
Page 21: ...Figure 11 Removing the front bezel Chapter 4 Replacing hardware 17 ...
Page 54: ...50 V330 15IGM User Guide and Hardware Maintenance Manual ...
Page 56: ...52 V330 15IGM User Guide and Hardware Maintenance Manual ...
Page 57: ......
Page 58: ......

