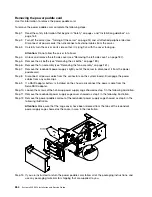


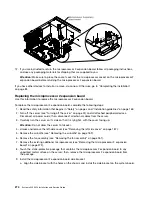
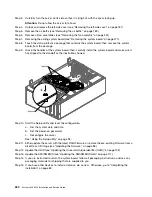


Step 10. Remove the microprocessor 2 expansion board (see “Removing the microprocessor 2 expansion
Step 11. Remove the existing microprocessor and heat sink (see “Removing a microprocessor and heat
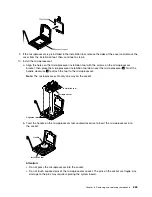
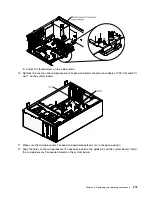
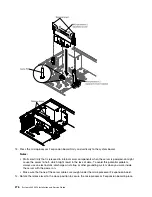
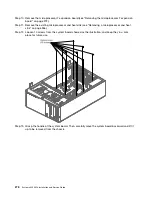
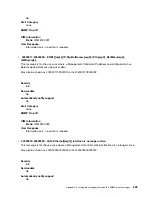
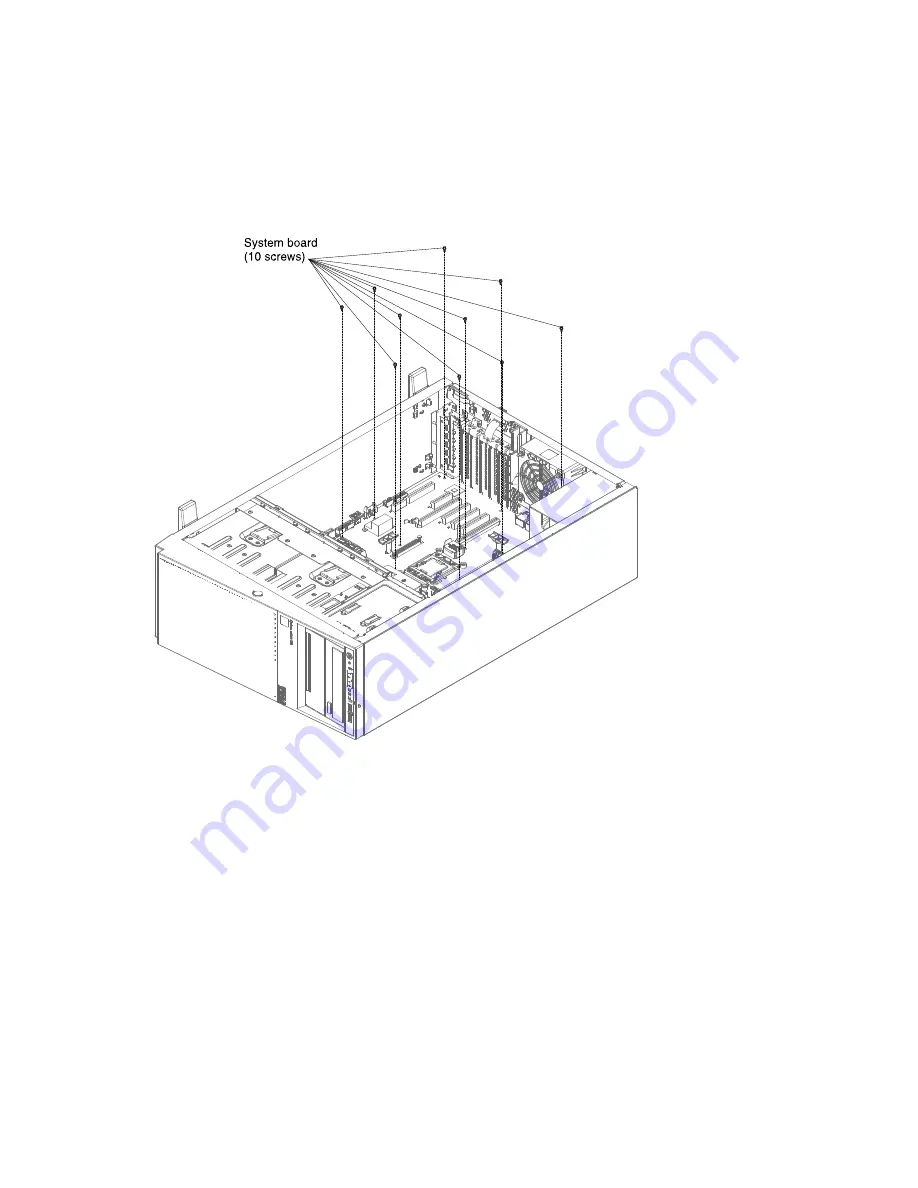
Step 12. Loosen 10 screws from the system board showed as the illustration, and keep they in a safe
place for future use.
Step 13. Grasp the handle of the system board. Then, carefully move the system board backward and lift it
up to be removed from the chassis.
278
System x3300 M4 Installation and Service Guide
Summary of Contents for x3300 M4 7382
Page 1: ...System x3300 M4 Installation and Service Guide Machine Type 7382 ...
Page 6: ...iv System x3300 M4 Installation and Service Guide ...
Page 14: ...xii System x3300 M4 Installation and Service Guide ...
Page 166: ...152 System x3300 M4 Installation and Service Guide ...
Page 176: ...162 System x3300 M4 Installation and Service Guide ...
Page 704: ...690 System x3300 M4 Installation and Service Guide ...
Page 888: ...874 System x3300 M4 Installation and Service Guide ...
Page 896: ...Taiwan BSMI RoHS declaration 882 System x3300 M4 Installation and Service Guide ...
Page 906: ...892 System x3300 M4 Installation and Service Guide ...
Page 907: ......
Page 908: ......


