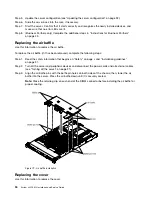
To replace the server cover, complete the following steps:
Step 1.
Make sure that all cables, adapters, and other components are installed and seated correctly
and that you have not left loose tools or parts inside the server. Also, make sure that all internal
cables are correctly routed.
Important:
Before you slide the cover forward, make sure that all the tabs on the front, rear, and
side of the cover engage the chassis correctly. If all the tabs do not engage the chassis correctly, it
will be very difficult to remove the cover later.
Step 2.
Position the cover on top of the server.
Step 3.
Slide the cover toward the front of the server.
Step 4.
Make sure that the cover correctly engages all the inset tabs on the server.
Step 5.
Press down the blue latch on the top (in the center of the front of the server) of the cover.
00000000000
00000000000
00000000000
00000000000
00000000000
00000000000
00000000000000
00000000000000
00000000000000
00000000000000
00000000000000
00000000000000
00000000000000
00000000000000
0000000
0000000
0000000
0000000
Figure 80. Cover installation
Step 6.
Slide the server all the way into the rack until it latches.
Connecting the cables
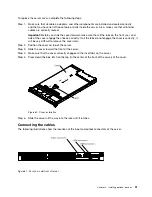
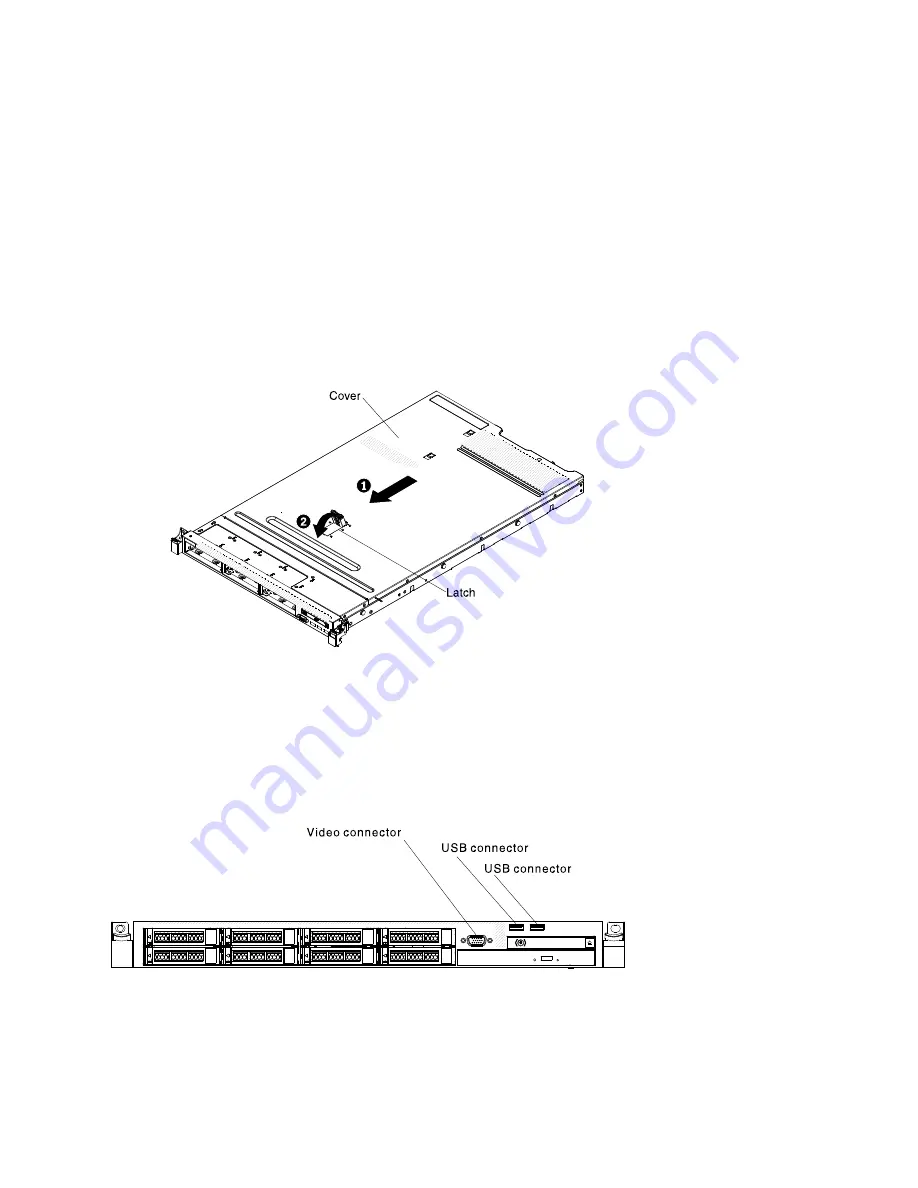
The following illustrations show the locations of the input and output connectors of the server.
00000000000000000000000000000000000
00000000000000000000000000000000000
00000000000000000000000000000000000
Figure 81. 2.5-inch model front of server
91
Summary of Contents for x3550 M4
Page 1: ...System x3550 M4 Installation and Service Guide Machine Type 7914 ...
Page 6: ...iv System x3550 M4 Installation and Service Guide ...
Page 178: ...164 System x3550 M4 Installation and Service Guide ...
Page 322: ...308 System x3550 M4 Installation and Service Guide ...
Page 828: ...814 System x3550 M4 Installation and Service Guide ...
Page 986: ...972 System x3550 M4 Installation and Service Guide ...
Page 990: ...976 System x3550 M4 Installation and Service Guide ...
Page 1005: ......
Page 1006: ......

