0000000000000000000000000
0000000000000000000000000
0000000000000000000000000
0000000000000000000000000
0000000000000000000000000
0000000000000000000000000
0000000000000000000000000
0000000000000000000000000
0000000000000000000000000
0000000000000000000000000
0000000000000000000000000
0000000000000000000000000
0000000000000000000000000
0000000000000000000000000
0000000000000000000000000
00000000000000000000000
00000000000000000000000
00000000000000000000000
00000000000000000000000
00000000000000000000000
00000000000000000000000
00000000000000000000000
00000000000000000000000
00000000000000000000000
00000000000000000000000
00000000000000000000000
00000000000000000000000
00000000000000000000000
0000000
0000000
0000000
0000000
0000000000000000000000000
0000000000000000000000000
0000000000000000000000000
0000000000000000000000000
0000000000000000000000000
0000000000000000000000000
0000000000000000000000000
0000000000000000000000000
0000000000000000000000000
0000000000000000000000000
0000000000000000000000000
0000000000000000000000000
0000000000000000000000000
0000000000000000000000000
0000000000000000000000000
000000
000000
000000
000000
000000
000000
000000
000000
000000
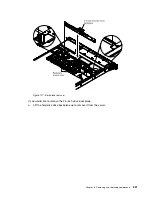
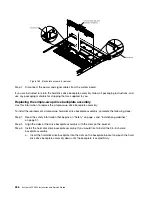
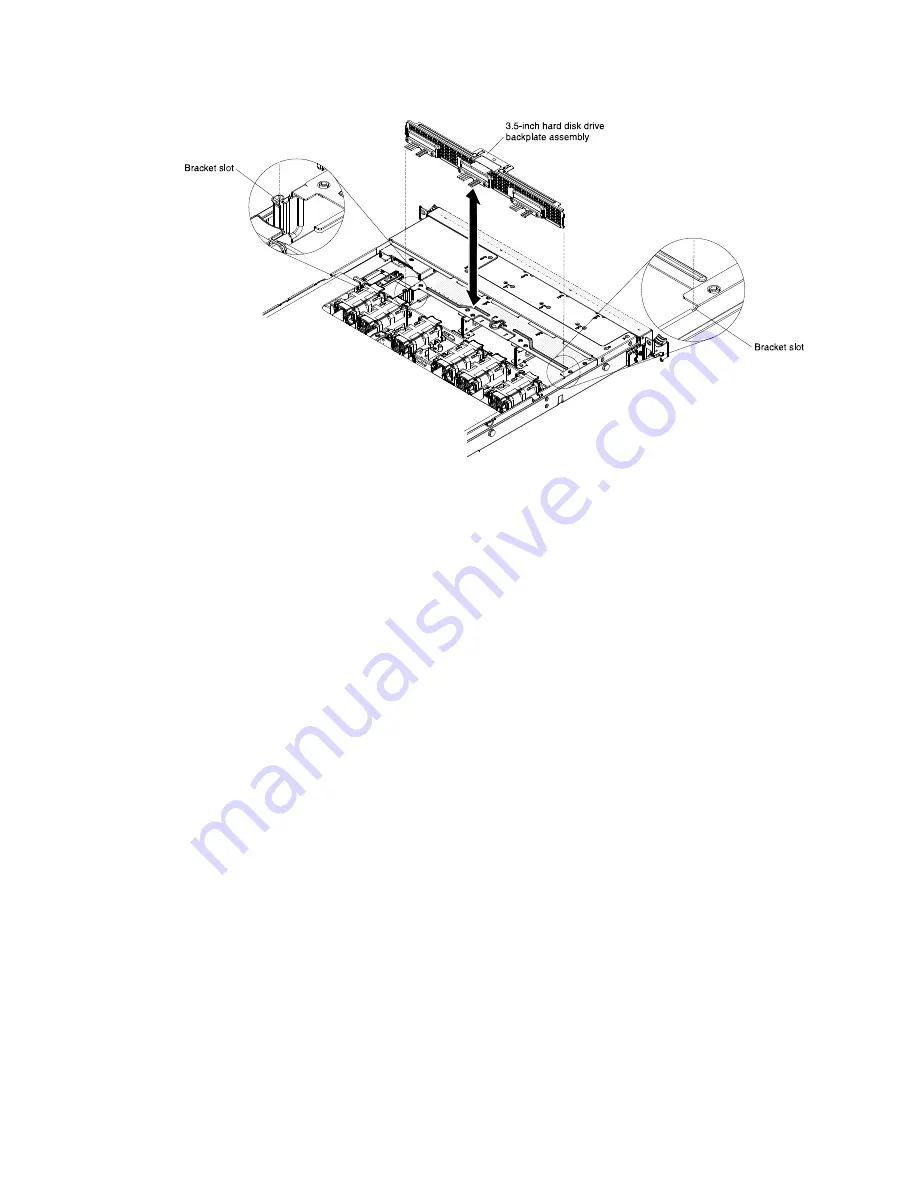
Figure 183. Backplate assembly removal
Step 7.
Disconnect the power and signal cables from the system board.
If you are instructed to return the hard disk drive backplate assembly, follow all packaging instructions, and
use any packaging materials for shipping that are supplied to you.
Replacing the simple-swap drive backplate assembly
Use this information to replace the simple-swap drive backplate assembly.
To install the replacement simple-swap hard disk drive backplate assembly, complete the following steps:
Step 1.
Read the safety information that begins on “Safety” on page v and “Installation guidelines”
on page 31.
Step 2.
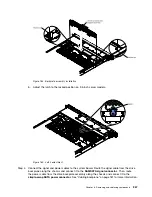
Align the sides of the drive backplate assembly with the slots on the bracket.
Step 3.
Install the hard disk drive backplate assembly.If you would like to install the 3.5-inch drive
backplate assembly.
a.
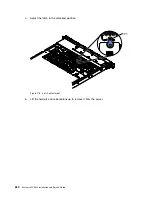
Insert the hard disk drive backplate into the slots on the backplate bracket and push the hard
disk drive backplate assembly down until the backplate is seated firmly.
266
System x3550 M4 Installation and Service Guide
Summary of Contents for x3550 M4
Page 1: ...System x3550 M4 Installation and Service Guide Machine Type 7914 ...
Page 6: ...iv System x3550 M4 Installation and Service Guide ...
Page 178: ...164 System x3550 M4 Installation and Service Guide ...
Page 322: ...308 System x3550 M4 Installation and Service Guide ...
Page 828: ...814 System x3550 M4 Installation and Service Guide ...
Page 986: ...972 System x3550 M4 Installation and Service Guide ...
Page 990: ...976 System x3550 M4 Installation and Service Guide ...
Page 1005: ......
Page 1006: ......

