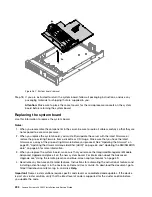
Attention:
When you handle static-sensitive devices, take precautions to avoid damage from static
electricity. For details about handling these devices, see “Handling static-sensitive devices” on
page 299.
Step 3.
Remove the top cover (see “Removing the top cover” on page 149).
Step 4.
Remove the air baffle (see “Removing the air baffle” on page 152).
Step 5.
If you are replacing microprocessor 1, remove the memory modules from DIMM connectors 6 and
7. If you are replacing microprocessor 2, remove the memory modules from DIMM connectors 18
and 19. See “Removing a memory module” on page 171 for instructions.
Step 6.
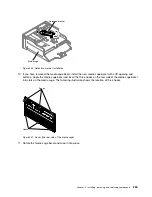
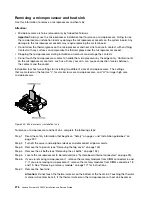
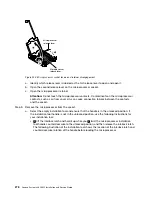
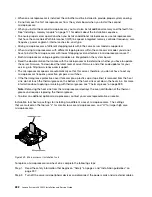
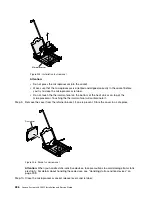
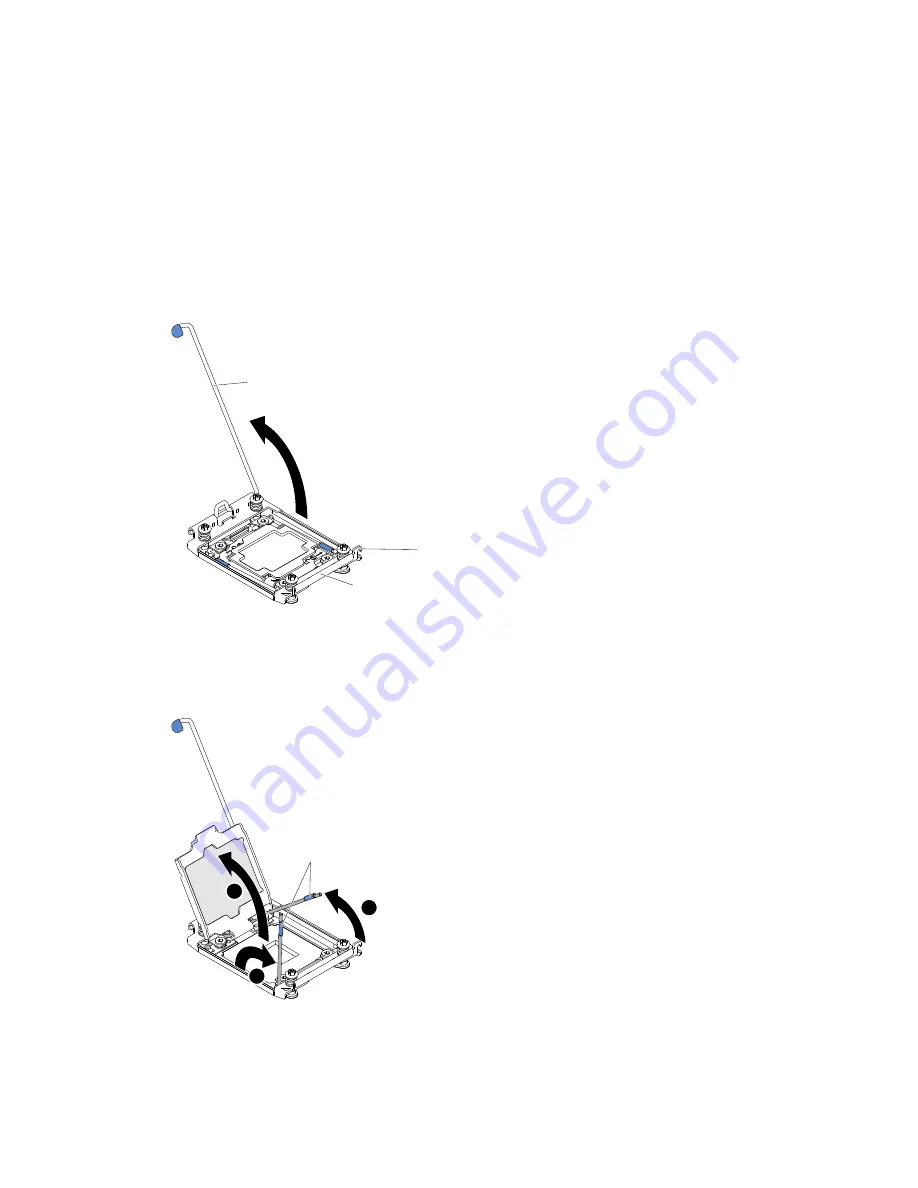
Rotate the heat sink retention module release lever to the open position.
Retainer bracket
Heat sink
release lever
Lock tab
Figure 250. Heat-sink lever rotation
Step 7.
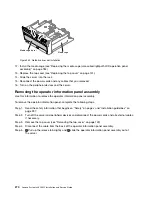
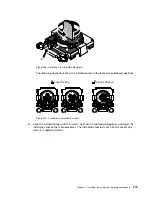
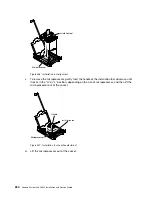
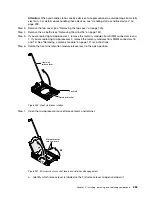
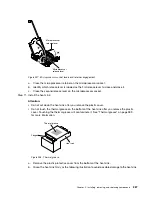
Open the microprocessor socket release levers and retainer:
1
3
2
Microprocessor
release levers
Figure 251. Microprocessor socket levers and retainer disengagement
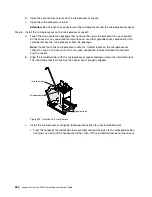
a.
Identify which release lever is labeled as the first release lever to open and open it.
Installing, removing, and replacing components
283
Summary of Contents for x3650 M5
Page 1: ...Lenovo System x3650 M5 Installation and Service Guide Machine Type 8871 ...
Page 47: ...Figure 35 System board switches jumpers and buttons Chapter 1 The System x3650 M5 server 35 ...
Page 60: ...48 Lenovo System x3650 M5 Installation and Service Guide ...
Page 80: ...68 Lenovo System x3650 M5 Installation and Service Guide ...
Page 124: ...112 Lenovo System x3650 M5 Installation and Service Guide ...
Page 146: ...134 Lenovo System x3650 M5 Installation and Service Guide ...
Page 1322: ...1310 Lenovo System x3650 M5 Installation and Service Guide ...
Page 1330: ...Taiwan BSMI RoHS declaration 1318 Lenovo System x3650 M5 Installation and Service Guide ...
Page 1339: ......
Page 1340: ......

