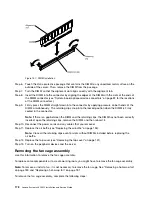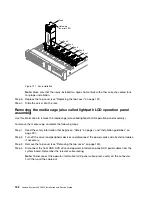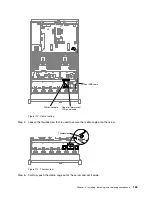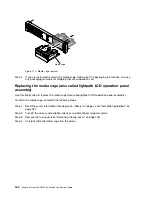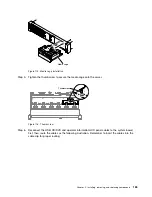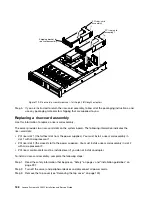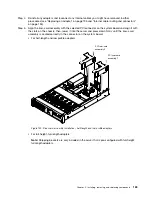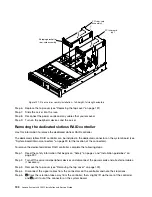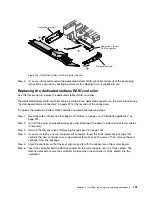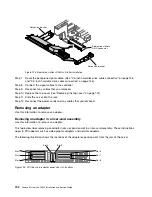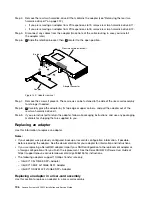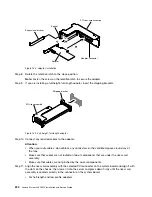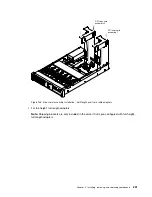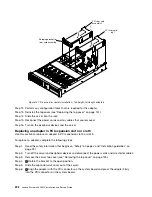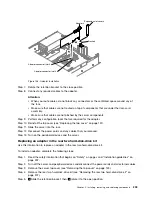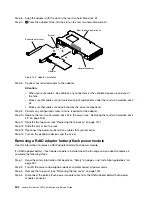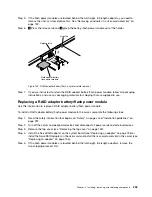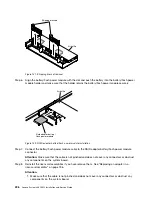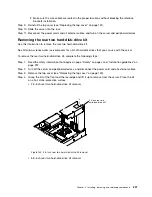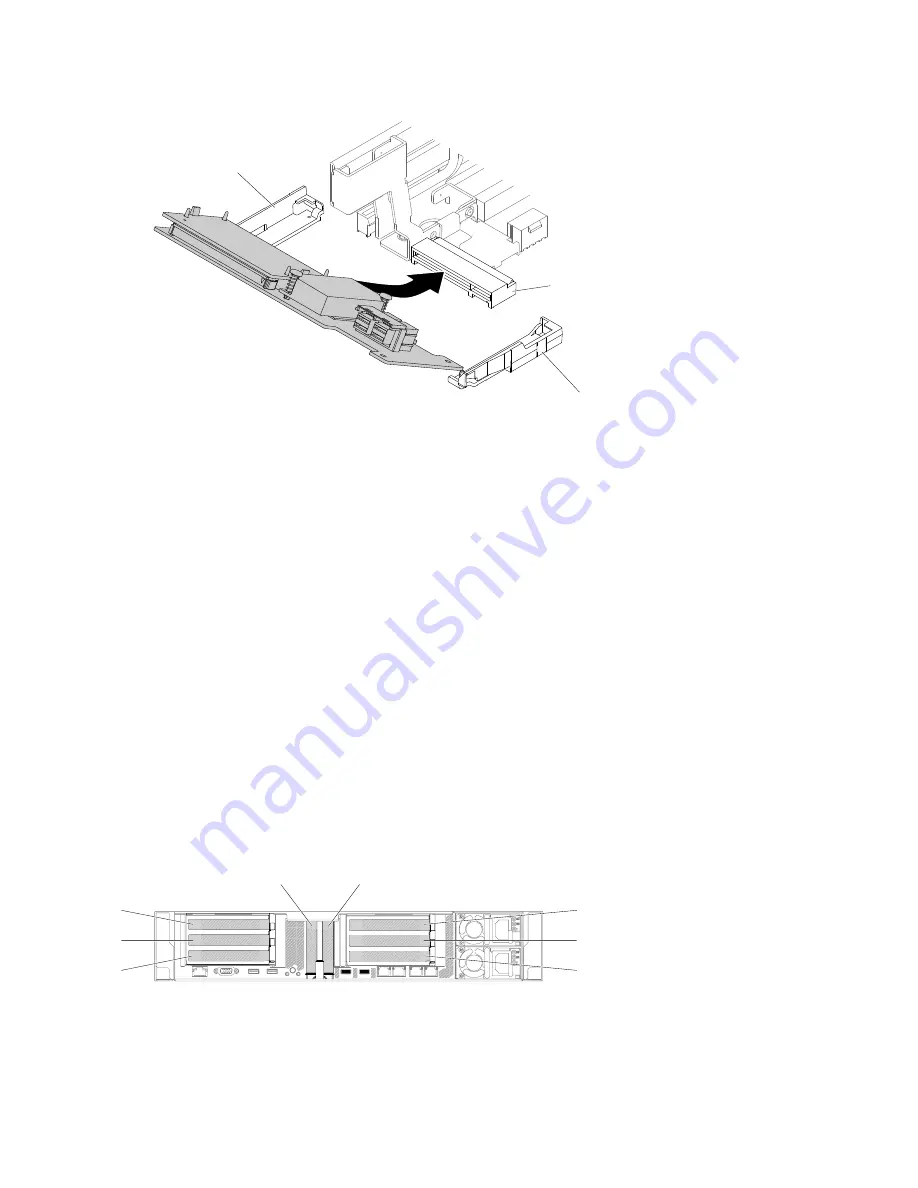
Dedicated slotless
RAID connector
Retention bracket
Retention bracket
Figure 123. Dedicated slotless RAID controller installation
Step 7.
Route the backplane signal cables. (See “2.5-inch hard disk drive cable connection” on page 136
and “3.5-inch hard disk drive cable connection” on page 146).
Step 8.
Connect the signal cables to the controller.
Step 9.
Reconnect any cables that you removed.
Step 10. Replace the top cover (see “Replacing the top cover” on page 151).
Step 11. Slide the server into the rack.
Step 12. Reconnect the power cords and any cables that you removed.
Removing an adapter
Use this information to remove an adapter.
Removing an adapter in a riser-card assembly
Use this information to remove an adapter.
This topic describes removing an adapter from a expansion slot in a riser-card assembly. These instructions
apply to PCI adapters such as video graphic adapters and network adapters.
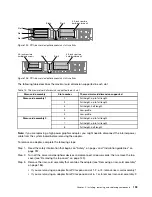
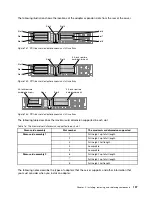
The following illustration shows the locations of the adapter expansion slots from the rear of the server.
000000
000000
000000
000000
000000
000000
00
00
00
00
00
00
00
0
0
0
0
0
0
0
0
0
0
00
00
00
00
00
000000
000000
000000
000000
000000
000000
Slot 1
Slot 2
Slot 3
Slot 6
Slot 7
Slot 8
Slot 4
Slot 5
000000
000000
000000
000000
000000
000000
Figure 124. PCI riser-card adapter expansion slot locations
192
Lenovo System x3650 M5 Installation and Service Guide
Summary of Contents for x3650 M5
Page 1: ...Lenovo System x3650 M5 Installation and Service Guide Machine Type 8871 ...
Page 47: ...Figure 35 System board switches jumpers and buttons Chapter 1 The System x3650 M5 server 35 ...
Page 60: ...48 Lenovo System x3650 M5 Installation and Service Guide ...
Page 80: ...68 Lenovo System x3650 M5 Installation and Service Guide ...
Page 124: ...112 Lenovo System x3650 M5 Installation and Service Guide ...
Page 146: ...134 Lenovo System x3650 M5 Installation and Service Guide ...
Page 1322: ...1310 Lenovo System x3650 M5 Installation and Service Guide ...
Page 1330: ...Taiwan BSMI RoHS declaration 1318 Lenovo System x3650 M5 Installation and Service Guide ...
Page 1339: ......
Page 1340: ......

