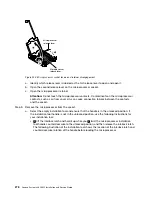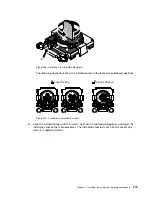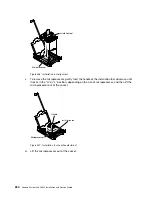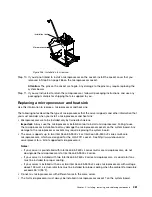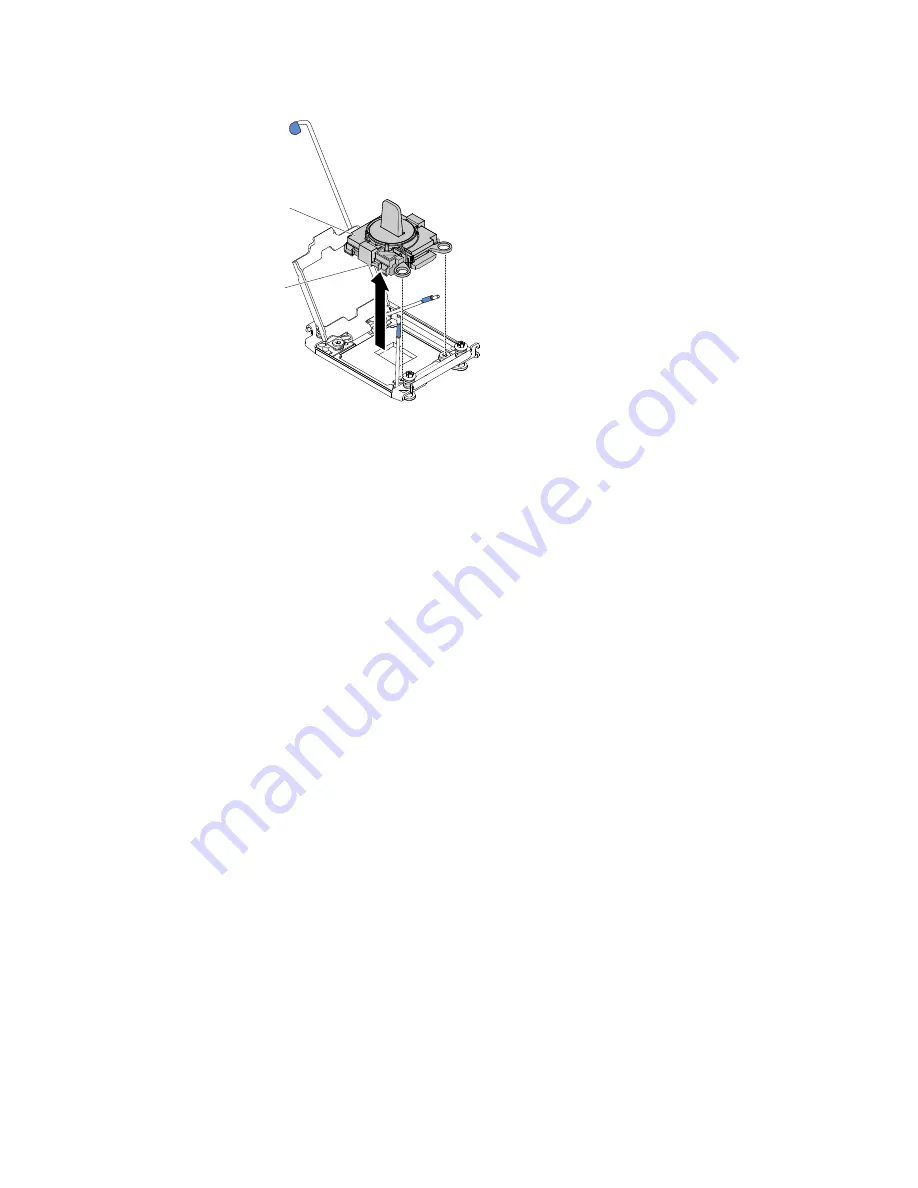
Installation tool
Microprocessor
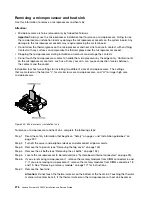
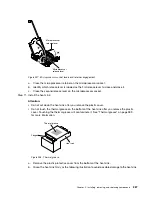
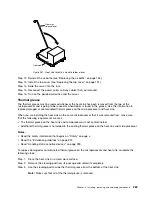
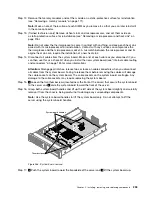
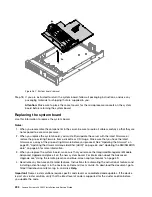
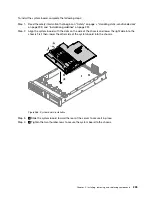
Figure 248. Installation tool removal
Step 10. If you do not intend to install a microprocessor on the socket, install the socket cover that you
removed in Step 9 on page 286 on the microprocessor socket.
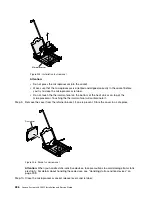
Attention:
The pins on the socket are fragile. Any damage to the pins may require replacing the
system board.
Step 11. If you are instructed to return the microprocessor, follow all packaging instructions, and use any
packaging materials for shipping that are supplied to you.
Replacing a microprocessor and heat sink
Use this information to replace a microprocessor and heat sink.
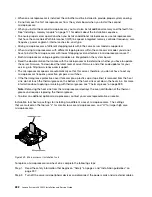
The following notes describe the type of microprocessor that the server supports and other information that
you must consider when you install a microprocessor and heat sink:
• Microprocessors are to be installed only by trained technicians.
Important:
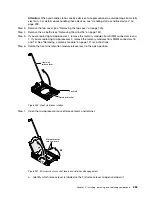
Always use the microprocessor installation tool to install a microprocessor. Failing to use
the microprocessor installation tool may damage the microprocessor sockets on the system board. Any
damage to the microprocessor sockets may require replacing the system board.
• The server supports up to two Intel Xeon E5-2600 v4 or Intel Xeon E5-2600 v3 series multi-core
microprocessors, which are designed for the LGA 2011 socket. See http://www.lenovo.com/
serverproven/ for a list of supported microprocessors.
Notes:
– If your server is preinstalled with Intel Xeon E5-2600 v4 series multi-core microprocessors, do not
downgrade the microprocessors to Intel Xeon E5-2600 v3 series.
– If your server is installed with two Intel Xeon E5-2600 v3 series microprocessors, six dual-rotor fans
must be installed for proper cooling.
– If your server is installed with one or two Intel Xeon E5-2600 v4 series microprocessors with wattage
above 135 watt, six dual-rotor fans must be installed for proper cooling when the ambient temperature
exceeds 35°C (95°F).
• Do not mix microprocessors with different cores in the same server.
• The first microprocessor must always be installed in microprocessor socket 1 on the system board.
Installing, removing, and replacing components
281
Summary of Contents for x3650 M5
Page 1: ...Lenovo System x3650 M5 Installation and Service Guide Machine Type 8871 ...
Page 47: ...Figure 35 System board switches jumpers and buttons Chapter 1 The System x3650 M5 server 35 ...
Page 60: ...48 Lenovo System x3650 M5 Installation and Service Guide ...
Page 80: ...68 Lenovo System x3650 M5 Installation and Service Guide ...
Page 124: ...112 Lenovo System x3650 M5 Installation and Service Guide ...
Page 146: ...134 Lenovo System x3650 M5 Installation and Service Guide ...
Page 1322: ...1310 Lenovo System x3650 M5 Installation and Service Guide ...
Page 1330: ...Taiwan BSMI RoHS declaration 1318 Lenovo System x3650 M5 Installation and Service Guide ...
Page 1339: ......
Page 1340: ......


