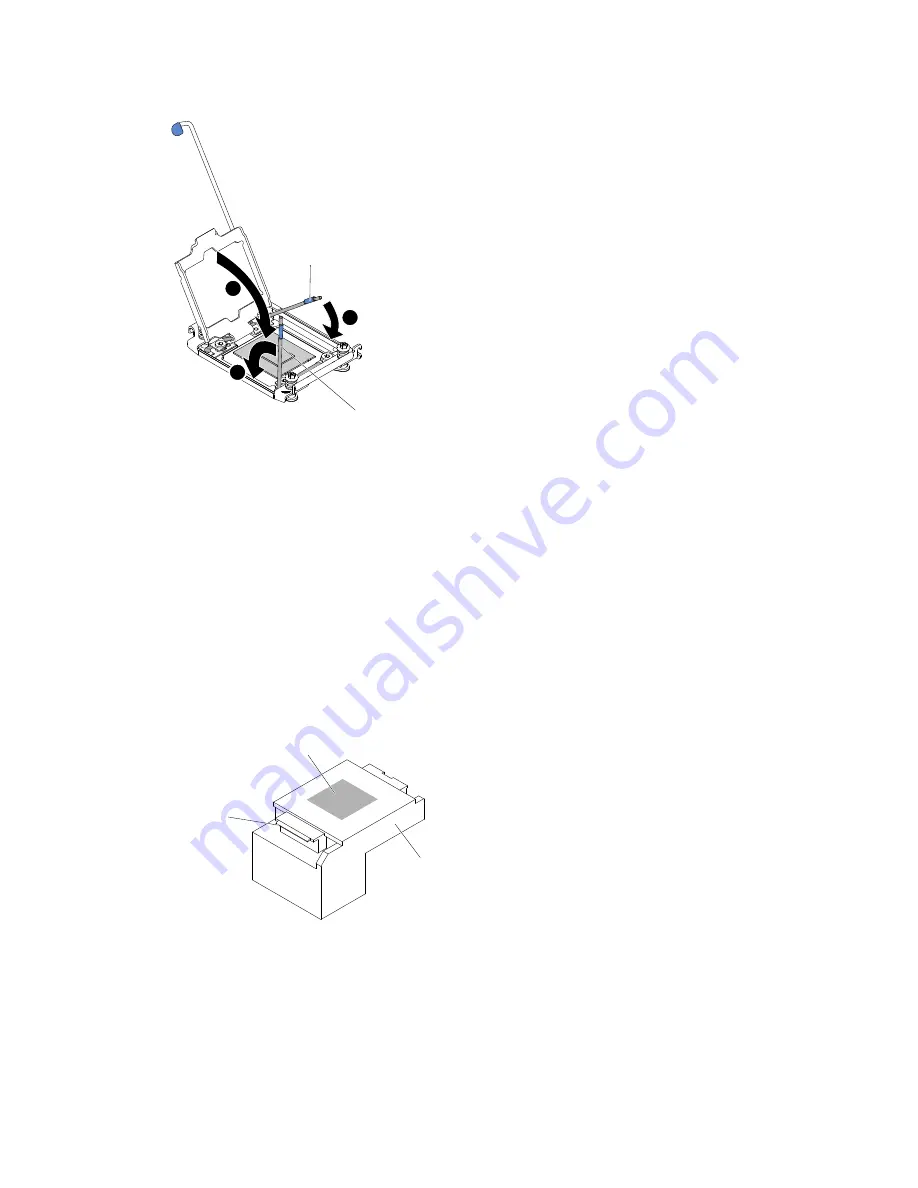
1
3
2
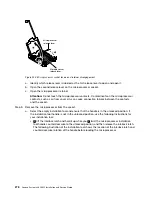
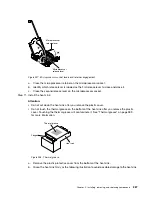
Microprocessor
release lever
Microprocessor
release lever
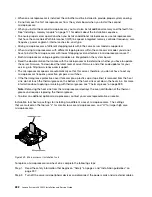
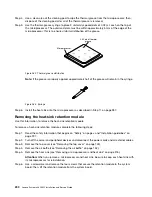
Figure 257. Microprocessor socket levers and retainer engagement
a.
Close the microprocessor retainer on the microprocessor socket.
b.
Identify which release lever is labeled as the first release lever to close and close it.
c.
Close the second release lever on the microprocessor socket.
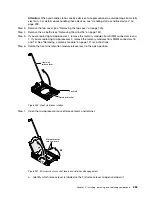
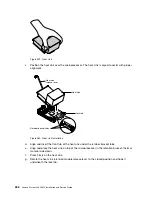
Step 11. Install the heat sink.
Attention:
• Do not set down the heat sink after you remove the plastic cover.
• Do not touch the thermal grease on the bottom of the heat sink after you remove the plastic
cover. Touching the thermal grease will contaminate it. See “Thermal grease” on page 289
for more information.
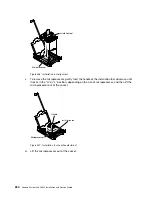
Heat sink
Thermal grease
Flange
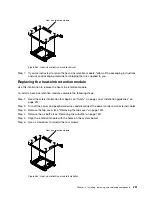
Figure 258. Thermal grease
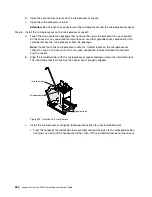
a.
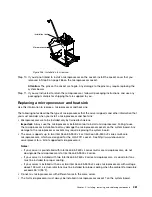
Remove the plastic protective cover from the bottom of the heat sink.
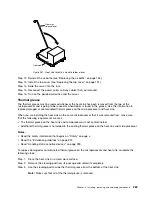
b.
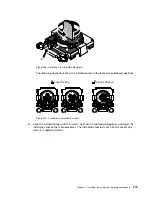
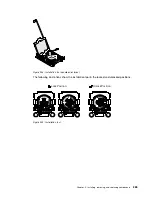
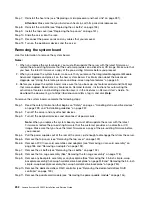
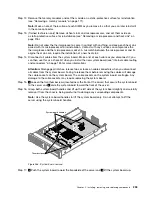
Grasp the heat sink firmly as the following illustration to avoid possible damage to the heat sink.
Installing, removing, and replacing components
287
Summary of Contents for x3650 M5
Page 1: ...Lenovo System x3650 M5 Installation and Service Guide Machine Type 8871 ...
Page 47: ...Figure 35 System board switches jumpers and buttons Chapter 1 The System x3650 M5 server 35 ...
Page 60: ...48 Lenovo System x3650 M5 Installation and Service Guide ...
Page 80: ...68 Lenovo System x3650 M5 Installation and Service Guide ...
Page 124: ...112 Lenovo System x3650 M5 Installation and Service Guide ...
Page 146: ...134 Lenovo System x3650 M5 Installation and Service Guide ...
Page 1322: ...1310 Lenovo System x3650 M5 Installation and Service Guide ...
Page 1330: ...Taiwan BSMI RoHS declaration 1318 Lenovo System x3650 M5 Installation and Service Guide ...
Page 1339: ......
Page 1340: ......

