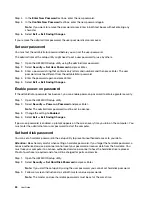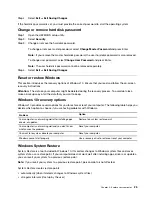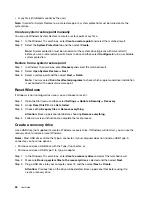
• at any time (if initiated manually by the user)
Note:
In order for System Restore to create restore points, system protection must be turned on for the
system drive.
Create a system restore point manually
You can use Windows System Restore to create a restore point at any time.
Step 1. In the Windows 10 search box, enter
Create a restore point
and select the matched result.
Step 2. Select the
System Protection
tab and then select
Create
.
Note:
System protection must be turned on for the system drive (typically with drive letter C)
before you can create restore points. Select a drive and then select
Configure
to turn on or disable
system protection.
Restore from a system restore point
Step 1. In Windows 10 search box, enter
Recovery
and select the matched result.
Step 2. Select
Open System Restore
➙
Next
.
Step 3. Select a restore point and then select
Next
➙
Finish
.
Note:
You may select
Scan for affected programs
to check which program and driver installation
is associated with a particular restore point.
Reset Windows
If Windows is not running well as usual, you can choose to reset it.
Step 1. Open the Start menu and then select
Settings
➙
Update & Security
➙
Recovery
.
Step 2. Under
Reset this PC
, click
Get started
.
Step 3. Choose either
Keep my files
or
Remove everything
.
Attention:
Back up personal data before choosing
Remove everything
.
Step 4. Follow on-screen instructions to complete the reset process.
Create a recovery drive
Use a USB drive (not supplied) to create a Windows recovery drive. If Windows will not start, you can use the
recovery drive to restore or reset Windows.
Notes:
Most USB drives utilize the Type-A connector. If your computer does not include a USB Type-A
connector, you have two options:
• Purchase and use a USB drive with the Type-C connector, or
• Purchase and use a USB Type-C to Type-A adapter
Step 1. In the Windows 10 search box, enter
Create a recovery drive
and select the matched result.
Step 2. Make sure
Back up system files to the recovery drive
is selected and then select
Next
.
Step 3. Plug a USB drive into your computer, select it, and then select
Next
➙
Create
.
Attention:
Previous files on the drive will be deleted. Back up personal files before using it to
create a recovery drive.
26
User Guide
Summary of Contents for Yoga Slim 7 15ITL05 82AC001EBM
Page 1: ...User Guide IdeaPad 5 14 05 and IdeaPad 5 15 05 ...
Page 4: ...ii User Guide ...
Page 6: ...iv User Guide ...
Page 8: ...Base Figure 2 IdeaPad 5 14 05 base view Figure 3 IdeaPad 5 15 05 base view 2 User Guide ...
Page 18: ...12 User Guide ...
Page 26: ...20 User Guide ...
Page 34: ...28 User Guide ...
Page 40: ...34 User Guide ...


