Electric Power Generation
1
Installation and maintenance
1
5876 en - 2020.01 / a
TALA44
Low Voltage Alternators - 4 pole
4.6 - Dismantling, reassembly
(WARNING)
During the warranty period, this operation
should only be carried out in an approved
workshop or in our factory, otherwise the
warranty may be invalidated.
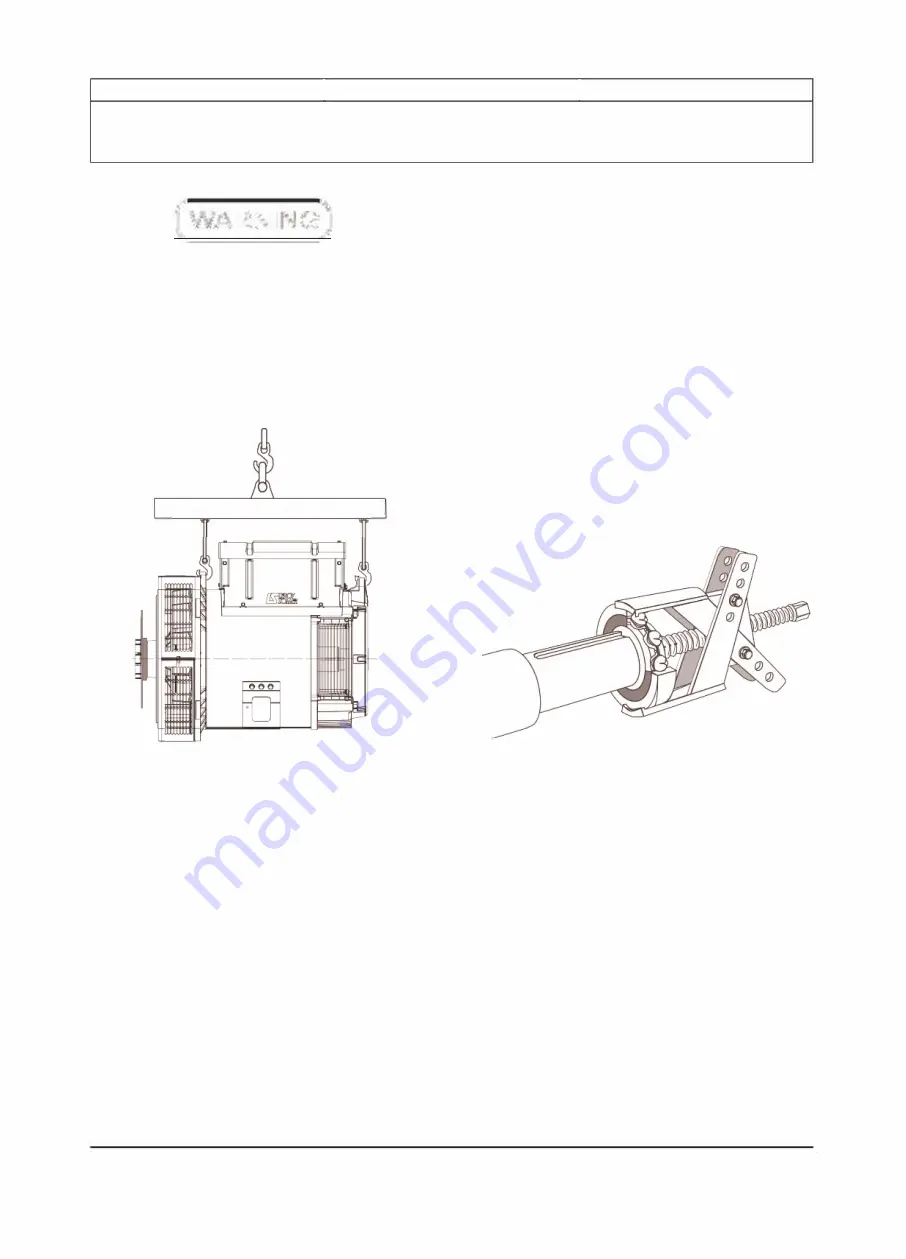
Whilst being handled, the machine
should remain horizontal (rotor not
locked when moved). Check how much
the machine weighs before choosing the
lifting method.
c=:J c=:J c=:J c=:J c=:J
• Tools required
To fully dismantle the machine, we
recommend using the tools listed below:
-1 ratchet s extension
- 1 torque wrench
-1 set of flat spanners: 7, 8, 10, 12 mm
- 1 socket set: 8, 10, 13, 16, 18, 21, 22,
24 mm
- 1 Allen key: size 5 (eg. Facom: ET5), size 6
(ET6), size 10 (ET10, size 14 (ET14)
-1 T20 and T30 TORX bit
- 1 puller (U35)/(U32/350)
• Boit tightening torque
See section 5.4.
• Access to diodes
- Remove the air intake grille [51 ].
- Check all 3 modules using an ohmmeter or
a battery lamp.
-Refit the modules.
- Refit the air intake grille [51].
• Access to connections and the
regulation system
The terminais are accessed directly by
removing the terminal box lid [48].
• Replacing the NDE bearing on single
bearing machines
Dismantling
- Remove the terminal box lid [48].
- Unscrew the fixing clamps on the power
output cables, remove the connector from
the exciter.
-Remove the 4 nuts on the tie rods.
- Remove the NOE shield [36] using a puller:
eg. U.32 -350 (FACOM).
-Remove the antifriction bearing [70] using
a boit puller.
Reassembly
-Heat the inner slipring of a new bearing by
induction or in a drying oven at 80
°
C (do not
use an oil-bath) and fit it to the machine.
- Place the preloading wavy washer [79] in
the shield and fit a new O ring seal [349].
Refit the NOE shield and pass the bundle of
wires between the top bars of the shield.
- Refit the fixing clamps on the cables and
the exciter connector.
LEROY-SOMER '"
19


