
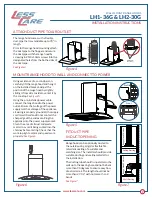
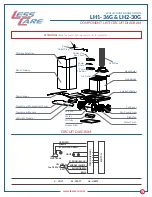
Using assistance of a second person,
carefully lift the range hood and hang it
on the installed bracket. Adjust the
position of the range hood by slightly
sliding it from side to side to center it by
the cooktop.
See Figure 5
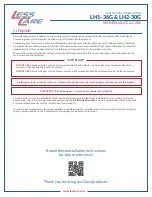
Using the pre-installed power cable
connect the range hood to the power
outlet. Ensure that voltage of the power
supply matches voltage of the appliance,
all wiring is properly grounded, the supply
cord is well fixed and do not contact the
sharp edge of the enclosure. Plug the
appliance into the power supply socket.
Clean the area of all dust and waste
matter to avoid it being sucked into the
chimney before testing. Check that the
work top lights, motor and speed work
properly.
See Figure 6
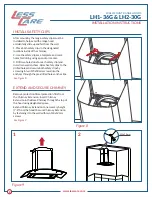
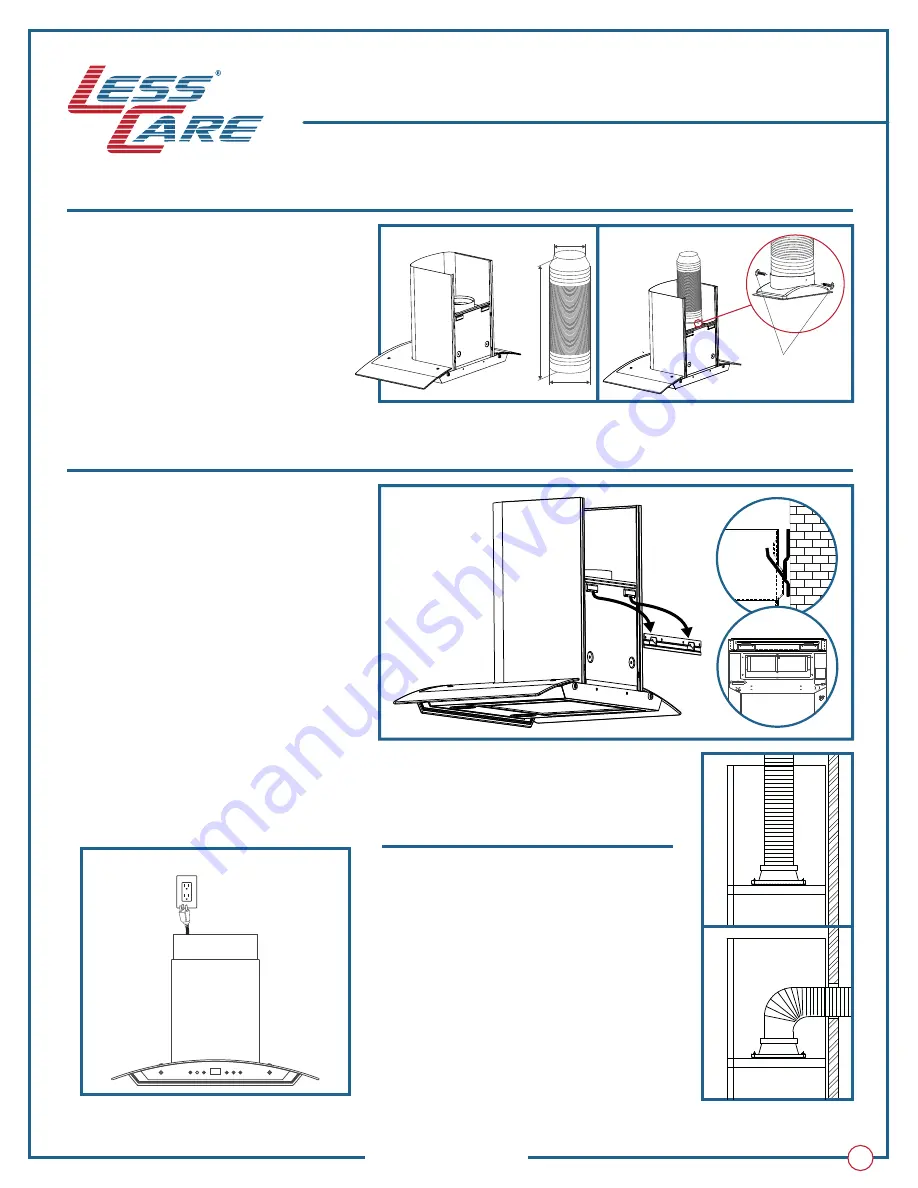
Range hood can be optionally ducted to
the outside using a rigid or flexible fire
retardant ducting of a suitable and
matching size. The installer should provide
suitable ducting and sealing material for
the installation.
The ducting tube should run parallel to the
wall up to the ducting hole and not be bent
more than 90 degrees to ensure easy flow
of extracted air. The length should not be
more than 29 1/2' with not more than 2
bends.
See Figure 7
Figure 4
Figure 5
Figure 7
Figure 6
www.lesscare.com
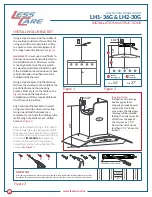
LH1-36G & LH2-30G
WALL MOUNT RANGE HOODS
INSTALLATION INSTRUCTIONS
7
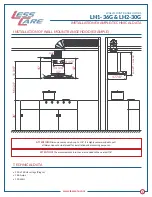
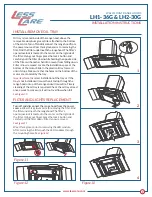
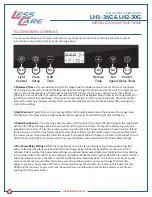
ATTACH DUCT PIPE TO AIR OUTLET
MOUNT RANGE HOOD TO WALL AND CONNECT TO POWER
The range hood comes with a flexible
duct pipe that is extendable up to 70" in
length.
Prior to the range hood mounting attach
the duct pipe to the flopper and secure
the duct pipe with the range hood by
screwing in 2 M3x10mm screws into the
designated holes from the bothe sides of
the duct pipe.
See Figure 4
M3x10mm
(2 screws)
Extendable to 70"
4"
6"
Profile
Front
FIT DUCT PIPE
IN DUCT OPENING
Range Hood Chimne
y
Range Hood Chimne
y
Ceiling Ducting
Wall Ducting


