INSTALLATION
8
INSTALLATION
9
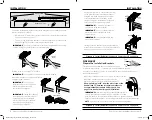
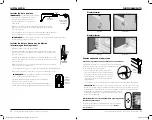
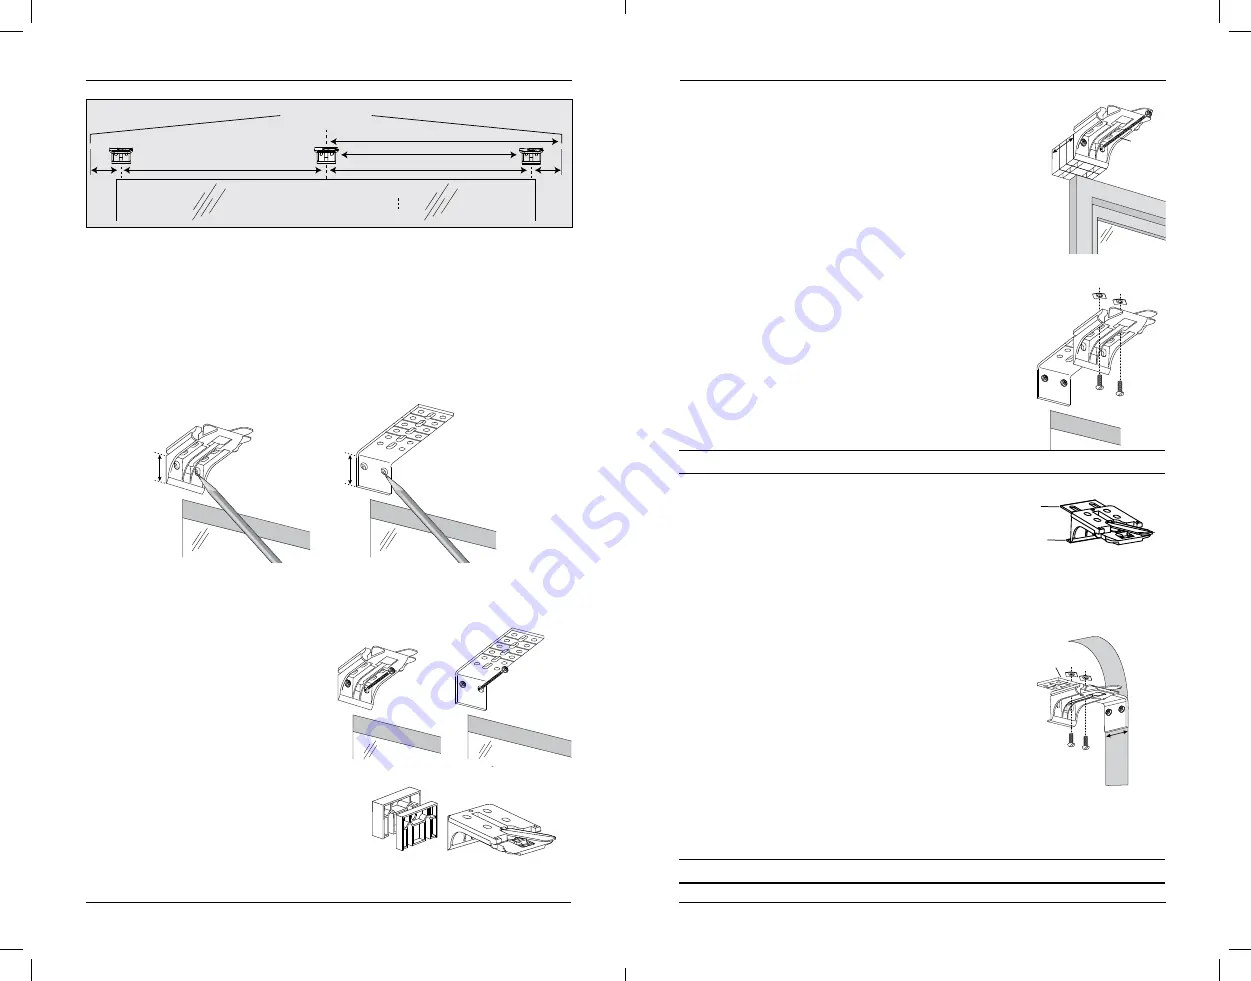
• Center the installation brackets or extension brackets on your marks and mark
where to drill the screw holes.
— A minimum 1
1
⁄
8
" flat vertical surface is required for the installation brackets.
Extension brackets require 1
1
⁄
4
"
— The tops of the installation brackets or extension brackets should be at the
desired height. The brackets should be level and aligned.
IMPORTANT:
The rear of the brackets must be flush against a flat mounting
surface. Do NOT mount brackets on curved molding.
• Drill the screw holes using a
3
⁄
32
" drill bit.
IMPORTANT:
Use drywall anchors when mounting into drywall.
• Attach the installation or extension brackets
using the screws provided.
IMPORTANT:
The tops of the
installation brackets or extension
brackets must be level with
their front edges aligned.
IMPORTANT:
If using the standard
battery pack, use a minimum of
3
⁄
4
"
spacer block(s) per installation
bracket to provide the clearance
required for the battery pack
and battery pack bracket.
• If using spacer block(s): stack spacer block(s)
on the backside of the installation brackets.
Using #6 Hex Head Screws long enough for
secure installation (not provided), install
screws through the installation bracket and
spacer block(s) into mounting surface.
IMPORTANT:
Do not add more than 1
1
⁄
2
"
of clearance using spacer blocks.
IMPORTANT:
The tops of the installation
brackets must be level with the front
edges aligned.
IMPORTANT:
Use drywall anchors when
mounting into drywall.
• If using extension brackets, attach an installation
bracket to the underside of each extension bracket
using the speed nuts and screws provided
Proceed to “Install Batteries/Connect to Power Source” on page 10.
SIDE MOUNT
Prepare the Installation Brackets
Side mount the headrail when conventional mounting
techniques will not work — for example, in an arched window opening.
USE pliers or heavy-duty scissors to remove BOTH the top and bottom tabs on
the installation bracket.
• Mount the extension brackets on a surface at least 1
1
⁄
4
" wide.
• Attach the installation brackets to the extension
brackets using the provided screws and speed nuts.
Allow a minimum of 18" from the motor side of the
headrail and 15" between installation brackets to
accommodate the standard battery pack. See
page 11 for standard battery pack installation.
IMPORTANT:
When securing side mounted shadings into a
surface other than a secure wall stud, use medium to heavy-
duty wall anchors (not provided). Match anchors to the wall thickness.
Failure to mount the brackets securely may result in injury or property damage.
NOTE
: Spacer blocks cannot be used with side mount installations.
Proceed to “Install Batteries/Connect to Power Source” on page 10.
Battery-Powered Motorized Operating System
Battery-Powered Motorized Operating System
Top
Tab
Bottom
Tab
1
/
2
"
1
/
4
"
Spacer Blocks
Speed Nuts
Screws
Extension
Bracket
1
1
/
4
"
Minimum
Depth
1
1
/
8
"
Extension
Bracket
1
1
/
4
"
1
1
/
2
"
Maximum
Spacer
Blocks
Longer
Screw
Headrail End Marks
Window Opening
Motor
Side
18" Minimum for Standard Battery Pack
Space Evenly
Space Evenly
2"
2"
15"
18-0053-026_Sheer_Motorized_Install_Guide_F_wu.indd 8-9
2/26/19 10:37 AM


