INSTALLATION
10
INSTALLATION
11
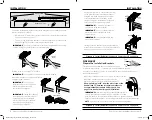
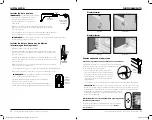
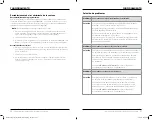
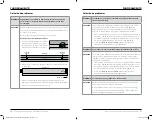
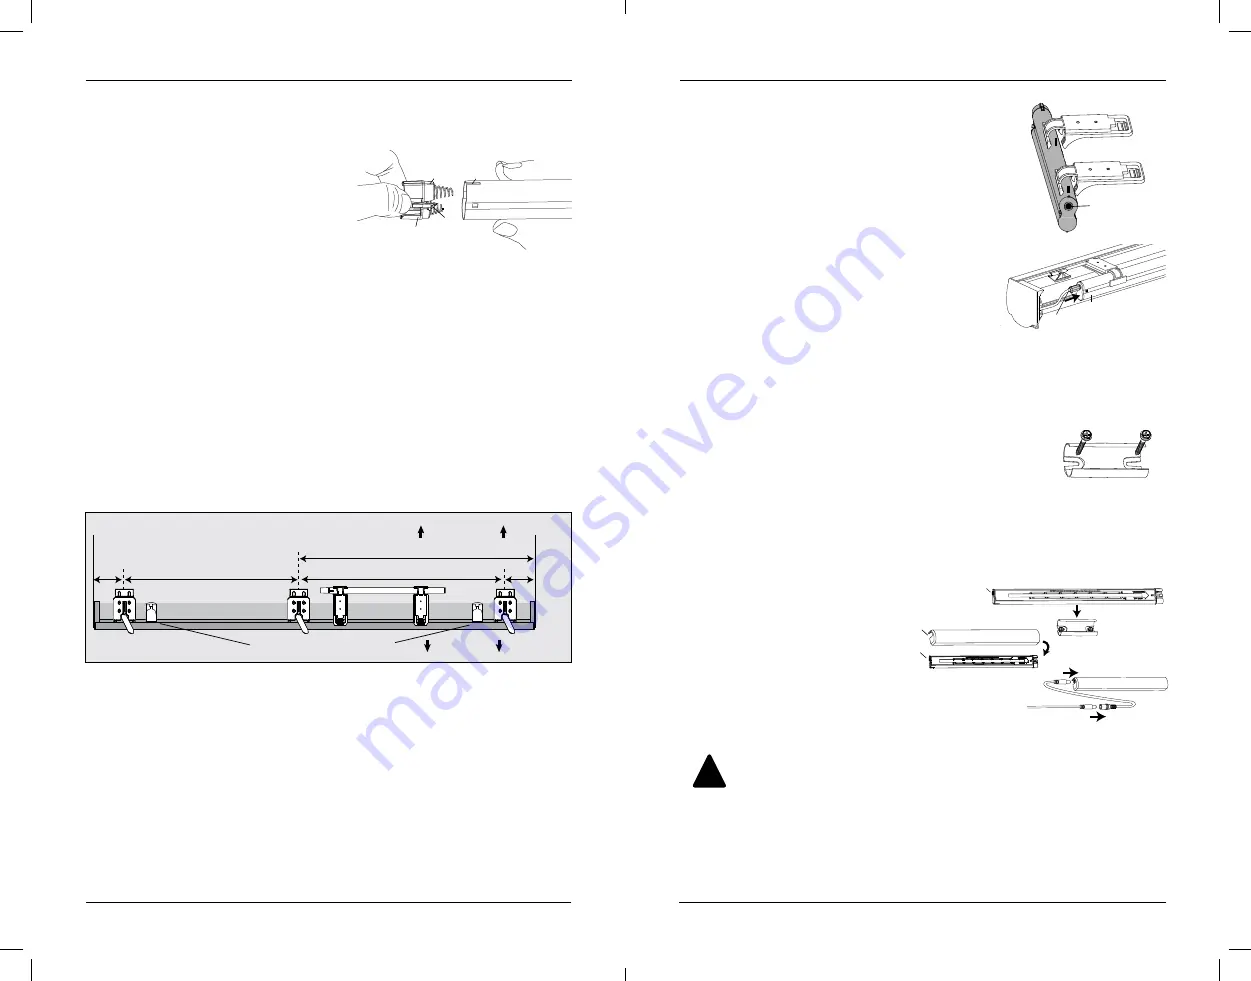
Install Batteries/Connect the Power Source
Install the Batteries into the Battery Pack
• Squeeze the cap latch to release the cap.
• Remove the cap from the battery pack.
• Install the batteries according to the
instructions on the battery pack label.
— AA alkaline batteries are recommended
for use with battery-powered shadings.
These will provide approximately one year of operation, depending on usage.
Lithium and rechargeable batteries are NOT recommended.
• Replace the cap.
— Align the tab with the end of the pack.
— Press the cap on until it latches.
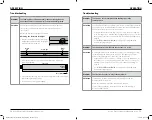
Install Standard Battery Pack Clips
If using satellite battery pack see “Mounting a satellite battery pack” on page 11.
— The standard battery pack needs to be installed on the motor sided of headrail.
— To ensure the battery pack fits properly leave a minimum of 15" between the
inside area of the two installation brackets that are closest to the motor side
of the headrail.
• Measure the correct battery pack clip location prior to installation. Make sure that the
battery clips will not interfere with mounting brackets.
NOTE
: It is difficult to adjust or remove clips once they have been snapped into
the headrail.
• Firmly push the battery pack clips, one at a time, into the headrail until it clicks.
• Carefully pull on each battery pack clip to ensure it is installed securely.
• The clips can be slightly adjusted by gently tapping on the side of the clip adjusting
it to desired position on headrail.
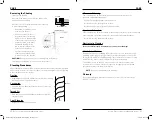
Install Standard Battery Pack
Mount the Standard Battery Pack
into the Battery Pack Clips
• Place the battery pack with its socket toward the
motor end of the shading.
• Push the battery pack straight up into the battery pack
clips until it snaps into place. Check to make sure the
battery pack is secure.
IMPORTANT:
Be sure the cables do not become
pinched by the battery pack clips during installation.
Damage or overheating of components could result.
Plug the Power Cable into the Battery Pack
• From the back of the shading headrail, connect the power cable (from the motor
side) into the socket on the battery pack.
• Secure the power cord using wire retainer provided.
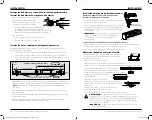
Mounting Satellite Battery Pack
• Decide where you want to mount the wall mount bracket. A
satellite battery pack may be mounted in any orientation.
• Mark the screw holes.
• Drill the screw holes using a
3
⁄
32
" drill bit.
• Remove the backing from the double-sided tape. Press the bracket into place.
• Attach the bracket using the screws provided.
• Position the battery pack so the power cable is easily connected to the socket.
• Snap the battery pack into the bracket.
• Replace the cover with the slot aligned
to the socket in the battery pack.
• Plug the power cable from the
shading into the extension cable.
• Plug the other end of the extension cable into the
socket in the battery pack.
• Secure the extension cable using wire retainers(not provided)
WARNING:
Make sure all extension cables are secured. Young children can
STRANGLE in cords. They can also wrap cords around their necks
and STRANGLE.
Electrical shock and/or a fire hazard may occur, if not
properly installed.
IMPORTANT:
If hiding the cable behind the shade make sure it does not
impede the operation of the shade.
Battery-Powered Motorized Operating System
Battery-Powered Motorized Operating System
Shadings with Standard Battery Pack
Motor
Side
Jamb
Jamb
Limit stops should be equal
distance from the ends of headrail.
18" Minimum for Standard Battery Pack
Shadings with Optional Satellite Battery Pack
Motor
Side
Jamb
Jamb
2"-3"
Space Evenly
Space Evenly
2"-3"
2"-3"
Space Evenly
Space Evenly 15"
2"-3"
Top View
WINDOW SIDE
ROOM SIDE
WINDOW SIDE
ROOM SIDE
Power
Cable
Battery
Pack
Wall Mount Bracket
Socket
Battery Wand Cover
Socket
Slot
Battery Pack Cover
Extension
Cable
Power Cable
from Shading
Tab
Slot
Cap
Latch
Battery
Pack
Squeeze
Place the socket
toward the motor end.
!
18-0053-026_Sheer_Motorized_Install_Guide_F_wu.indd 10-11
2/26/19 10:37 AM


