16
ENGLISH
Battery Information
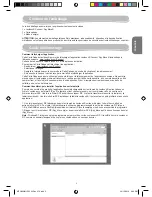
1. Use a screwdriver to open the battery door located under the device.
2. Remove the battery door and insert 4 x AA/LR6 1.5V
type batteries (not included) observing the polarity indicated
inside the battery compartment and as per the diagram shown opposite.
3. Close the battery compartment and tighten the screw.
WARNING:
Mal-function or loss of memory may be caused by strong frequency interference or electrostatic discharge.
Should any abnormal function occur, reset the unit or remove the batteries and insert them again. If the problem persists,
read the instructions carefully to ensure that nothing has been omitted.
Non-rechargeable batteries are not to be recharged. Rechargeable batteries are to be removed
from the toy before being charged. Rechargeable batteries are only to be charged under adult
supervision. Different types of batteries or new and used batteries are not to be mixed. Only
batteries of the same or equivalent type as recommended are to be used. Batteries are to be
inserted with the correct polarity. Exhausted batteries are to be removed from the toy. The supply
terminals are not to be short circuited. Do not throw batteries into a fire. Remove the batteries if
you are not going to use the game for a long period of time.
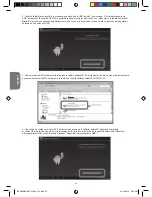
The network name created by your car (that you need to connect to in order to play) is of the following format:
MFG230_ XXXXXXXXXXXX
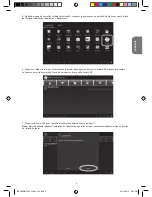
2. For information on how to connect to a Wi-Fi network, please refer to the instruction manual of your tablet. Choose the
Wi-Fi network with the same name as the one written on the SSID label (under the car).
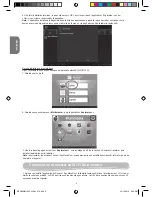
3. Once connected to the Wi-Fi network, exit the settings of your tablet and open the Connect’ Spy Move® application. The
blue LED stops blinking and stays on. The view captured by the camera is displayed on the video screen.
Note:
once connected to the car’s Wi-Fi, you will not be able to access the browser. To use Internet, please connect to
another Wi-Fi network.
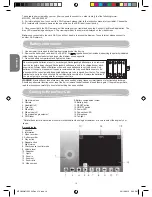
Getting to Know Your Car
1. Night vision lens
2. Camera
3. Headlight (x2)
4. Tyre (x4)
5. Wheel (x4)
6. Wheel cap (x4)
7. Front wheel angle selector *
8. SSID label
* Rotate the selector in clockwise or counter clockwise direction using a screwdriver or a coin to select the angle of your
choice.
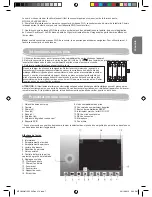
Screen display
1. Joystick
2. Information
3. Video recorder
4. Action recorder
5. Play action
6. Repeat action
7. Night vision
8. Gravity sensor control mode
9. Volume level
10. Snapshot
11. Lights
12. Zoom in
13. Zoom out
14. Zoom ratio
15. Video screen
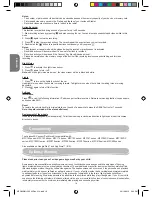
9. Battery compartment screw
10. Battery door
11. RESET button
12. ON/OFF switch
13. Power LED
14. Connection LED
15. Microphone
16. Tail-light
MFG230IM1523_23Dec_V14.indb 16
23/12/2013 2:24 PM


