NOTE
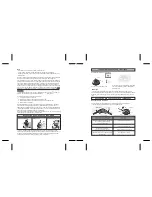
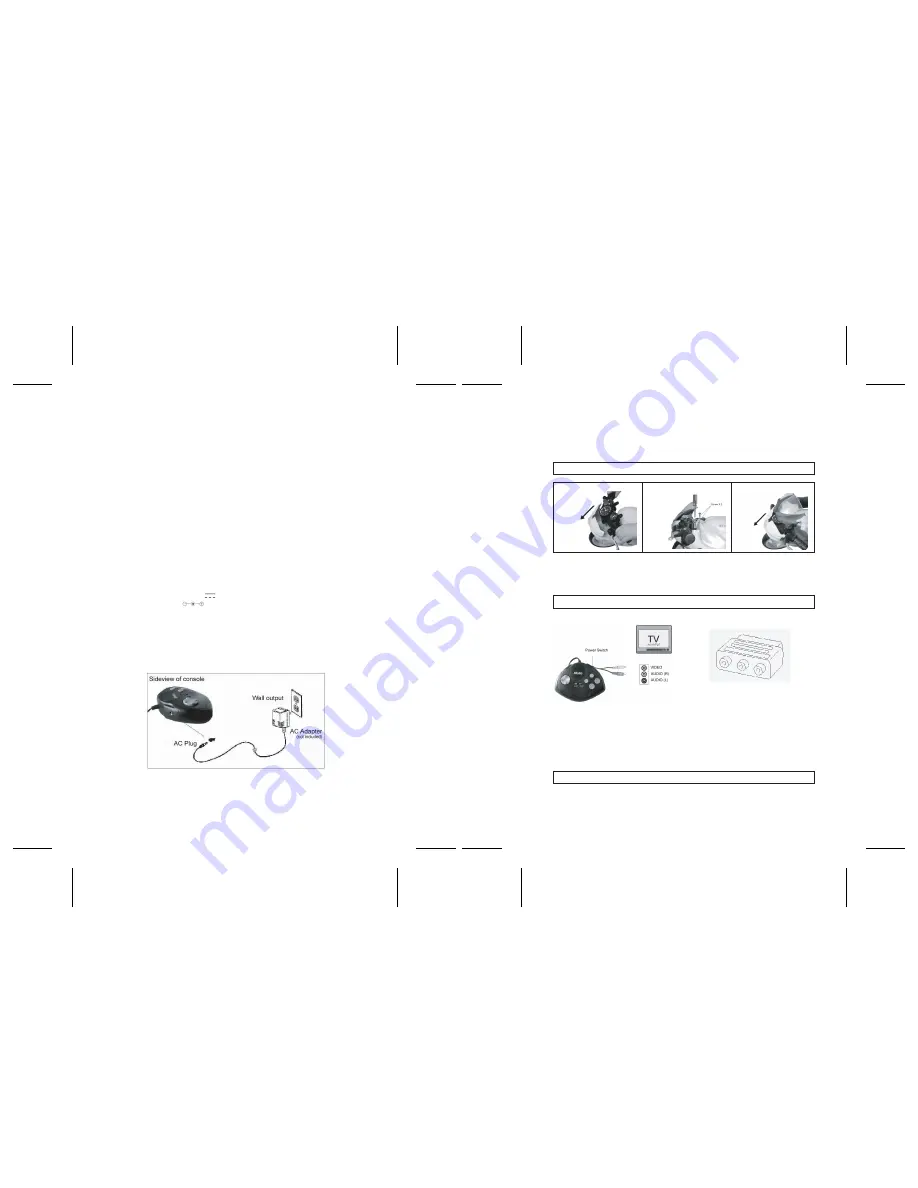
Connecting to AC Adapter
- For best results, use 8 brand new batteries.
- Make sure battery insertion is in correct direction.
- Toy is not to be connected to more than recommended number of power
supplies.
Non-rechargeable batteries are not to be recharges; rechargeable batteries are to
be removed from the toy before being charged (if removable); rechargeable
batteries are only to be charged under adult supervision (if removable); different
types of batteries or new and used batteries are not to be mixed; only batteries of
the same or equivalent type as recommended are to be used; batteries are to be
inserted with the correct polarity; exhausted batteries are to be removed from the
toy; _the supply terminals are not to be short circuited. Please retain the
packaging for future reference since it contains important information.
Disconnect the transformer if the game is not used for a long period of time to
prevent overheating. If you are using the power supply transformer, do not play
outdoors. The toy is not intended for children under 3 years old; the toy must
only be used with the recommended transformer; the transformer is not a toy;
toys liable to be cleaned with liquid are to be disconnected from the transformer
before cleaning; packaging shall be kept for future reference; transformers or
battery chargers used with the toy are to be regularly examined for damage to
the cord, plug, enclosure and other parts. In the even of such damage, toy must
not be used with the transformer or battery charger until such damage has been
repaired.
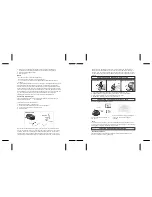
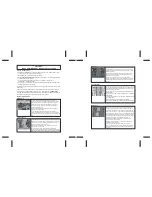
To connect it, follow these instructions:
1. Make sure the game is switched off.
2. Connect the transformer plug to the socket of the game.
3. Connect the transformer to the main outlet.
4. Start the game.
The game also works with a 9V 500mA transformer with polarity type: IN
Positive / OUT Negative (not included).
2. Insert 4 AA 1.5V batteries and make sure the polarity of the batteries
correspond with the polarity indicated inside the battery compartment.
3. Close the battery compartment.
4. Start the game.
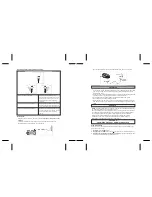
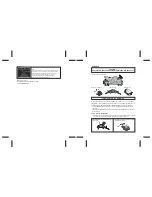
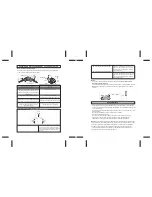
HANDLEBAR AND WINDSHIELD INSTALLATION
1. Insert the handlebar in the body of the motorcycle with a 45° slant.
2. Tighten the left and right screws as shown above, to fix the handlebar.
3. Insert the windshield into the motor head with a 45° slant.
4. Match the 3 interlocks and press as shown above.
Insert handlebar 45°
Tighten the 2 screws
Installing windshield 45°
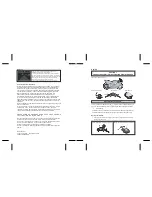
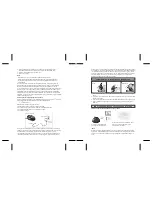
CONNECTING THE CONSOLE TO THE TV SETR
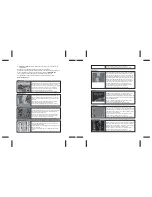
FUNCTION AND CONTROL DESCRIPTION
Connecting the audio/video input
Note:
The receiver/console can be used as an independent hand-held game console.
Just turn off the engine using the power switch on the bike and you can also play
all the games using the receiver/console by itself.
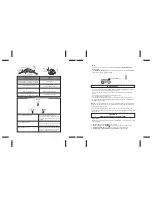
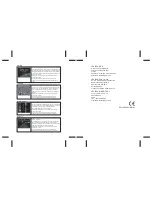
Function description
Illustrated below are the function descriptions and differences between the
motorcycle and the console (game pad).
Connect the receiver/console to
the TV set.
If you donʼt have any A/V input available
on your TV, use the scart adapter
(included).


