31
ENGLISH
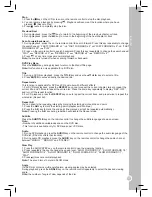
TV MODE SETTINGS
Press the
INPUT
button on the remote control, then use the▲ and ▼buttons to set the video source to
“TV”, and press
ENTER
to confirm.
IMAGE menu
Picture mode
1. Press the
LCD-MENU
button, then use the ◄ and ► buttons to select the “IMAGE” menu.
2. Use the ▲ and ▼buttons to select the “Image Mode” option.
3. Use the ◄ and ► buttons to select a picture mode: “Standard”, “Personal”, “Movie”, “Sport”, “Soft” or
“Game”.
Contrast, Brightness, Color, Tint, Sharpness, Color temperature, DNR
1. Press the
LCD-MENU
button, then use the and buttons to select the “IMAGE” menu.
2. Use the ▲ and ▼buttons to select the desired option, then press the ◄
and
► buttons to carry out
the settings:
• “Contrast”: Adjust the picture contrast.
• “Brightness”: Adjust the picture brightness.
• “Color”: Adjust the color intensity.
• “Tint”: To change this setting, you need to use an NTSC system.
• “Sharpness”: Adjust the picture sharpness (“Normal”, “Sharp”, “Sharpest”, “Softest” or “Soft”).
• “Color temperature”: The default setting of this option is “Normal”, you cannot change it in TV mode.
• “DNR” (Digital Noise Reduction): The DNR allows you to improve the image quality by reducing
interference. You may select one of the following settings: “Off”, “Low”, “Mid” or “High”.
Note:
After a few seconds of inactivity, you will automatically exit the menu.
AUDIO menu
1. Press the
LCD-MENU
button, then use the ◄
and
►
buttons to select the “AUDIO” menu.
2. Use the ▲ and ▼buttons to select the desired option: “Volume”, “Sound mode” (“Personal”, “Voice”,
“Music” or “Theater”), “Bass”, “Treble” or “Balance”. Press the ◄
and
►buttons to carry out the settings.
Note:
After a few seconds of inactivity, you will automatically exit the menu.
PARAMETERS menu
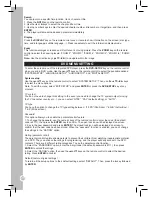
Country
1. Press the
LCD-MENU
button, then use the ◄
and
►
buttons to select the “PARAMETERS” menu.
2. Use the ▲ and ▼buttons to select the “COUNTRY” option.
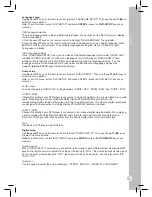
Automatic scan for radio stations
1. Press the
LCD-MENU
button, then use the ◄ and ► buttons to select the “PARAMETERS” menu.
2. Use the ▲ and ▼buttons to select the “Automatic Search” option. Press
ENTER
or ► to start the
automatic channel scan.
3. Press
ENTER
to confirm and start the automatic scan of radio stations. When the search is finished,
the device will broadcast the channel 1.
4. You may press
ENTER
to display the list of preset stations. Then use the ▲and▼ buttons to select a
radio station and press
ENTER
to view it.
Note:
• If you wish to cancel the scanning process, you can press
LCD-MENU
or
DVD SETUP/EXIT
at any
time.
• If the preset stations are not displayed in the desired order, you can use the option “Change Station
Name” to change the order.
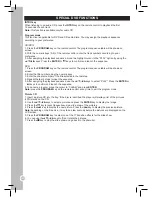
Manual scan for radio stations
1. Press the LCD-MENU button, then use the and buttons to select the “PARAMETERS” menu.
2. Use the ▲ and ▼buttons to select the “Manual Search” option, then press
ENTER
or to access the
menu of manual channel setting.
Summary of Contents for LCDDVD2TFFR
Page 2: ...B A ...

