18
ENGLISH
GETTING TO KNOW YOUR CAMCORDER
CHARGING THE BATTERIES
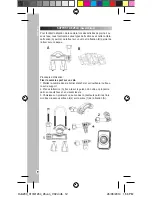
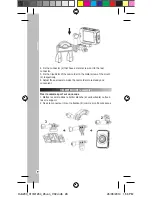
Please refer to image A:
1. Micro SD card slot
2. Mini USB jack
3. Power button
4. Busy LED indicator
5. Power LED indicator
6. Speaker
7. Shutter button
8. LCD touch screen
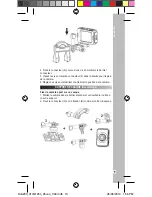
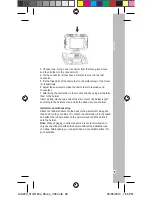
Please refer to image B:
9. Reset hole
10. AV out jack
11. HDMI jack
12. Helmet/Bike mount
tripod hole
Unpacking the device
When unpacking, ensure that the following elements are included:
1 x DJA200_01 digital camcorder / 1 x USB cable /
1 x waterproof case / 1 x helmet mount / 1 x bike mount /
2 x stickers / 1 x CD-ROM / 1 x hand strap / 1 x instruction manual
WARNING:
All packaging materials, such as tape, plastic sheets, wire
ties and tags are not part of this product and should be discarded.
Note:
Before using the camcorder for the first time, please remove the
protective film of the camcorder’s LCD screen.
To recharge the internal lithium battery (700mAh), proceed as follows:
1. Make sure the camcorder is off.
2. Open the rubber cover that protects the mini USB jack.
3. Connect the USB cable to the camcorder (5 pin) and your computer
(4 pin). The power LED indicator (5) lights up red when the batteries
are charging and turns off when it is fully charged. It is normal for the
camcorder to be warm during charging.
Note:
When the low battery icon
appears on the LCD screen,
recharge the batteries.
CONTENTS OF THE PACKAGING
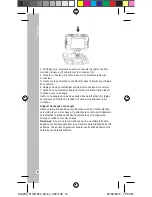
Key guide
13. Microphone
14. Lens
15. Door clip
16. Waterproof buttons
17. Waterproof case
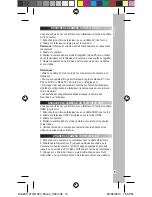
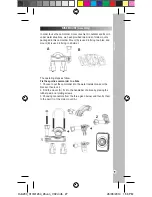
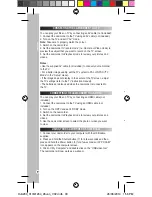
Please refer to image C:
18. Bike mount
19. Screws (tighten clamp)
20. Screw (adjusts camcorder position)
21. Camcorder mount tripod screw
22. Clamp
23. Connectors
24. Helmet mount
25. Strap
26. Camcorder mount tripod screw
27. Screw (adjusts camcorder position)
INSTALLING A MEMORY CARD
To store pictures or videos, you need to insert a micro SD card (not
included) into your digital camcorder so you can save your files.
To insert the memory card:
1. Turn off the camcorder.
2. Open the rubber cover that protects the micro SD card slot.
3. Insert the micro SD card carefully into the micro SD card slot and
push firmly until you hear a “click” sound.
4. Turn the camcorder on.
5. To remove the card, push it in slightly to release it from the slot.
Notes:
• Always turn the camcorder off when you insert or remove the micro
SD card.
• To save your videos, we recommend that you purchase a micro SD
card that has good quality and sufficient capacity.
WARNING:
Malfunction or loss of memory may be caused by strong
frequency interference or electrostatic discharge. Should any abnormal
function occur, reset the unit and turn it on again.
TURNING THE CAMCORDER ON AND OFF
Press and hold the Power button (3) to turn the camcorder on.
When you turn the camcorder on, the green Busy LED indicator (4)
illuminates. The LCD screen lights up to confirm the camcorder is
ready for use.
Press the Power button (3) once more to turn the camcorder off. A
melody will sound and the screen will go blank.
Note:
To save battery power, the camcorder will auto standby after a
period of inactivity (60 seconds approximately). Press the Power button
(3) to reactivate the camcorder. You can change the auto power - off
time by setting the function “Auto Power Off” (see the “Setup” section).
DJA200_01IM1264_26Jun_V02.indb 18
26/06/2014 1:56 PM

