Copyright © Lexibook 200
6
5
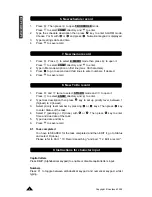
4.3 Alarm
setting
1. Press
. Use
to select
3. ALARM
and press
. Your unit offers
three alarm modes:
- Daily alarm:
. The alarm(s) will ring every day.
- Hourly chime:
. A bell will ring every hour.
- Scheduler alarm (event reminder):
Press
to turn Hourly Chime ON, then a small
icon appears on the left
of LCD.
Press
key to set Alarm ON/OFF then a small
icon appears on the left
of LCD.
2. Note that you can set up to 3 different Alarm times: Press
and
to
select one.
3. Press
or
once to turn on the alarm .
Press
EDIT
and input the alarm time in the format “HH-MM”.
4. Press
key to switch to next field for selecting alarm tone. There are
9 kinds of alarm tone available. Press your desired digit key 1-9 to listen
to the corresponding musical tone.
5. Press to
confirm.
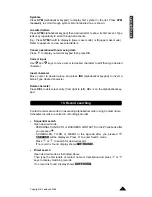
There are two contact directories, PERSONAL and BUSINESS.
1. Press
. Press
to open
1.PERSONAL
directory. Press
to select
2.BUSINESS
directory and
to enter.
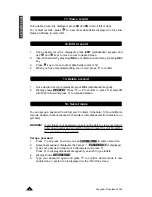
2. Once one of the directories is open, press
to choose
2.NEW.
Then
directly type the contact name and then press
to go to
ADDRESS
data field.
3. Type contact address (max. 36 characters) then press
key to go to
data field.
4. Type contact e-mail address then press
key to go to
URL
data field.
5. Type contact URL then press
to move to
MOBILE
data field.
Numerical keypad is displayed.
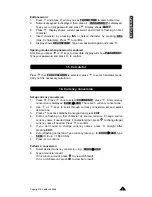
6. Type contact mobile phone number then press
to move to
TEL
data
field. Numerical keypad is displayed.
7. Type contact residential telephone number or any other number you
may want to store. TIPS: To store a FAX number you can press
2
nd
key
and then type “
F
” key. F will be displayed to remind you this is a FAX
number. Press
2
nd
key again to return to numerical keypad and enter the
fax number. You can also choose to enter a Pager number; you can then
tap on “
P
” key and follow same operation as above.
Note:
Only F and P alphabetic keys are available in this line.
8. Press
to save record.
5. New contact record
Summary of Contents for TMP241
Page 18: ......


