Repair information
3-3
4036-402
7.
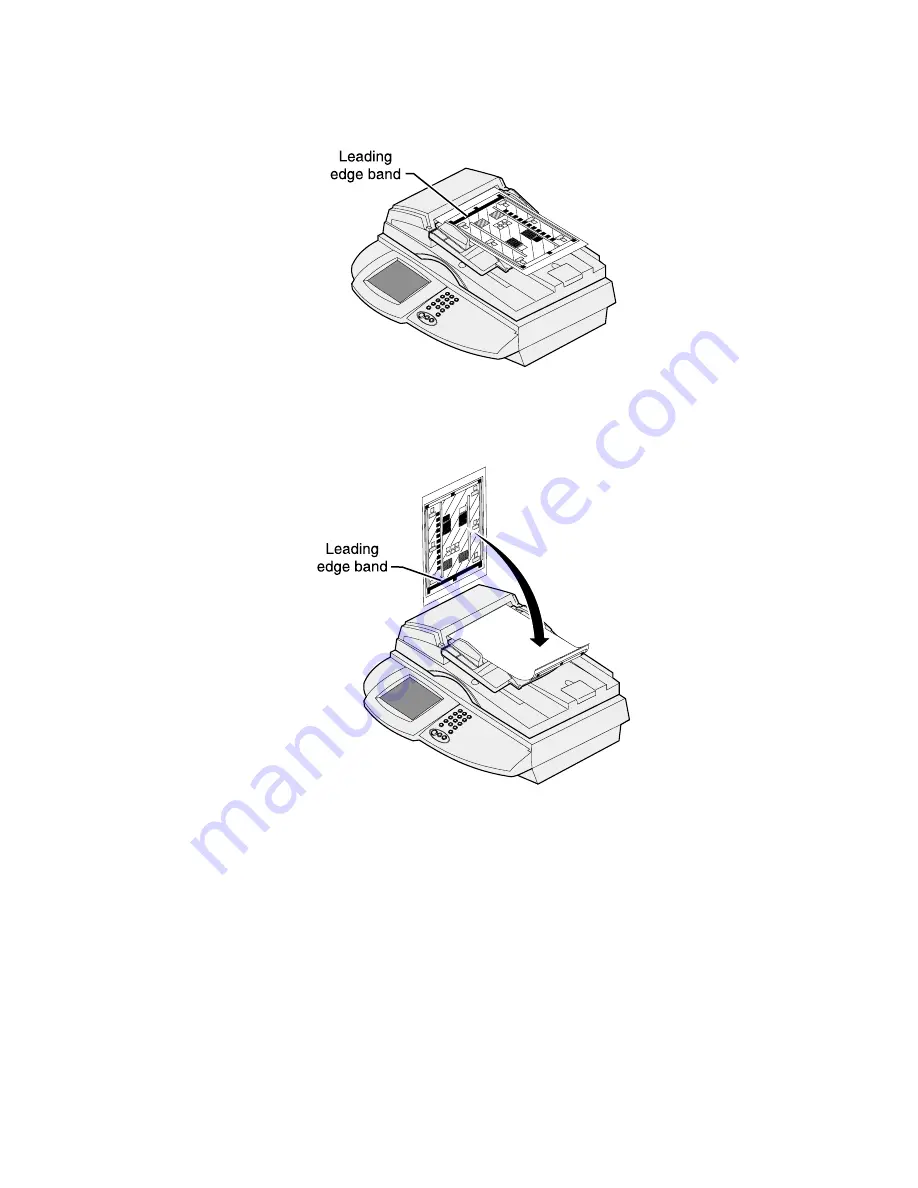
Place the sheet faceup in the Automatic Document Feeder (ADF). Make sure the sheet is
oriented with the leading edge band to the left, as shown.
8.
Press Start.
9.
Repeat steps 7 and 8.
10.
Place the sheet facedown in the ADF. Make sure the sheet is oriented with the leading edge
band to the left, as shown.
11.
Press Start.
12.
Repeat steps 10 and 11.
13.
Remove the sheet.
If the calibration process was successful, the screen on the scanner displays
Successful
. Turn the
power off and on.
If the calibration process failed, the screen displays
Failure
. Turn the power off and on. Repeat the
scanner calibration.
Summary of Contents for 16C0365 - 5500 MFP
Page 49: ...Repair information 3 25 4036 402 3 Remove the pick pad ...
Page 55: ...Repair information 3 31 4036 402 5 Disconnect the cables 6 Remove the user interface ...
Page 68: ...3 44 Service Manual 4036 402 ...
Page 69: ...Connector locations 4 1 4036 402 4 Connector locations Locations Paper path and sensors ...
Page 70: ...4 2 Service Manual 4036 402 Internal view ...
Page 76: ...5 4 Service Manual 4036 402 ...
Page 78: ...6 2 Service Manual 4036 402 Assembly 1 Upper Scanner ...
Page 86: ...I 4 Service Manual 4036 402 ...


