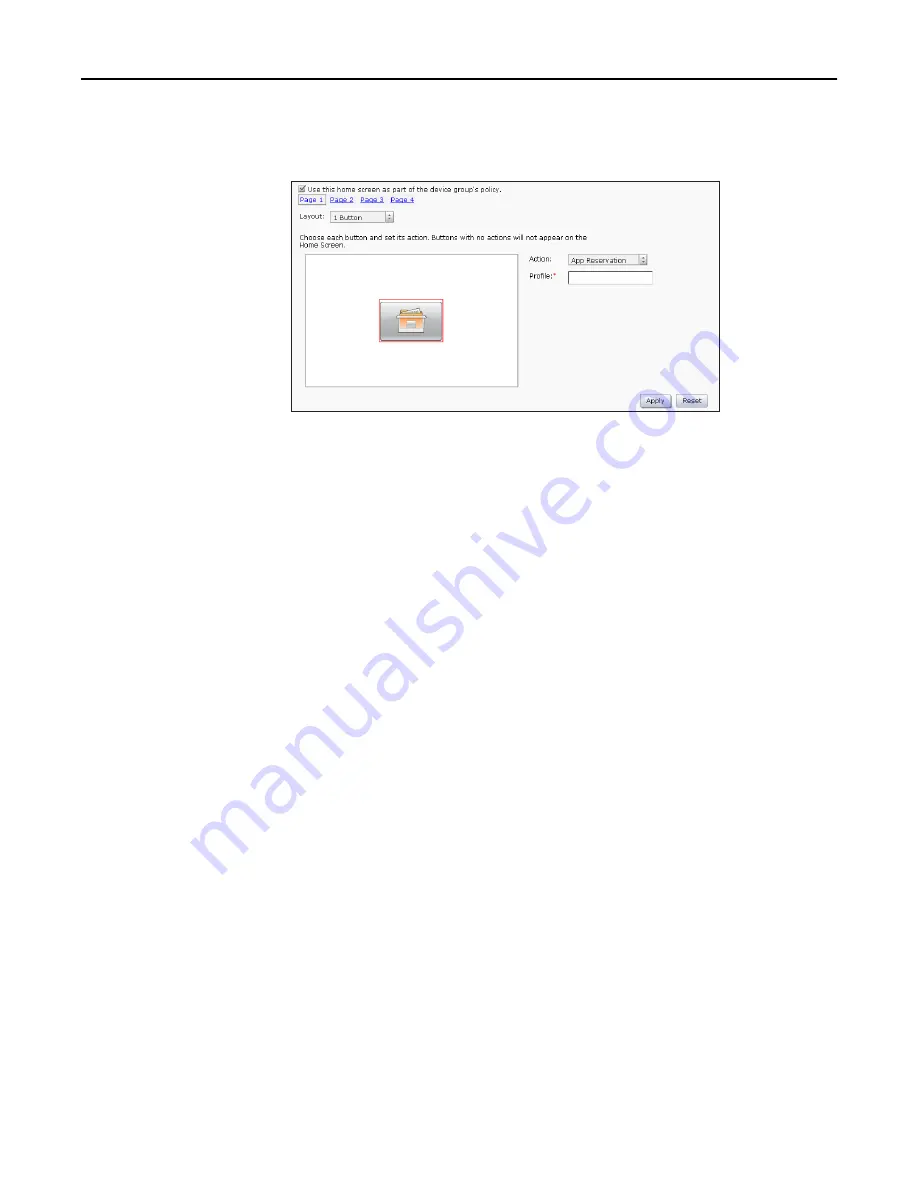
–
If you selected
App Reservation
, then type the profile name of the eSF application that will use the
button.
e
The graphic that appears on the button is the default graphic of the action. If you want to select a custom
graphic for any action except Placeholder or App Reservation, then do the following:
1
Click
Custom
.
2
Click
Change
, and then select a JPEG, GIF, or PNG file for the Up and Down icons.
3
Click
Apply
.
Note:
If you want to revert to the default graphic, then click
Default
.
Images selected will be resized to the following dimensions for each device class. For best results, resize or
crop source images to the correct size before use.
–
e
‑
Task
—120 x 80 pixels
–
e
‑
Task 2, e
‑
Task 2+, and SFP e
‑
Task 2+
—120 x 75 pixels
–
e
‑
Task 3
—172 x 254 pixels
–
X642
—120 x 55 pixels
f
To apply custom text to any button except a Placeholder or App Reservation, select the
Text
option, and
then type your custom text. You can also select the Text option and leave it blank to display only the icon.
•
For single
‑
function printers without a touch screen (SFP e
‑
Task, and, SFP e
‑
Task 2):
a
Select
Custom
from the Layout menu.
b
Click
Add
below the list of buttons.
Notes:
–
The only action available is Single Profile. You cannot modify other menu items on a printer without a
touch screen.
–
To remove a button, select it in the list, and then click
Remove
.
c
To apply custom text to the button, select the option for the custom text field beside Display Text, and then
type your custom text.
d
Select a profile to associate with the button.
7
Configure the rest of the buttons on the home screen.
8
Click
Apply
to save changes.
Note:
Before changing tabs during configuration, make sure to click
Apply
on each tab to apply the settings
specified on that tab.
Managing device groups and devices
104


