


4
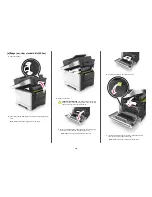
Slide and hold the release latch on the right side of the printer, and
then slowly close the top door.
5
Close the front door.
6
From the printer control panel, touch
Done
to clear the message
and continue printing.
[x]
‑
page jam, open front door to clear
fuser [20y.xx]
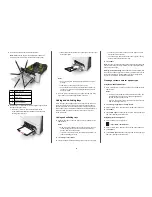
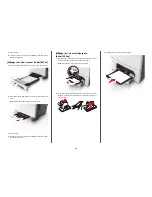
1
Open the front door.
CAUTION—HOT SURFACE:
The inside of the printer might
be hot. To reduce the risk of injury from a hot component,
allow the surface to cool before touching.
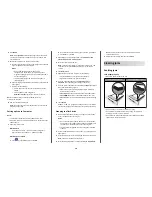
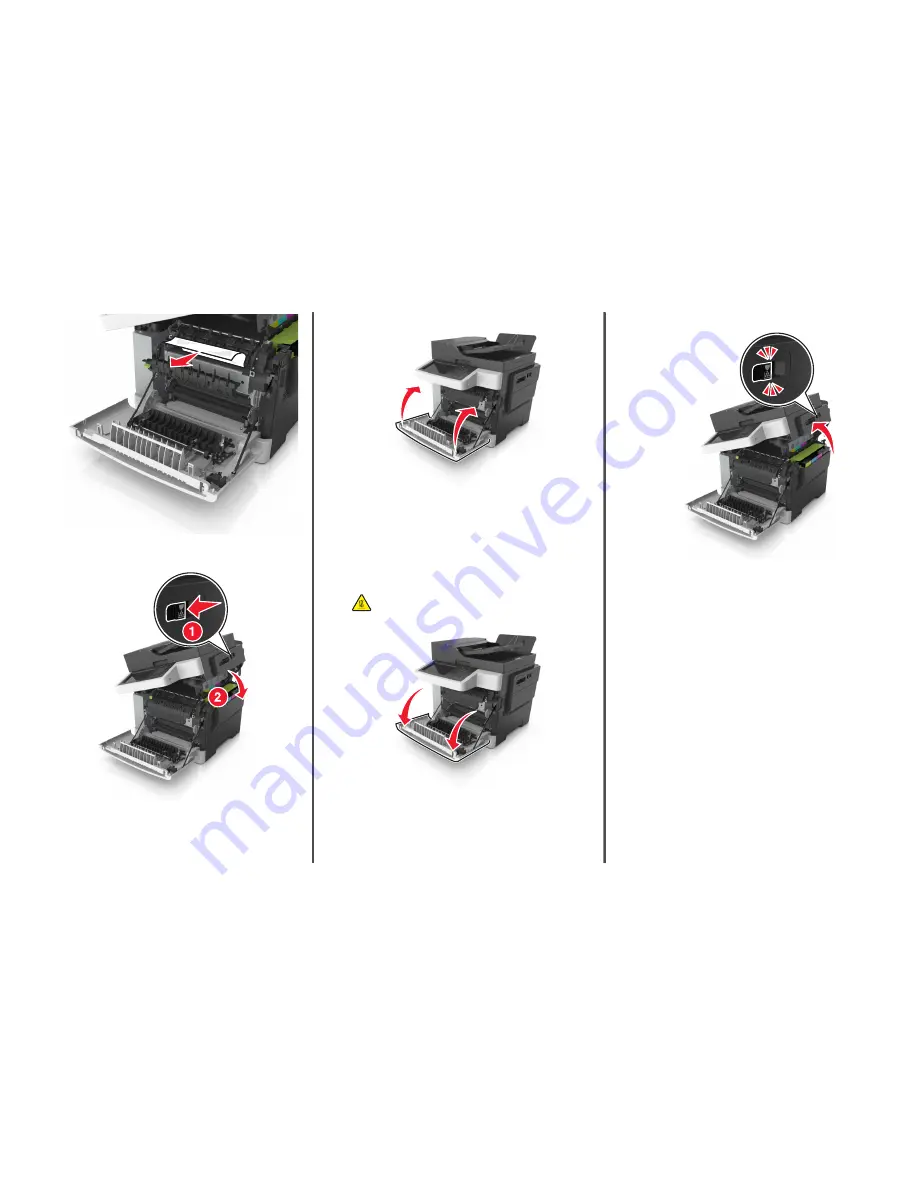
2
Open the top door.
19


