c
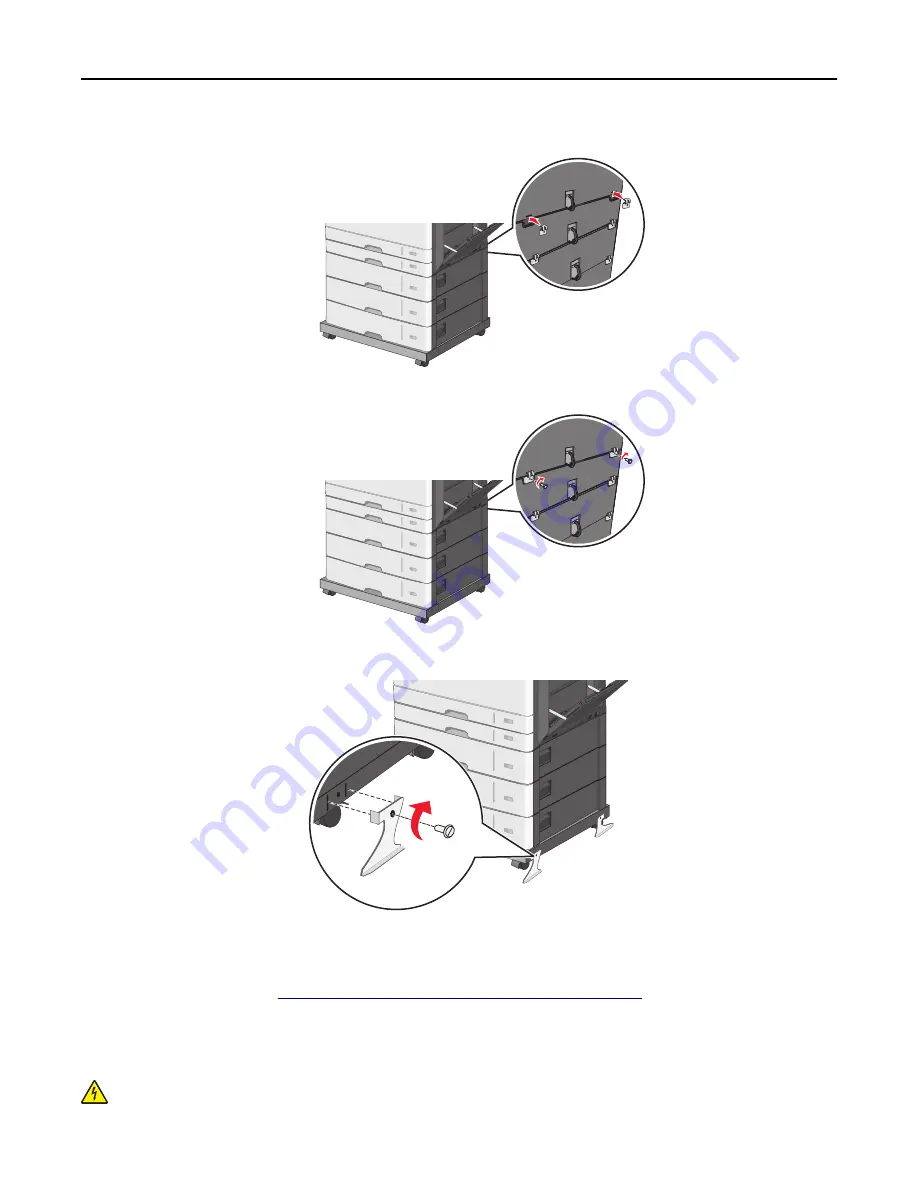
Insert brackets on the slots located at the back of the printer and optional tray.
d
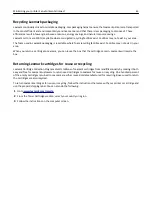
Secure the brackets with screws.
10
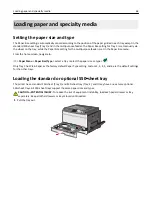
Insert the bases on the slots at the sides of the caster base and secure them with screws.
11
Turn the printer back on.
12
Set the printer software to recognize the optional input source.
For more information, see
“Adding available options in the print driver” on page 51
.
Attaching cables
CAUTION—SHOCK HAZARD:
Do not set up this product or make any electrical or cabling connections, such as a
power cord, a fax feature, or USB cable, during a lightning storm.
Additional printer setup
49


